Hoover U5146-900 Owners Manual - Page 3
Cleaner Assembly - parts
 |
View all Hoover U5146-900 manuals
Add to My Manuals
Save this manual to your list of manuals |
Page 3 highlights
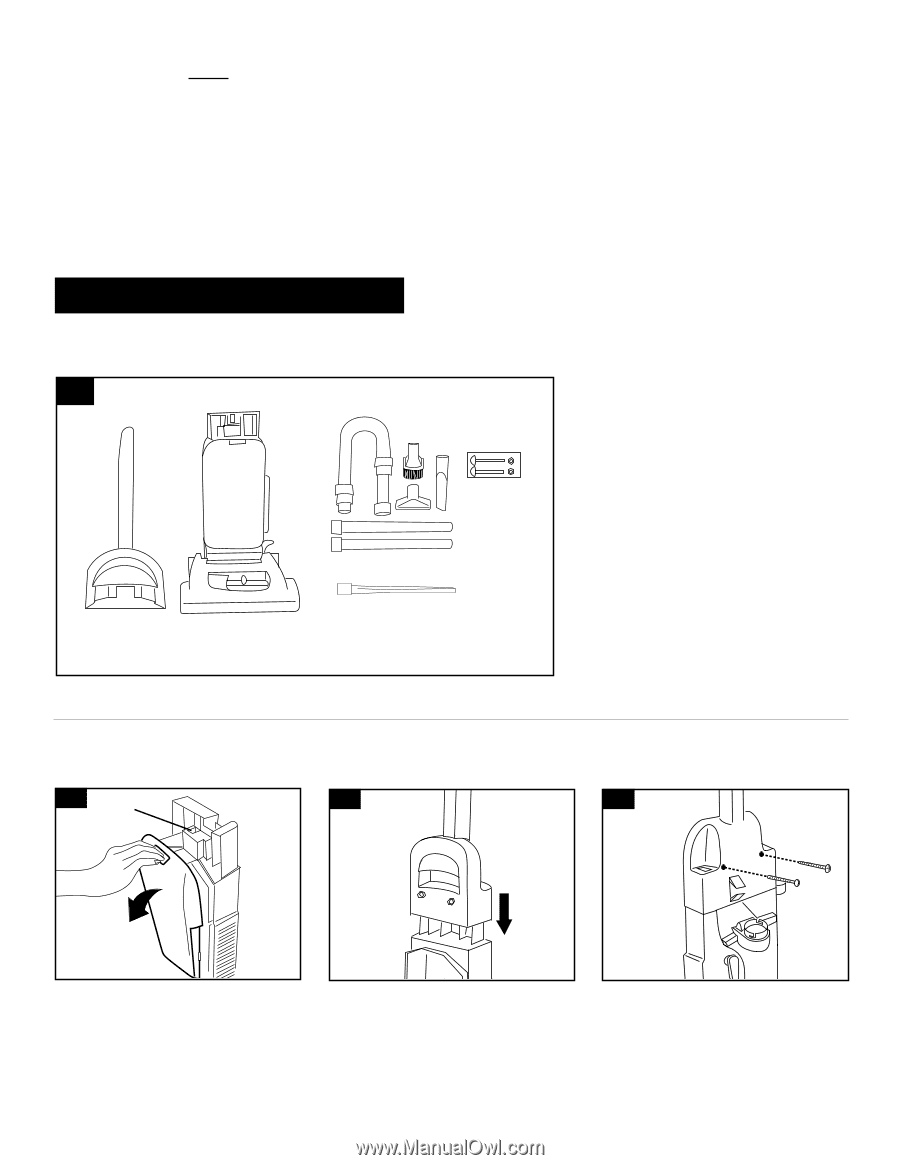
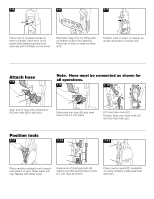
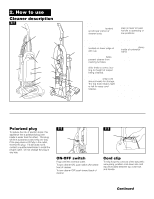
If you need any assistance: Visit our website at www.hoover.com. Click on the "Service" button to find the service outlet nearest you OR Call 1-800-944-9200 for an automated referral of service outlet locations (U.S. only) OR Call 1-330-499-9499 to speak with a representative in our Consumer Response Center. Please do not return this product to the store. 1. Cleaner Assembly Carton contents 1-1 C Empty carton. Find the parts shown before disposing of packing materials. A. Handle section B. Cleaner body C. Hose, cleaning tools and wands E D. Crevice wand (included with some models) E. Handle bolts and nuts packet (in bag with owner's manual) D A B Attach handle 1-2 1-3 1-4 A Remove bag door on cleaner body by pushing down at top of door and pulling door outward. Switch (A) above bag door should be in OFF position. Slide handle onto cleaner body. Push bolts into holes on back of handle. Continued § 3
-
 1
1 -
 2
2 -
 3
3 -
 4
4 -
 5
5 -
 6
6 -
 7
7 -
 8
8 -
 9
9 -
10
-
11
-
12
 |
 |