Husqvarna HU775L Operation Manual - Page 20
Storage - parts manual
 |
View all Husqvarna HU775L manuals
Add to My Manuals
Save this manual to your list of manuals |
Page 20 highlights
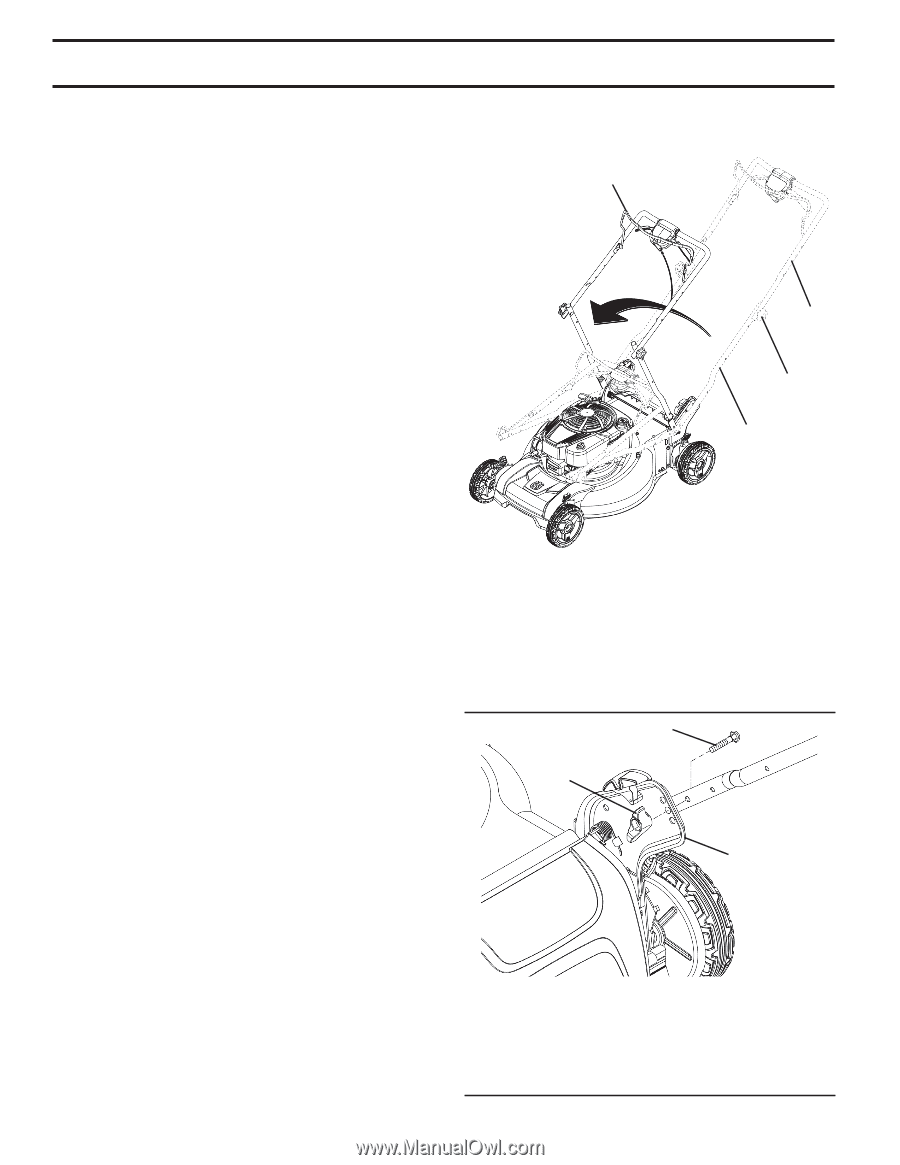
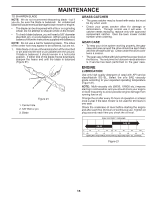
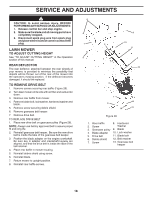
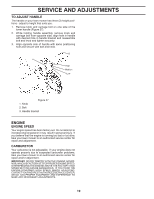
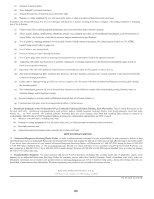
STORAGE Immediately prepare your mower for storage at the end of the season or if the unit will not be used for 30 days or more. LAWN MOWER When lawn mower is to be stored for a period of time, clean it thoroughly, remove all dirt, grease, leaves, etc. Store in a clean, dry area. 1. Clean entire lawn mower (See "CLEANING" in the Maintenance section of this manual). 2. Lubricate as shown in the Maintenance section of this manual. 3. Be sure that all nuts, bolts, screws, and pins are securely fastened. Inspect moving parts for damage, breakage and wear. Replace if necessary. 4. Touch up all rusted or chipped paint surfaces; sand lightly before painting. 1 FOLD FORWARD FOR STORAGE MOWING POSITION 2 HANDLE You can fold your lawn mower handle for storage. 1. Loosen the two (2) handle knobs on sides of the upper handle and allow handle to fold down to the rear (Figure 28). 2. Remove the two (2) handle knobs and carriage bolts on sides of the lower handle and pivot entire handle assembly forward and allow it to rest on mower (Figure 29). 3. Reinstall knobs and carriage bolts to lower handle or handle brackets for safe keeping. NOTE: When setting up your handle from the storage position, the lower handle will require manually locking into the mowing position. IMPORTANT: WHEN FOLDING THE HANDLE FOR STORAGE OR TRANSPORTATION, BE SURE TO FOLD THE HANDLE AS SHOWN OR YOU MAY DAMAGE THE CONTROL CABLES. 3 4 Figure 28 1. Operator presence control bar 2. Upper handle 3. Handle knob 4. Lower handle 2 1 3 Figure 29 1. Knob 2. Bolt 3. Handle bracket 20
-
 1
1 -
2
-
3
-
4
-
5
-
6
-
7
-
8
-
9
-
10
-
11
-
12
-
13
-
14
-
 15
15 -
 16
16 -
 17
17 -
 18
18 -
 19
19 -
 20
20 -
 21
21 -
 22
22 -
 23
23 -
 24
24 -
 25
25 -
26
-
27
-
28
-
29
-
30
-
31
-
32
-
33
-
34
-
35
-
36
-
37
-
38
-
39
-
40
-
41
-
42
-
43
-
44
-
45
-
46
-
47
-
48
-
49
-
50
-
51
-
52
 |
 |