Husqvarna HU775L Operation Manual - Page 4

Table Of Contents, Assembly - lawn mower manual

Page 4 highlights

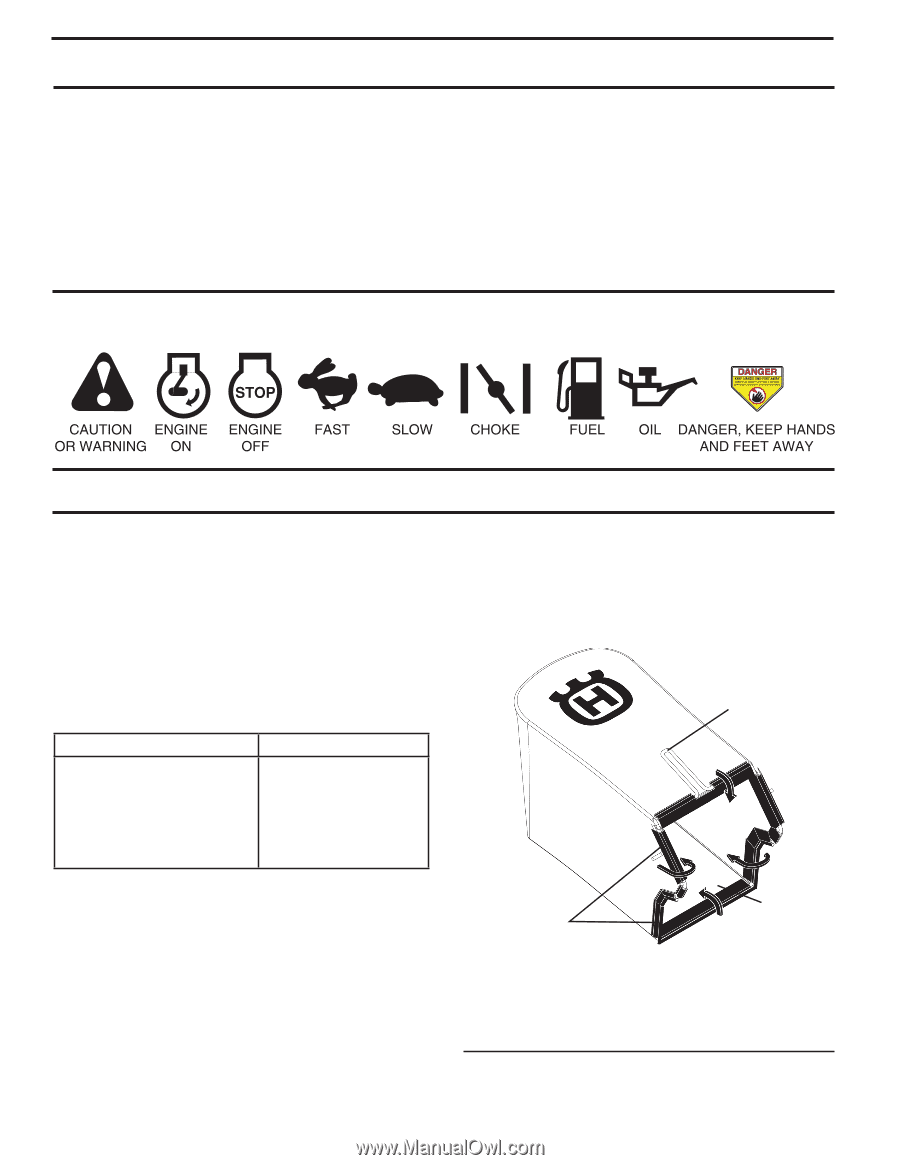
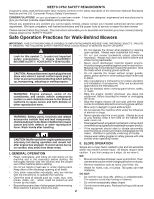
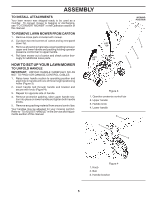
TABLE OF CONTENTS SAFETY RULES 2-3 PRODUCT SPECIFICATIONS 3 CUSTOMER RESPONSIBILITIES 3 SAFETY AND INSTRUCTIONAL DECALS 4 ASSEMBLY 4-5 PRODUCT OVERVIEW 6 OPERATION 7-12 MAINTENANCE 13-17 SERVICE AND ADJUSTMENTS 18-19 STORAGE 20-21 TROUBLESHOOTING 22 WARRANTY 23-26 KNOW YOUR LAWN MOWER READ THIS OPERATOR'S MANUAL AND SAFETY RULES BEFORE OPERATING YOUR LAWN MOWER. Compare the illustrations with your lawn mower to familiarize yourself with the location of various controls and adjustments. Save this manual for future reference. These symbols may appear on your lawn mower or in literature supplied with the product. Learn and understand their meaning. ASSEMBLY Read these instructions and this manual in its entirety before you attempt to assemble or operate your new lawn mower. IMPORTANT: THIS LAWN MOWER IS SHIPPED WITHOUT OIL OR GASOLINE IN THE ENGINE. Your new lawn mower has been assembled at the factory with the exception of those parts left unassembled for shipping purposes. All parts such as nuts, washers, bolts, etc., necessary to complete the assembly have been placed in the parts bag. To ensure safe and proper operation of your lawn mower, all parts and hardware you assemble must be tightened securely. Use the correct tools as necessary to ensure proper tightness. Setup LOOSE PARTS Use the chart below to verify that all parts have been 2 shipped. Description Qty. Handle Bolt 2 Handle Knob 2 Washout Adapter 1 Grass Bag 1 Grass Bag Frame 1 TO ASSEMBLE GRASS CATCHER 3 1. Put grass catcher frame into grass bag with rigid part of bag on the bottom. Make sure the frame handle is outside of the bag top (Figure 2). 2. Slip vinyl bindings over frame. NOTE: If vinyl bindings are too stiff, hold them in warm water for a few minutes. If bag gets wet, let it dry before using. 1 Figure 2 1. Vinyl bindings 2. Frame handle 3. Frame opening 4

  • 1
  • 2
  • 3
  • 4
  • 5
  • 6
  • 7
  • 8
  • 9
  • 10
  • 11
  • 12
  • 13
  • 14
  • 15
  • 16
  • 17
  • 18
  • 19
  • 20
  • 21
  • 22
  • 23
  • 24
  • 25
  • 26
  • 27
  • 28
  • 29
  • 30
  • 31
  • 32
  • 33
  • 34
  • 35
  • 36
  • 37
  • 38
  • 39
  • 40
  • 41
  • 42
  • 43
  • 44
  • 45
  • 46
  • 47
  • 48
  • 49
  • 50
  • 51
  • 52

4
TABLE OF CONTENTS
KNOW YOUR LAWN MOWER
READ THIS OPERATOR'S MANUAL AND SAFETY RULES BEFORE OPERATING YOUR LAWN MOWER.
Compare the illustrations with your lawn mower to familiarize yourself with the location of various controls and adjustments.
Save this manual for future reference.
These symbols
may appear on your lawn mower or in literature supplied with the product.
Learn and understand
their meaning.
Setup
LOOSE PARTS
Use the chart below to verify that all parts have been
shipped.
Description
Qty.
Handle Bolt
Handle Knob
Washout Adapter
Grass Bag
Grass Bag Frame
2
2
1
1
1
ASSEMBLY
Read these instructions and this manual in its entirety before you attempt to assemble or operate your new lawn mower.
IMPORTANT
:
THIS LAWN MOWER IS SHIPPED WITHOUT OIL OR GASOLINE IN THE ENGINE.
Your new lawn mower has been assembled at the factory with the exception of those parts left unassembled for shipping
purposes. All parts such as nuts, washers, bolts, etc., necessary to complete the assembly have been placed in the parts
bag. To ensure safe and proper operation of your lawn mower, all parts and hardware you assemble must be tightened
securely. Use the correct tools as necessary to ensure proper tightness.
OPERATION
............................................................
7-12
MAINTENANCE
.....................................................
13-17
SERVICE AND ADJUSTMENTS
...........................
18-19
STORAGE
..............................................................
20-21
TROUBLESHOOTING
................................................
22
WARRANTY
...........................................................
23-26
SAFETY RULES
........................................................
2-3
PRODUCT SPECIFICATIONS
......................................
3
CUSTOMER RESPONSIBILITIES
................................
3
SAFETY AND INSTRUCTIONAL DECALS
.................
4
ASSEMBLY
................................................................
4-5
PRODUCT OVERVIEW
................................................
6
TO ASSEMBLE GRASS CATCHER
1.
Put grass catcher frame into grass bag with rigid part
of bag on the bottom. Make sure the frame handle is
outside of the bag top (Figure 2).
2.
Slip vinyl bindings over frame.
NOTE
:
If vinyl bindings are too stiff, hold them in warm water
for a few minutes. If bag gets wet, let it dry before using.
1. Vinyl bindings
2. Frame handle
3. Frame opening
Figure 2
3
1
2