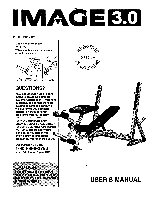
Image Fitness 3.0 Bench English Manual
Image Fitness 3.0 Bench Manual
 |
View all Image Fitness 3.0 Bench manuals
Add to My Manuals
Save this manual to your list of manuals |
Image Fitness 3.0 Bench manual content summary:
- Image Fitness 3.0 Bench | English Manual - Page 1
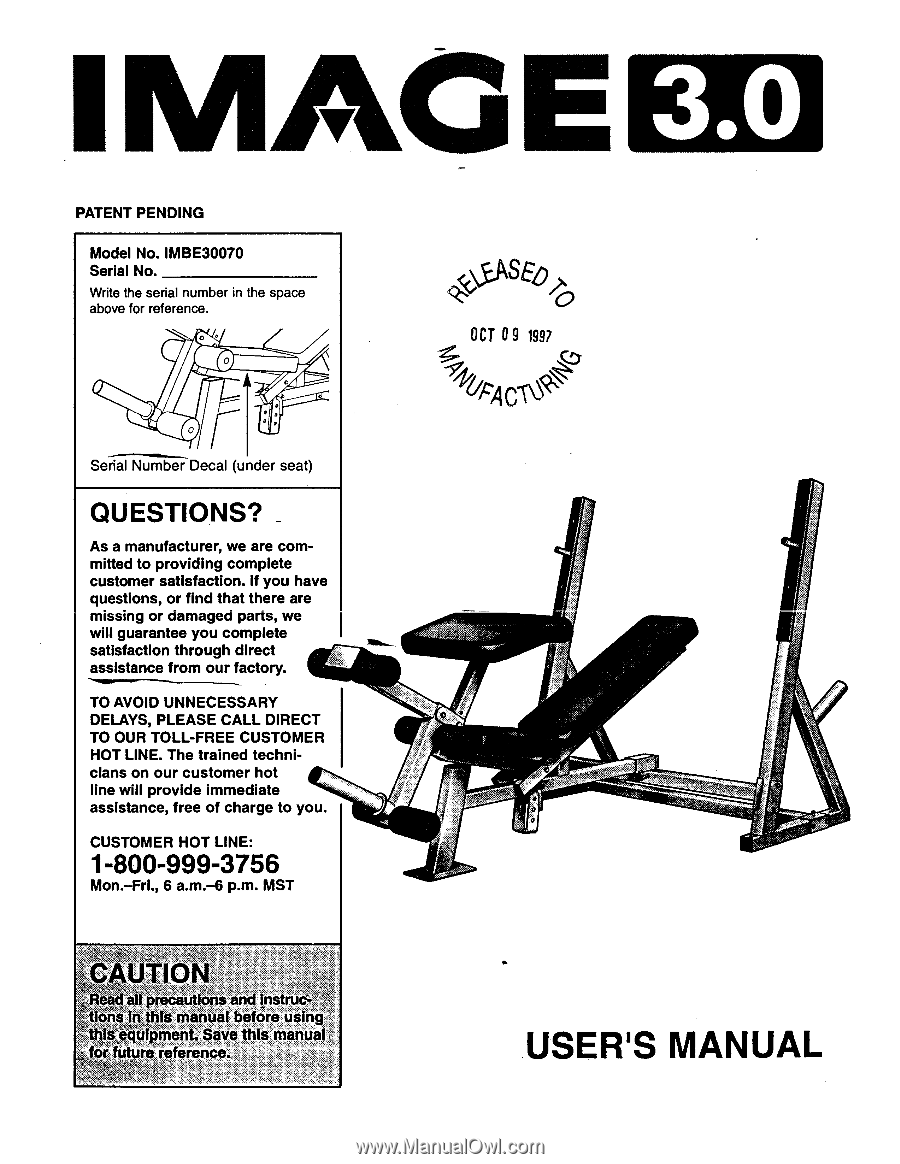
IMAGE 3.0 PATENT PENDING Model No. IMBE30070 Serial No. Write the serial number in the space above for reference - Image Fitness 3.0 Bench | English Manual - Page 2
DRAWING is attached to the center of this manual. Remove the PART LIST/ EXPLODED DRAWING before beginning assembly. IMAGE is a registered trademark of ICON Health & or abnormal usage or repairs not provided by an ICON authorized service center, products used for commercial or rental pur- poses, - Image Fitness 3.0 Bench | English Manual - Page 3
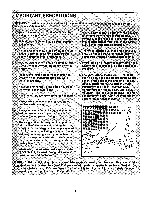
: To reduce the risk,of serious in ury, read the following important precautions before using the weight bench. Read all instructions in this manual before using the weight bench 2. Use the weight bench only as described in this manual. 12.Always exercise with a partner. When you are performing - Image Fitness 3.0 Bench | English Manual - Page 4
found on a decal attached to the IMAGE® 3.0 Weight Bench (see the front cover of this manual). For your benefit, read this manual carefully before using the IMAGE® 3.0 Weight Bench. If you have additional questions, please call our Customer Service Before reading further, please review the drawing - Image Fitness 3.0 Bench | English Manual - Page 5
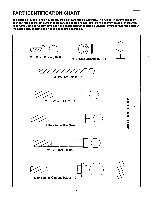
PART IDENTIFICATION CHART This chart is provided to help you identify the small parts used in assembly. The number in parenthesis below each part refers to the key number of the part. The second number refers to the quantity needed for assembly. Important: Some parts may have been pre-assembled for - Image Fitness 3.0 Bench | English Manual - Page 6
Tighten all parts as you assemble them, unless instructed to do otherwise. • For help identifying the the previous page. • As you assemble the weight bench, be sure that all parts are oriented as Upright (1) with two M10 x 70mm Bolts (27), a Support Plate (18), and two M10 Nylon Locknuts (22). Do - Image Fitness 3.0 Bench | English Manual - Page 7
3. Slide the Frame (4) through the tube on the 3 Crossbar (3). Tighten the Short Knob (29) into the indicated location on the Crossbar. See the inset drawing. Slide the M10 x 65mm Bolt (25) through the indicated hole and tighten an M10 Nylon Locknut (22) onto the Bolt. 4. Attach both Backrest - Image Fitness 3.0 Bench | English Manual - Page 8
7. Attach the Seat (9) to the Seat Frame (5) with four 7 M6 x 16mm Screws (28). 9 5 . .• o o • 0 28 28 d 8. Lubricate an M10 x 170mm Bolt (24). See inset drawing A. Insert the Bolt through one Backrest 8 Tube (10) and into the Adjustment Bracket (14) as shown. This will hold the - Image Fitness 3.0 Bench | English Manual - Page 9
10. Insert a Pad Tube (17) through each hole in the Leg Lever (6). Slide the remaining Pad Tube through the welded tube on the Seat Frame (5). Slide two Foam Pads (16) onto each Pad Tube. 10 16 6 16 11. Attach the Preacher Curl Pad (8) to the Curl Post (7) with two M6 x 16mm Screws (28). 11 5 - Image Fitness 3.0 Bench | English Manual - Page 10
ADJUSTING THE IMAGE 3.0 The weight bench is designed to be used with your own weight set (not included). The steps below explain how the weight bench can be adjusted. See EXERCISE GUIDELINES on page 12 for important exercise information. Refer to the information accompanying your weight set (not - Image Fitness 3.0 Bench | English Manual - Page 11
ATTACHING AND REMOVING THE CURL POST When you are not performing preacher curl exercises, remove the Curl Post (7) and the Long Knob (19) from the Seat Frame (5). See the inset drawing. Press the extra 48mm Square Inner Cap (31) partially into the Seat Frame to cover the opening. To attach the Curl - Image Fitness 3.0 Bench | English Manual - Page 12
EXERCISE GUIDELINES THE FOUR BASIC TYPES OF WORKOUTS PERSONALIZING YOUR EXERCISE PROGRAM • Muscle Building In order to increase the size and strength of your muscles, you must push your muscles to a high percentage of their capacity. You must also progressively increase the intensity of your - Image Fitness 3.0 Bench | English Manual - Page 13
very effective for increasing flexibility. STAYING MOTIVATED For motivation, keep a record of each workout. The charts on pages 14 and 15 of this manual can be photocopied and used to schedule and record your workouts. List the date, exercises performed, weight, and numbers of sets and repetitions - Image Fitness 3.0 Bench | English Manual - Page 14
MONDAY Date: / / EXERCISE WEIGHT SETS REPS TUESDAY I Date: / / WEDNESDAY Date: / / AEROBIC EXERCISE EXERCISE WEIGHT SETS REPS THURSDAY Date: / / FRIDAY Date: / / AEROBIC EXERCISE EXERCISE WEIGHT SETS REPS --- Make photocopies of this page for scheduling and recording your workouts. 14 - Image Fitness 3.0 Bench | English Manual - Page 15
MONDAY Date: / / EXERCISE WEIGHT SETS REPS TUESDAY Date: / / WEDNESDAY Date: / / AEROBIC EXERCISE EXERCISE WEIGHT SETS REPS THURSDAY Date: / / FRIDAY Date: - / AEROBIC EXERCISE EXERCISE WEIGHT SETS REPS . Make photocopies of this page for scheduling and recording your workouts. 15 - Image Fitness 3.0 Bench | English Manual - Page 16
REPLACEMENT PARTS To order replacement parts, simply call our Customer Service Department toll-free at 1-800-999-3756, Monday through ). 2. The NAME of the product (IMAGE® 3.0 Weight Bench). 3. The SERIAL NUMBER of the product (see the front cover of this manual). 4. The KEY NUMBER and DESCRIPTION of - Image Fitness 3.0 Bench | English Manual - Page 17
REMOVE THIS PART LIST/EXPLODED DRAWING FROM THE MANUAL SAVE THIS PART LIST/EXPLODED DRAWING FOR FUTURE REFERENCE a - Image Fitness 3.0 Bench | English Manual - Page 18
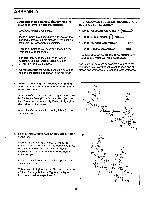
EXPLODED DRAWING-Model No. IMBE30070 R0997A 12 13 0 11 0 0 0 • 18 21 31 30 16 16 32 30 31 7 28 • • 31 9. 17 22 \e, 37 31 28 16 33 17 16 6, 30 31 10 20 36 38 24 20 27 0 31 12 23 13 23 28 31 22 26 0 30 31 25 14 15 22 22 23 27 34 P9 22 31 18 - Image Fitness 3.0 Bench | English Manual - Page 19
Pad Seat Backrest Tube Backrest Upright Cover Weight Rest Adjustment Bracket "L"-Pin Foam Pad Pad Tube Support Plate Long Knob M6 x 63mm Bolt Key No. Qty. 21 2 22 14 23 6 25mm Inner Cap Pad Tube Bushing M6 Washer User's Manual --qmip------R Exercise Chart Indicates a non-illustrated part.
-
 1
1 -
 2
2 -
 3
3 -
 4
4 -
 5
5 -
 6
6 -
 7
7 -
8
-
9
-
10
-
11
-
12
-
13
-
14
-
15
-
16
-
17
-
18
-
19
 |
 |
IMAGE
PATENT
PENDING
Model
No.
IMBE30070
Serial
No.
Write
the
serial
number
in
the
space
above
for
reference.
C
0
0
C
Serial
Number
Decal
(under
seat)
QUESTIONS?
_
As
a
manufacturer,
we
are
com-
mitted
to
providing
complete
customer
satisfaction.
If
you
have
questions,
or
find
that
there
are
missing
or
damaged
paris,
we
will
guarantee
you
complete
satisfaction
through
direct
assistance
from
our
factory.
TO
AVOID
UNNECESSARY
DELAYS,
PLEASE
CALL
DIRECT
TO
OUR
TOLL
-FREE
CUSTOMER
HOT
LINE.
The
trained
techni-
cians
on
our
customer
hot
line
will
provide
immediate
assistance,
free
of
charge
to
you.
CUSTOMER
HOT
LINE:
1-800-999-3756
Mon.
-Fri.,
6
a.m.-6
p.m.
MST
CAUTION
Read
all
precautions
and
Instfoc-
tioiis
in
this
manual
605i
-
1;3Using
thisthisequipmeneSave
this
fut
6m
anual
for
ure
reference.
<<O
S
E40i.
(
Z``
0
OCT
09
1997
/
°P
A
\S
\
3.0
USER'S
MANUAL