Kenmore 33968 Owners Manual - Page 22
lineorawater
 |
View all Kenmore 33968 manuals
Add to My Manuals
Save this manual to your list of manuals |
Page 22 highlights
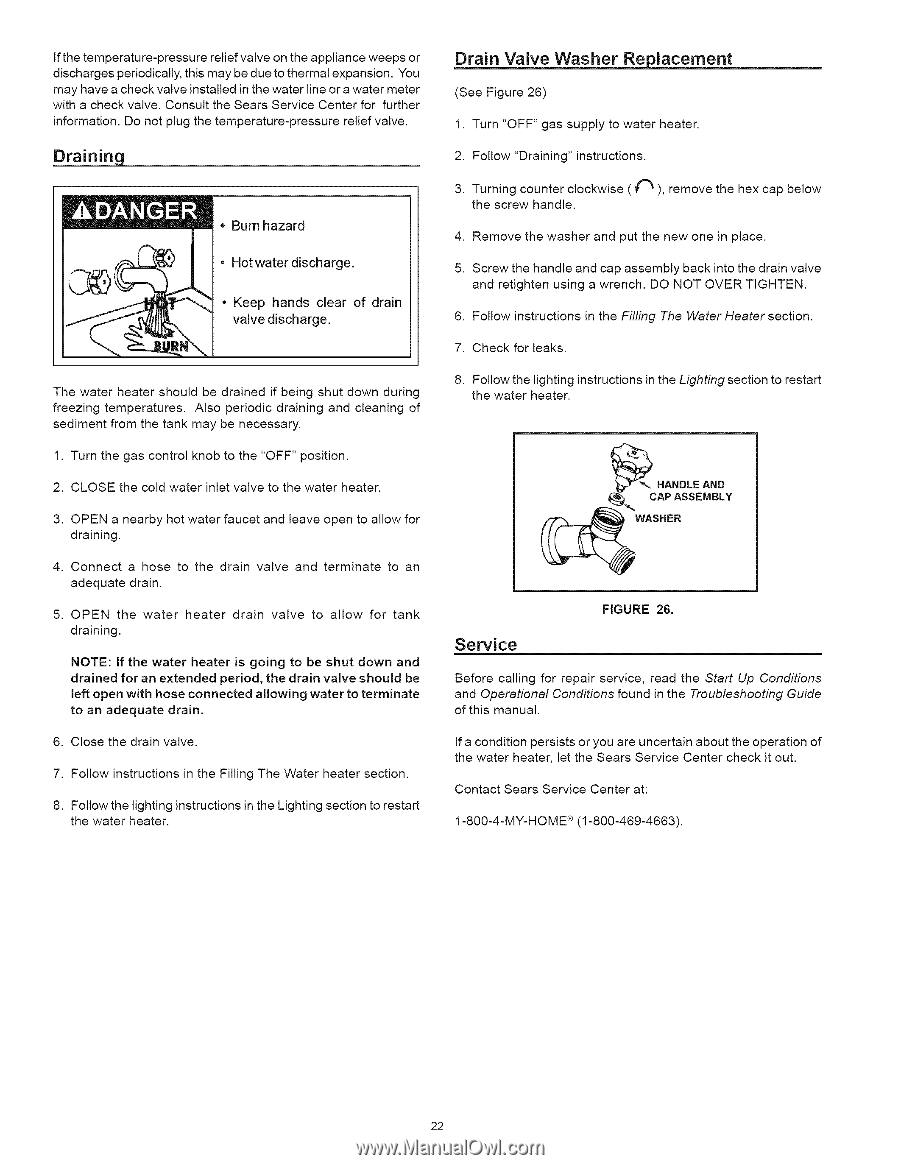
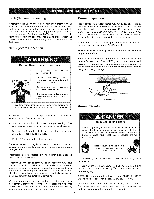
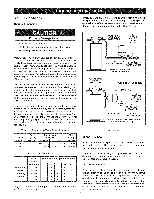
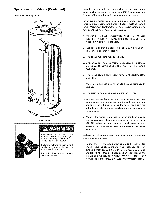
Ifthetemperature-presresluiervefalveontheappliancweeeposr dischargpeesriodicatlhlyis,maybeduetothermeaxl pansioYno. u mayhaveachecvkalveinstalleindthewatelrineorawatemr eter withachecvkalveC. onsutlht eSearSs ervicCeentefor rfurther informatioDno.notplugthetemperature-presresluiervef alve. Drain Valve Washer Replacement (See Figure 26) 1. Turn "OFF" gas supply to water heater. , Burn hazard • Hotwater discharge. • Keep hands clear of drain valve discharge. 2. Follow "Draining" instructions. 3. Turning counter clockwise ((_), the screw handle. remove the hex cap below 4. Remove the washer and put the new one in place. 5. Screw the handle and cap assembly back into the drain valve and retighten using a wrench. DO NOT OVER TIGHTEN. 6. Follow instructions in the Filling The Water Heater section. 7. Check for leaks. The water heater should be drained if being shut down during freezing temperatures. Also periodic draining and cleaning of sediment from the tank may be necessary. 1. Turn the gas control knob to the "OFF" position. 2. CLOSE the cold water inlet valve to the water heater. 3. OPEN a nearby hot water faucet and leave open to allow for draining. 4. Connect a hose to the drain valve and terminate adequate drain. to an 5. OPEN the water draining. heater drain valve to allow for tank NOTE: If the water heater is going to be shut down and drained for an extended period, the drain valve should be left open with hose connected allowing water to terminate to an adequate drain. 6. Close the drain valve. 7. Follow instructions in the Filling The Water heater section. 8. Follow the lighting instructions in the Lighting section to restart the water heater. 8. Follow the lighting instructions in the Lighting section to restart the water heater. _HANDLE AND CAP ASSEMBLY WASHER Service FIGURE 26, Before calling for repair service, read the Start Up Conditions and Operational Conditions found in the Troubleshooting Guide of this manual. If a condition persists or you are uncertain about the operation of the water heater, let the Sears Service Center check it out. Contact Sears Service Center at: 1-800-4-MY-HOME _ (1-800-469-4663). 22
-
 1
1 -
2
-
3
-
4
-
5
-
6
-
7
-
8
-
9
-
10
-
11
-
12
-
13
-
14
-
15
-
16
-
 17
17 -
 18
18 -
 19
19 -
 20
20 -
 21
21 -
 22
22 -
 23
23 -
 24
24 -
 25
25 -
 26
26 -
 27
27 -
28
-
29
-
30
 |
 |