Kenmore 5850 Use and Care Guide - Page 16
Door Features, Refrigerator Care
 |
View all Kenmore 5850 manuals
Add to My Manuals
Save this manual to your list of manuals |
Page 16 highlights
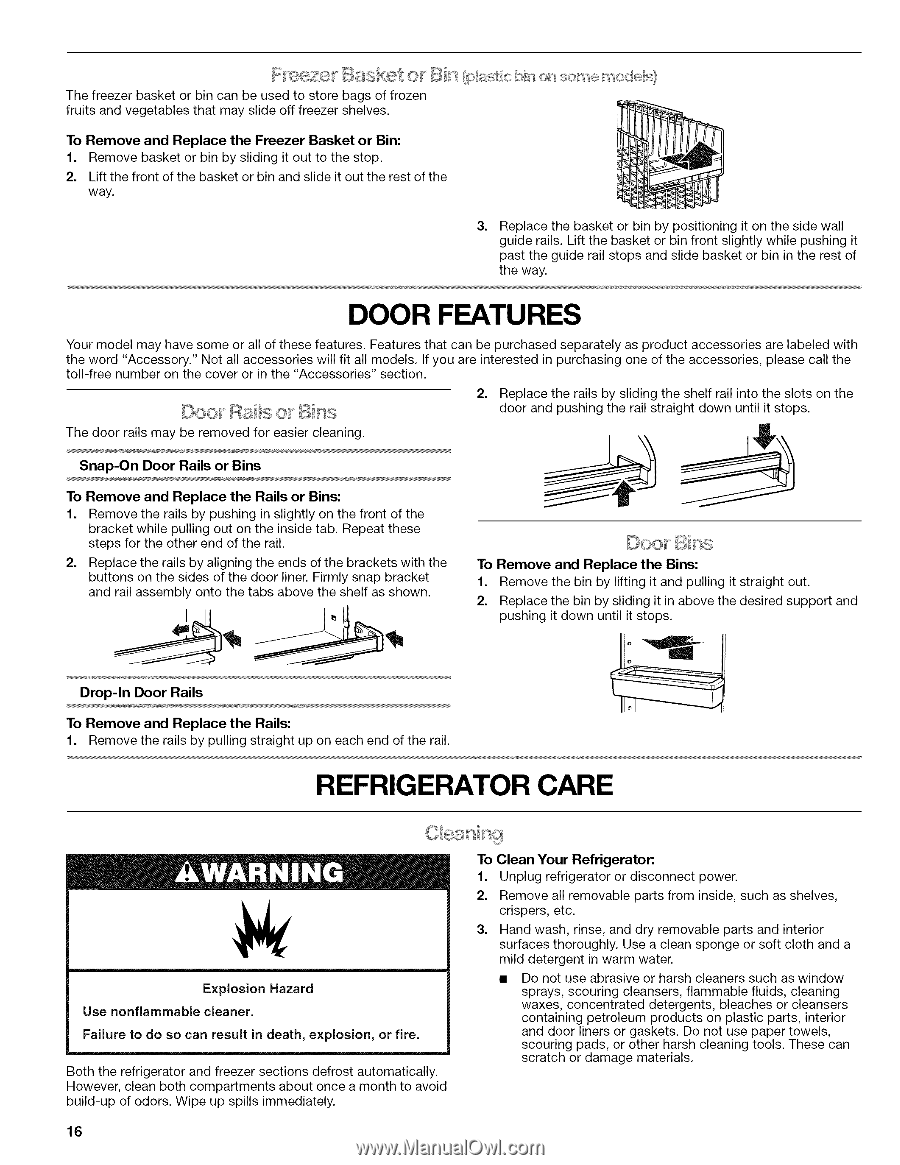
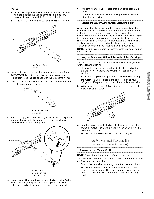
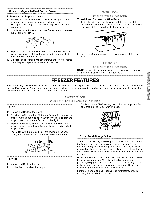
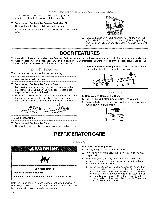
The freezer basket or bin can be used to store bags of frozen fruits and vegetables that may slide off freezer shelves. To Remove and Replace the Freezer Basket or Bin: 1. Remove basket or bin by sliding it out to the stop. 2. Lift the front of the basket or bin and slide it out the rest of the way. 3. Replace the basket or bin by positioning it on the side wall guide rails. Lift the basket or bin front slightly while pushing it past the guide rail stops and slide basket or bin in the rest of the way. DOOR FEATURES Your model may have some or all of these features. Features that can be purchased separately as product accessories are labeled with the word "Accessory." Not all accessories will fit all models, If you are interested in purchasing one of the accessories, please call the toll-free number on the cover or in the "Accessories" section. 2. Replace the rails by sliding the shelf rail into the slots on the door and pushing the rail straight down until it stops. The door rails may be removed for easier cleaning. Snap-On Door Rails or Bins To Remove and Replace the Rails or Bins: 1. Remove the rails by pushing in slightly on the front of the bracket while pulling out on the inside tab. Repeat these steps for the other end of the rail. 2. Replace the rails by aligning the ends of the brackets with the buttons on the sides of the door liner. Firmly snap bracket and rail assembly onto the tabs above the shelf as shown. ©oo " Bss To Remove and Replace the Bins: 1. Remove the bin by lifting it and pulling it straight out. 2. Replace the bin by sliding it in above the desired support and pushing it down until it stops, vssssss_ Drop-In Door Rails To Remove and Replace the Rails: 1. Remove the rails by pulling straight up on each end of the rail. REFRIGERATOR CARE Explosion Hazard Use nonflammable cleaner. Failure to do so can result in death, explosion, or fire. Both the refrigerator and freezer sections defrost automatically. However, clean both compartments about once a month to avoid build-up of odors. Wipe up spills immediately. 16 To Clean Your Refrigerator: 1. Unplug refrigerator or disconnect power. 2. Remove all removable parts from inside, such as shelves, crispers, etc. 3. Hand wash, rinse, and dry removable parts and interior surfaces thoroughly. Use a clean sponge or soft cloth and a mild detergent in warm water. • Do not use abrasive or harsh cleaners such as window sprays, scouring cleansers, flammable fluids, cleaning waxes, concentrated detergents, bleaches or cleansers containing petroleum products on plastic parts, interior and door liners or gaskets. Do not use paper towels, scouring pads, or other harsh cleaning tools. These can scratch or damage materials.
-
 1
1 -
2
-
3
-
4
-
5
-
6
-
7
-
8
-
9
-
10
-
 11
11 -
 12
12 -
 13
13 -
 14
14 -
 15
15 -
 16
16 -
 17
17 -
 18
18 -
 19
19 -
 20
20 -
 21
21 -
22
-
23
-
24
-
25
-
26
-
27
-
28
-
29
-
30
-
31
-
32
-
33
-
34
-
35
-
36
-
37
-
38
-
39
-
40
-
41
-
42
-
43
-
44
-
45
-
46
-
47
-
48
-
49
-
50
-
51
-
52
-
53
-
54
-
55
-
56
-
57
-
58
-
59
-
60
-
61
-
62
-
63
-
64
-
65
-
66
-
67
-
68
-
69
-
70
-
71
-
72
 |
 |