Kyocera ECOSYS M2535dn ECOSYS Model Printer Driver User Guide Rev 16.18.2013.1 - Page 25
Setting the Memory, RAM Disk, Setting RAM Disk, Administrator Settings
 |
View all Kyocera ECOSYS M2535dn manuals
Add to My Manuals
Save this manual to your list of manuals |
Page 25 highlights
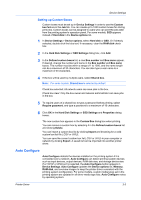
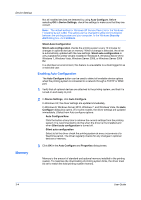
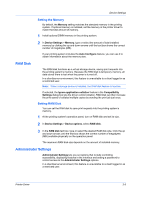
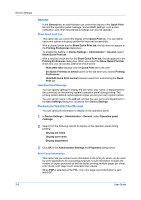
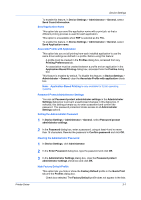
Device Settings Setting the Memory By default, the Memory setting matches the standard memory in the printing system. If optional memory is installed, set the memory in the printer driver to match the total amount of memory. 1 Install optional DIMM memory in the printing system. 2 In Device Settings > Memory, type or select the amount of total installed memory by clicking the up and down arrows until the text box shows the correct number of megabytes (MB). If your printing system includes the Auto Configure feature, you can use it to obtain information about the memory size. RAM Disk The RAM disk functions as a virtual storage device, saving print requests into the printing system's memory. Because the RAM disk is temporary memory, all data stored there is lost when the power is turned off. In a client/server environment, this feature is unavailable to a client logged in as a restricted user. Note: When a storage device is installed, the RAM disk feature is inactive. If selected, the Ignore application collation feature in the Compatibility Settings dialog box lets the driver control collation. RAM disk can then increase the print speed of collated multiple copies by sending the print job just once. Setting RAM Disk You can set the RAM disk to save print requests into the printing system's memory. 1 At the printing system's operation panel, turn on RAM disk and set its size. 2 In Device Settings > Device options, select RAM disk. 3 In the RAM disk text box, type or select the desired RAM disk size. Click the up and down arrows until the text box shows the correct number of megabytes (MB) available physically on the operation panel. The maximum RAM disk size depends on the amount of installed memory. Administrator Settings Administrator Settings lets you set options that include controlling accessibility, displaying features in the interface and setting a password to control access to the Administrator Settings options. In a client/server environment, this feature is unavailable to a client logged in as a restricted user. Printer Driver 3-5
-
 1
1 -
2
-
3
-
4
-
5
-
6
-
7
-
8
-
9
-
10
-
11
-
12
-
13
-
14
-
15
-
16
-
17
-
18
-
19
-
 20
20 -
 21
21 -
 22
22 -
 23
23 -
 24
24 -
 25
25 -
 26
26 -
 27
27 -
 28
28 -
 29
29 -
 30
30 -
31
-
32
-
33
-
34
-
35
-
36
-
37
-
38
-
39
-
40
-
41
-
42
-
43
-
44
-
45
-
46
-
47
-
48
-
49
-
50
-
51
-
52
-
53
-
54
-
55
-
56
-
57
-
58
-
59
-
60
-
61
-
62
-
63
-
64
-
65
-
66
-
67
-
68
-
69
-
70
-
71
-
72
-
73
-
74
-
75
-
76
-
77
-
78
-
79
-
80
-
81
-
82
-
83
-
84
-
85
-
86
-
87
-
88
-
89
-
90
-
91
-
92
-
93
-
94
-
95
-
96
-
97
-
98
-
99
-
100
-
101
-
102
-
103
-
104
-
105
-
106
-
107
-
108
-
109
-
110
-
111
-
112
-
113
-
114
-
115
-
116
-
117
-
118
-
119
-
120
-
121
 |
 |