Lexmark P350 Setup Solutions - Page 7
Using the Print Photos menu, Using the Transfer menu, Using the Slideshow menu, Print Photos, Transfer - paper
 |
View all Lexmark P350 manuals
Add to My Manuals
Save this manual to your list of manuals |
Page 7 highlights
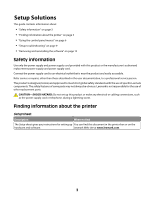
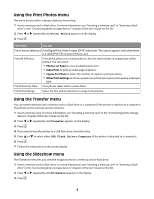
Using the Print Photos menu This menu lets you select a group of photos for printing. 1 Insert a memory card or flash drive. For more information, see "Inserting a memory card" or "Inserting a flash drive" in the "Connecting photo storage devices" chapter of the User's Guide on the CD. 2 Press or repeatedly until Print Photos appears on the display. 3 Press . From here You can Print Camera Selections Print Digital Print Order Format (DPOF) selections. This option appears only when there is a valid DPOF file on your memory card. Print All N Photos Print all the photos on a memory device. N is the total number of images that will be printed. You can select: • Photo/s on Paper to view available paper sizes. • Index Print to print an index page of photos. • Copies Per Photo to select the number of copies to print per photo. • Other Print Settings to choose a paper size, photo size, layout, print quality, and paper type. Print Photos by Date Print photos taken within certain dates. Print Photo Range Select the first and last photos in a range to be printed. Using the Transfer menu You can transfer photos from a memory card to a flash drive or a computer (if the printer is attached to a computer). The photos on the memory card are retained. 1 Insert a memory card. For more information, see "Inserting a memory card" in the "Connecting photo storage devices" chapter of the User's Guide on the CD. 2 Press or repeatedly until Transfer appears on the display. 3 Press . 4 If you want to transfer photos to a USB flash drive, insert the drive. 5 Press or to select either USB Flash Drive or Computer (if the printer is attached to a computer). 6 Press . 7 Follow the instructions on the printer display. Using the Slideshow menu The Slideshow menu lets you view the images stored on a memory card or flash drive. 1 Insert a memory card or flash drive. For more information, see "Inserting a memory card" or "Inserting a flash drive" in the "Connecting photo storage devices" chapter of the User's Guide on the CD. 2 Press or repeatedly until Slideshow appears on the display. 3 Press . 7
-
 1
1 -
 2
2 -
 3
3 -
 4
4 -
 5
5 -
 6
6 -
 7
7 -
 8
8 -
 9
9 -
 10
10 -
 11
11 -
 12
12
 |
 |