Lexmark Z43 User's Guide for Windows 95 and Windows 98 - Page 22
Printing posters, Click the Job Finishing
 |
UPC - 734646145008
View all Lexmark Z43 manuals
Add to My Manuals
Save this manual to your list of manuals |
Page 22 highlights
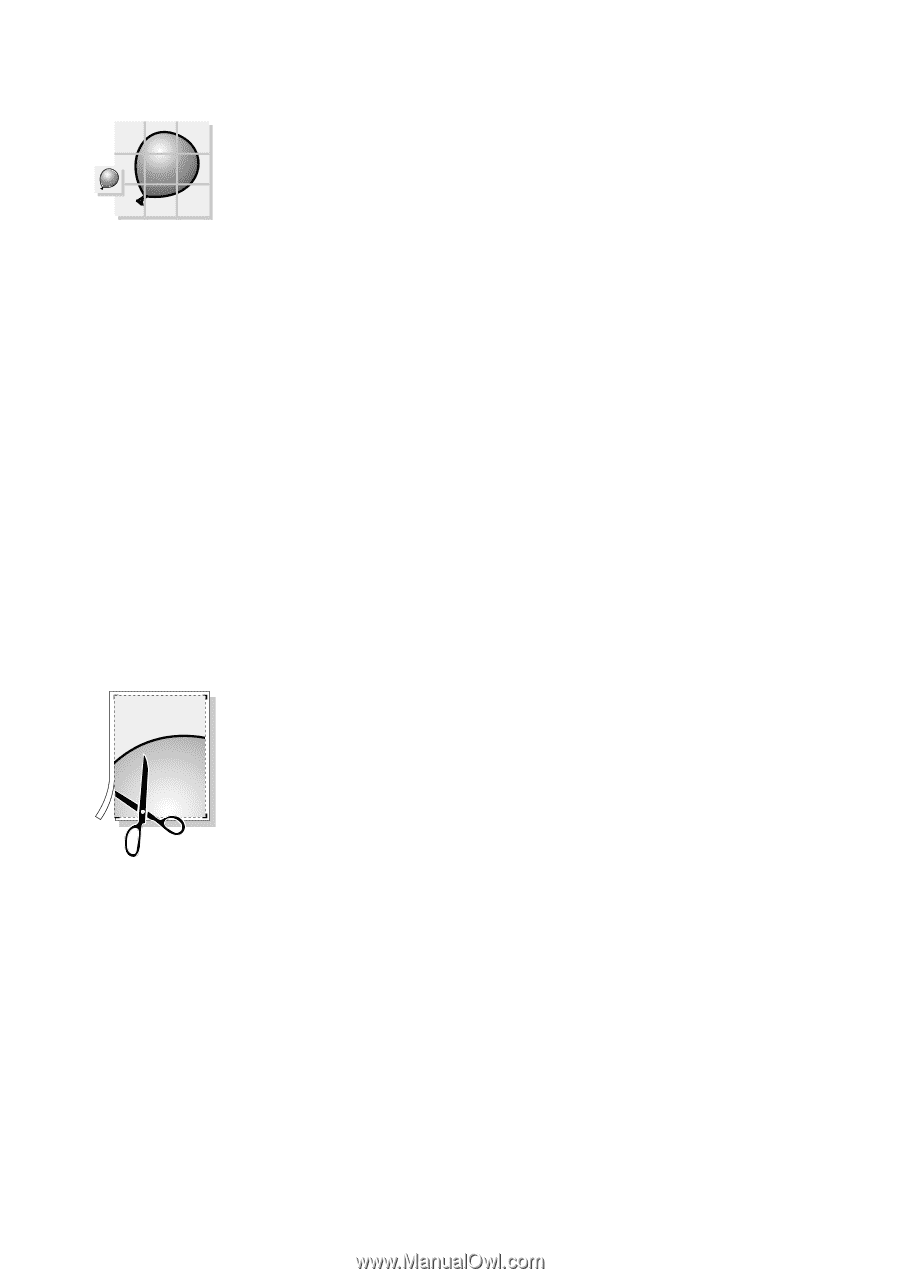
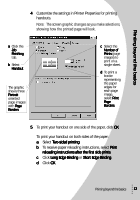
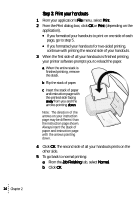
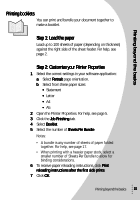
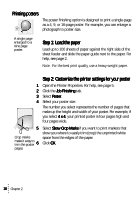
Printing posters The poster finishing option is designed to print a single-page as a 4, 9, or 16-page poster. For example, you can enlarge a photograph to poster size. A single page enlarged to a nine page poster. Step 1: Load the paper Load up to 100 sheets of paper against the right side of the sheet feeder and slide the paper guide next to the paper. For help, see page 2. Note: For the best print quality, use a heavy-weight paper. 1 2 3 4 5 Crop marks make it easy to trim the poster 6 pages. Step 2: Customize the printer settings for your poster Open the Printer Properties. For help, see page 5. Click the Job Finishing tab. Select Poster. Select your poster size. The number you select represents the number of pages that make up the height and width of your poster. For example, if you select 4 x 4, your printed poster is four pages high and four pages wide. Select Show Crop Marks if you want to print markers that show you where to easily trim (crop) the unprinted white space from the edges of the paper. Click OK. 18 Chapter 2
-
 1
1 -
2
-
3
-
4
-
5
-
6
-
7
-
8
-
9
-
10
-
11
-
12
-
13
-
14
-
15
-
16
-
 17
17 -
 18
18 -
 19
19 -
 20
20 -
 21
21 -
 22
22 -
 23
23 -
 24
24 -
 25
25 -
 26
26 -
 27
27 -
28
-
29
-
30
-
31
-
32
-
33
-
34
-
35
-
36
-
37
-
38
-
39
-
40
-
41
-
42
-
43
-
44
-
45
-
46
-
47
-
48
 |
 |