LiftMaster GH GH LOGIC VERSION 2 Manual - Page 16
Standard Programming Features
 |
View all LiftMaster GH manuals
Add to My Manuals
Save this manual to your list of manuals |
Page 16 highlights
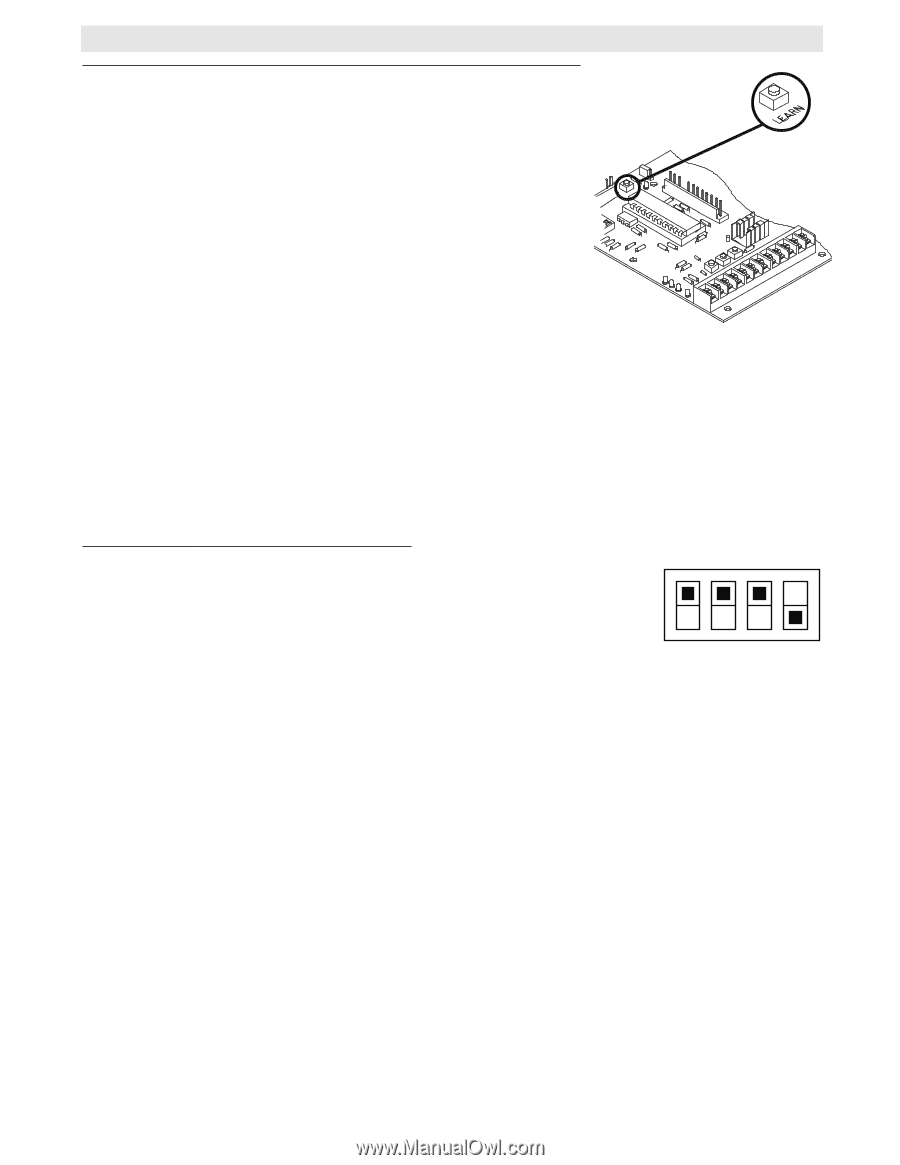
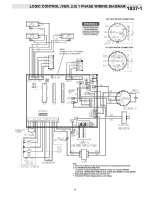
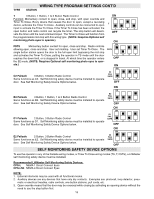
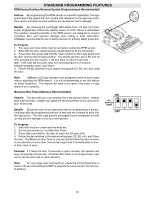
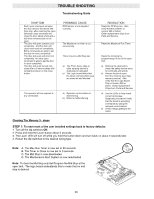
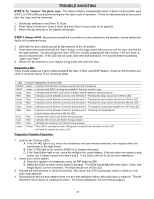
STANDARD PROGRAMMING FEATURES RPM Sensor/Auxiliary Reversal System (Programming is Recommended) Feature: By programming the RPM sensor to a specific application, the logic board learns the speed the door travels with reference to the spinning motor. This sensor activates the start winding and recognizes clutch slippage. Benefit: By removing the centrifugal start switch from 1/3 and 1/2 horsepower single-phase motors the leading cause of motor failure is eliminated. The auxiliary reversing benefits of the RPM sensor are designed to prevent excessive door and operator damage upon hitting a solid obstruction. LiftMaster recommends the use of safety devices for primary safety protection. To Program: 1. The open and close limits must be set before setting the RPM sensor. 2. Start with the door closed and turn all dip-switches to the off position. 3. Press open then press and hold the "learn" button on the Logic board until the door reaches the full open position. You should see the Learn LED turn off after pressing the learn button; it will turn back on about 5 seconds later. If the LED did not cycle, start over and wait about ⁄ to fi second between pressing "open" and "learn". 4. Return the dip switches to your regular wiring type (C2, B2, etc.) and close the door. Note: LiftMaster 2.0 Logic operators are designed to work in most cases without adjusting the RPM sensor. It is still recommended to set this feature on every installation. This feature will need to be reset if the motor or logic board is ever replaced. Maximum Run Timer (Setting is Recommended) Feature: The door will run in one direction for a set amount of time. Default time is 90 seconds. Installer can adjust the 90 second timer to the open cycle plus 10 seconds. ON ON SET MAX RUN TIMER Benefit: Should the door hit an obstruction that is not detected by a sensor, it will stop after the programmed amount of time and not continue to drive into the obstruction. This may help prevent prolonged human entrapment as well as help prevent damage to the door and operator . 1 2 3 4 OFF To Program: 1. Start with the door closed and the limits set. 2. Set the dip switches to "set Max Run Timer". 3. Press Open and wait for the door to reach the full open limit. 4. Return the dip switches to the desired wiring type (C2, B2, etc.) and Close the door. The Maximum Run Timer is now set and will allow the door to move in one direction no more than 10 seconds longer than it normally takes to travel from close to open. Example: If it takes the door 13 seconds to open normally, the operator will stop running after 23 seconds. If the Max Run Timer is not programmed, it will run for 90 seconds total in either direction. Note: For very large, slow moving doors, where the normal travel time is close to 90 seconds setting the MRT is essential to move the door the full travel distance. 16
-
 1
1 -
2
-
3
-
4
-
5
-
6
-
7
-
8
-
9
-
10
-
 11
11 -
 12
12 -
 13
13 -
 14
14 -
 15
15 -
 16
16 -
 17
17 -
 18
18 -
 19
19 -
 20
20 -
 21
21 -
22
-
23
-
24
-
25
-
26
-
27
-
28
 |
 |