LiftMaster IPACIPDCC IPACIPDCC Door Controller Installation Manual - Page 2
Introduction
 |
View all LiftMaster IPACIPDCC manuals
Add to My Manuals
Save this manual to your list of manuals |
Page 2 highlights
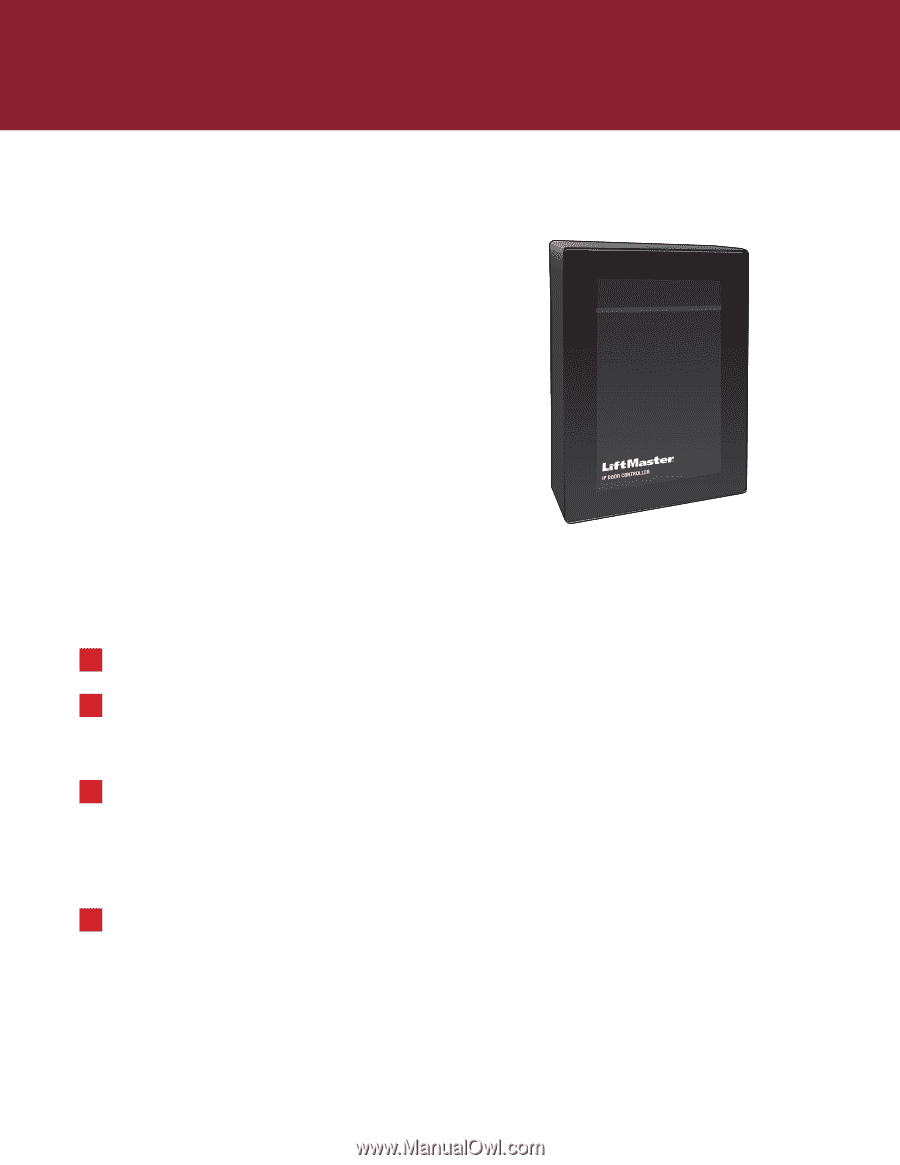
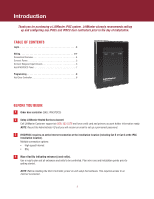
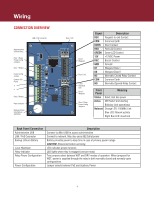
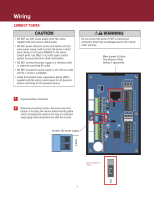
Introduction Thank you for purchasing a LiftMaster IPAC system. LiftMaster strongly recommends setting up and configuring any IPACs and IPDCC door controllers prior to the day of installation. TABLE OF CONTENTS Login 3 Wiring 4-7 Connection Overview 4 Connect Power 5 Connect Weigand Input Devices 6 Add IPACIPDCC Panel 7 Programming 8 Add Door Controller 8 STATUS ACTIVE NETWORK (OVERVIEW IMAGE HERE) BEFORE YOU BEGIN: 1 Order door controller (SKU: IPACIPDCC) 2 Setup LiftMaster Hosted Services Account Call LiftMaster Customer support at (800) 323-2276 and have credit card and primary account holder information ready. NOTE: Record the Administrator ID and you will receive an email to set up a permanent password. 3 IPACIPDCC requires an active Internet connection at the installation location (including Cat-5 or Cat-6 at the IPAC installation location). Multiple connection options: • High speed Internet • DSL 4 Map of facility indicating entrance(s) and exit(s). Use a map to plan out all entrances and exits to be controlled. Plan wire runs and installation points prior to getting started. NOTE: Before installing the Door Controller, power on and setup the hardware. This requires access to an Internet connection. 2
-
 1
1 -
 2
2 -
 3
3 -
 4
4 -
 5
5 -
 6
6 -
 7
7 -
 8
8
 |
 |