Linksys WRE54G-RM User Guide - Page 12
Getting to Know the Wireless-G Range Expander - default password
 |
UPC - 745883588213
View all Linksys WRE54G-RM manuals
Add to My Manuals
Save this manual to your list of manuals |
Page 12 highlights
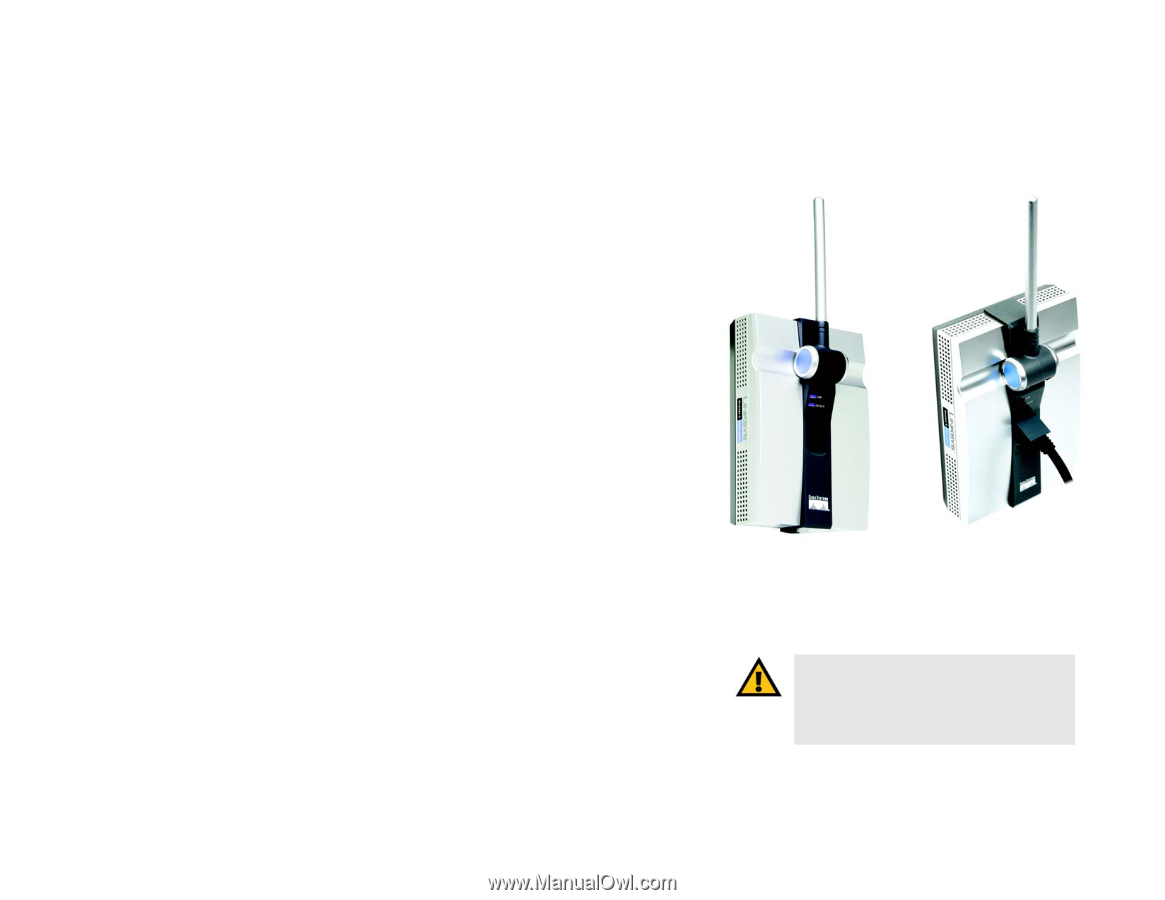
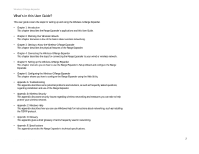
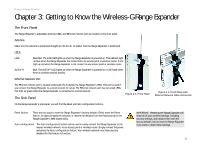
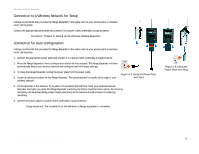
Wireless-G Range Expander Chapter 3: Getting to Know the Wireless-G Range Expander The Front Panel The Range Expander's adjustable antenna, LEDs, and Ethernet network port are located on the front panel. Antenna Make sure the antenna is positioned straight up into the air, no matter how the Range Expander is positioned. LEDs LINK Blue/Red. The LINK LED lights up when the Range Expander is powered on. This LED will light up blue when the Range Expander has connected to an access point or wireless router. It will light up red when the Range Expander is not connect to any access point or wireless router. ACTIVITY Blue. The ACTIVITY LED lights up when the Range Expander is powered on. It will flash when there is wireless network activity. Ethernet Network Port The Ethernet network port is located underneath the lid below the Range Expander's LEDs. This port is used if you connect the Range Expander to a wired network for setup. The Ethernet network port has two small LEDs that light up green when the Range Expander is connected to a wired network. The Side Panel Figure 3-1: Front Panel On the Range Expander's side panel, you will find the Reset and Auto configuration buttons. Figure 3-1: Front Panel with Ethernet Network Cable Connected Reset Button There are two ways to reset the Range Expander's factory defaults. Either press the Reset Button, for approximately ten seconds, or restore the defaults from the Password tab in the Range Expander's Web-based Utility. Auto configuration The Auto configuration button can be used to easily connect the Range Expander to the nearest wireless network, via an access point or wireless router. Simply connect the power and press the Auto configuration button. Your wireless network must have security disabled for this feature to function. Chapter 3: Getting to Know the Wireless-G Range Expander The Front Panel IMPORTANT: Resetting the Range Expander will erase all of your wireless settings, including security settings, and replace them with the factory defaults. Do not reset the Range Expander if you want to retain these settings. 6
-
 1
1 -
2
-
3
-
4
-
5
-
6
-
 7
7 -
 8
8 -
 9
9 -
 10
10 -
 11
11 -
 12
12 -
 13
13 -
 14
14 -
 15
15 -
 16
16 -
 17
17 -
18
-
19
-
20
-
21
-
22
-
23
-
24
-
25
-
26
-
27
-
28
-
29
-
30
-
31
-
32
-
33
-
34
-
35
-
36
-
37
-
38
-
39
-
40
-
41
-
42
-
43
-
44
-
45
-
46
 |
 |