Marantz RC2000MKII User Guide - Page 18
Audible Indicator, Other Functions
 |
View all Marantz RC2000MKII manuals
Add to My Manuals
Save this manual to your list of manuals |
Page 18 highlights
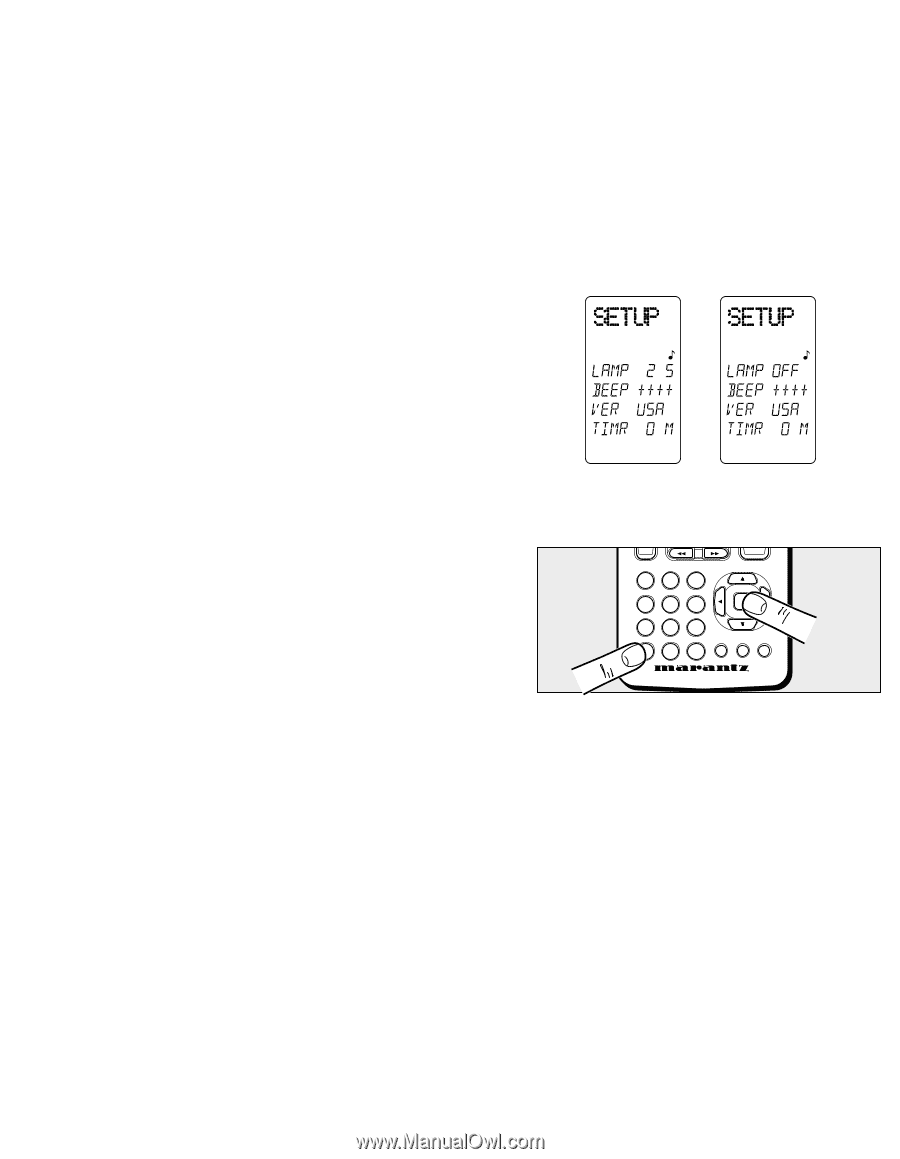
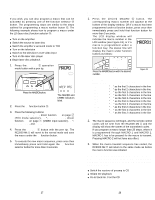
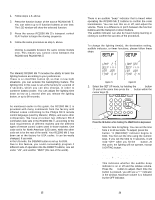
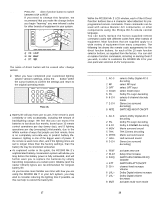
Cloning the contents of a function: 1. Follow steps 1-3, above. 2. Press the function button of the source RC2000 Mk w. You can select up to 8 function buttons at one time. The LCD window will show the selected function. 3. Press the source RC2000 Mk w's transport control PLAY button to begin the cloning sequence. 4. Follow the same procedure as step 5, above. Note: Cloning is available between the same remote models only. This means you cannot clone between the RC2000 and RC2000 Mk w OTHER FUNCTIONS The Marantz RC2000 Mk w includes the ability to tailor the lighting features according to your preferences. There is a LIGHTING button @2, so that in low light situations, you can activate the backlighting feature. The lighting time in this case is set at the factory for a period of 2 seconds, which you can also change, in order to conserve battery power. You can adjust the lighting time down as low as 1 second after you release the lighting button, or up to 99 seconds. Shipped destination: As mentioned earlier in this guide, the RC2000 Mk w is provided with many commands from the factory with infrared codes conforming to the Philips RC-5 remote control language (used by Marantz, Philips, and some other companies). We have provided two different RC-5 command code sets in the RC2000 Mk w, according to the local requirements of different markets and the different types of remote control codes used in those markets. One code set is for North American (US) users, while the other code set is for the rest of the world. Your RC2000 Mk w has been set at the factory for USA codes. It can be easily changed, if you wish. In the US mode, the DSS/MD button is set up for DSS. Due to this feature, you could conceivably program 2 different sets of operation into the DIRECT buttons, one set under "US", and another "REST" (the rest of the world). 35 AUDIBLE INDICATOR There is an audible "beep" indicator that is heard when operating the RC2000 Mk w buttons to confirm the code transmission. You can turn this on or off, and adjust the volume. There is a difference in pitch between the function buttons and the transport or direct buttons. This audible indicator can also be heard during learning or cloning to confirm the success of the procedure. Set-Up: To change the lighting time(s), the destination setting, audible indicator, or timer functions, please follow these steps: Figure 21 Figure 22 1. Select the SET UP mode, by holding the MEMO button !3 and at the same time press the OK button within the cursor keys !6. 123 456 OK 789 OSD GUIDE MUTE M0C Press the OK button while holding the MEMO button depressed. LAMP: Sets the time for lighting. You can set the time from 1 to 60 seconds. To adjust, press the D5 button. "2 (SECOND)" indicator begins to blink. You then set the time using the numeric keys. If you set the time to 0 seconds, it will read "OFF" when you hit the OK button. At that point, the lighting will not operate, except LIGHTING button. You can also adjust the contrast of the LCD screen at this point by pressing the Volume ѿ or Ҁ buttons. BEEP: This indicates whether the audible beep indicator is on or off and the relative volume. Press the D6 button to adjust. Each time the button is pressed, you will see a "+" indicator in the window. Maximum volume is 4, followed by the OFF indicator. 36
-
 1
1 -
2
-
3
-
4
-
5
-
6
-
7
-
8
-
9
-
10
-
11
-
12
-
 13
13 -
 14
14 -
 15
15 -
 16
16 -
 17
17 -
 18
18 -
 19
19 -
 20
20 -
 21
21 -
 22
22 -
 23
23 -
24
 |
 |