Marantz SR7200 User Guide - Page 19
Basic, Operation
 |
View all Marantz SR7200 manuals
Add to My Manuals
Save this manual to your list of manuals |
Page 19 highlights
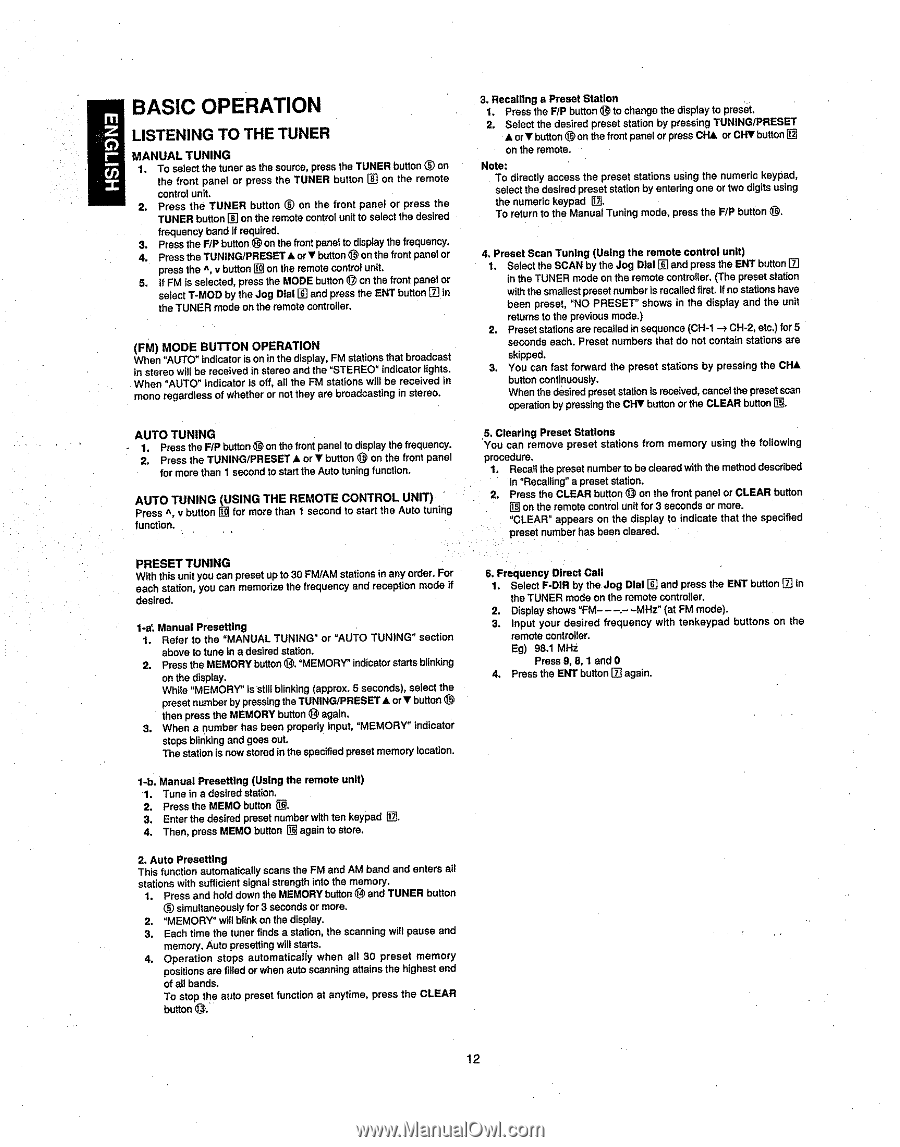
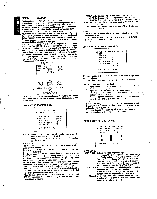
m z BASIC OPERATION LISTENING TO THE TUNER C- ) MANUAL TUNING U) 1. To select the tuner as the source, press the TUNER button C) on the front panel or press the TUNER button 1:3 on the remote control unit. 2. Press the TUNER button ® on the front panel or press the TUNER button El on the remote control unit to select the desired frequency band if required. 3. Press the F/P button 0 on the front panel to display the frequency. 4. Press the TUNING/PRESET ♦ or • button 0 on the front panel or press the A, v button 0 on the remote control unit. 5. If FM is selected, press the MODE button 0 on the front panel or select T-MOD by the Jog Dial El and press the ENT button in the TUNER mode on the remote controller. (FM) MODE BUTTON OPERATION When "AUTO" indicator is on in the display, FM stations that broadcast in stereo will be received In stereo and the "STEREO" indicator lights. When "AUTO" indicator is off, all the FM stations will be received in mono regardless of whether or not they are broadcasting in stereo. AUTO TUNING - 1. Press the F/P button 0 on the front panel to display the frequency. 2. Press the TUNING/PRESET A or ♦ button 0 on the front panel for more than 1 second to start the Auto tuning function. AUTO TUNING (USING THE REMOTE CONTROL UNIT) Press ^, v button 0 for more than 1 second to start the Auto tuning function. PRESET TUNING With this unit you can preset up to 30 FM/AM stations in any order. For each station, you can memorize the frequency and reception mode If desired. 1-Ef. Manual Presetting 1. Refer to the "MANUAL TUNING" or "AUTO TUNING" section above to tune in a desired station. 2. Press the MEMORY button 9. "MEMORY" indicator starts blinking on the display. While "MEMORY" is still blinking (approx. 5 seconds), select the preset number by pressing the TUNING/PRESET A or ♦ button 0 then press the MEMORY button again. 3. When a number has been properly input, "MEMORY" indicator stops blinking and goes out. The station is now stored in the specified preset memory location. 1-b. Manual Presetting (Using the remote unit) 1. Tune in a desired station. 2. Press the MEMO button at 3. Enter the desired preset number with ten keypad 17, 4. Then, press MEMO button a] again to store. 2. Auto Presetting This function automatically scans the FM and AM band and enters all stations with sufficient signal strength into the memory. 1. Press and hold down the MEMORY button 0 and TUNER button simultaneously for 3 seconds or more. 2. "MEMORY" will blink on the display. 3. Each time the tuner finds a station, the scanning will pause and memory. Auto presetting will starts. 4. Operation stops automatically when all 30 preset memory positions are filled or when auto scanning attains the highest end of all bands. To stop the auto preset function at anytime, press the CLEAR button 6. 3. Recalling a Preset Station 1. Press the F/P button to change the display to preset. 2. Select the desired preset station by pressing TUNING/PRESET ♦ or ♦ button 0 on the front panel or press CI-{A or Cl-f! button 0 on the remote. Note: To directly access the preset stations using the numeric keypad, select the desired preset station by entering one or two digits using the numeric keypad To return to the Manual Tuning mode, press the F/P button 0. 4. Preset Scan Tuning (Using the remote control unit) 1. Select the SCAN by the Jog Dial M and press the ENT button El in the TUNER mode on the remote controller. (The preset station with the smallest preset number is recalled first. If no stations have been preset, "NO PRESET" shows in the display and the unit returns to the previous mode.) 2. Preset stations are recalled in sequence (CH-1 CH-2, etc.) for 5 seconds each. Preset numbers that do not contain stations are skipped. 3. You can fast forward the preset stations by pressing the CHA button continuously. When the desired preset station is received, cancel the preset scan operation by pressing the CHI button or the CLEAR button ig. 5. Clearing Preset Stations You can remove preset stations from memory using the following procedure. 1. Recall the preset number to be cleared with the method described in "Recalling" a preset station. 2. Press the CLEAR button 0 on the front panel or CLEAR button E on the remote control unit for 3 seconds or more. "CLEAR" appears on the display to indicate that the specified preset number has been cleared. 6. Frequency Direct Call 1. Select F-DIR by the Jog Dial ri and press the ENT button ("B in the TUNER mode on the remote controller. 2. Display shows "FM . MHz" (at FM mode). 3. Input your desired frequency with tenkeypad buttons on the remote controller. Eg) 98.1 MHz Press 9, 8, 1 and 0 4. Press the ENT button 0 again. 12
-
 1
1 -
2
-
3
-
4
-
5
-
6
-
7
-
8
-
9
-
10
-
11
-
12
-
13
-
 14
14 -
 15
15 -
 16
16 -
 17
17 -
 18
18 -
 19
19 -
 20
20 -
 21
21 -
 22
22 -
 23
23 -
 24
24 -
25
-
26
-
27
-
28
-
29
-
30
-
31
-
32
-
33
-
34
-
35
-
36
-
37
-
38
-
39
-
40
 |
 |