Olympus DS 330 DS-330 On Line Instructions (English) - Page 66
Using the USB Cable, Using the PC Connection Cable
 |
View all Olympus DS 330 manuals
Add to My Manuals
Save this manual to your list of manuals |
Page 66 highlights
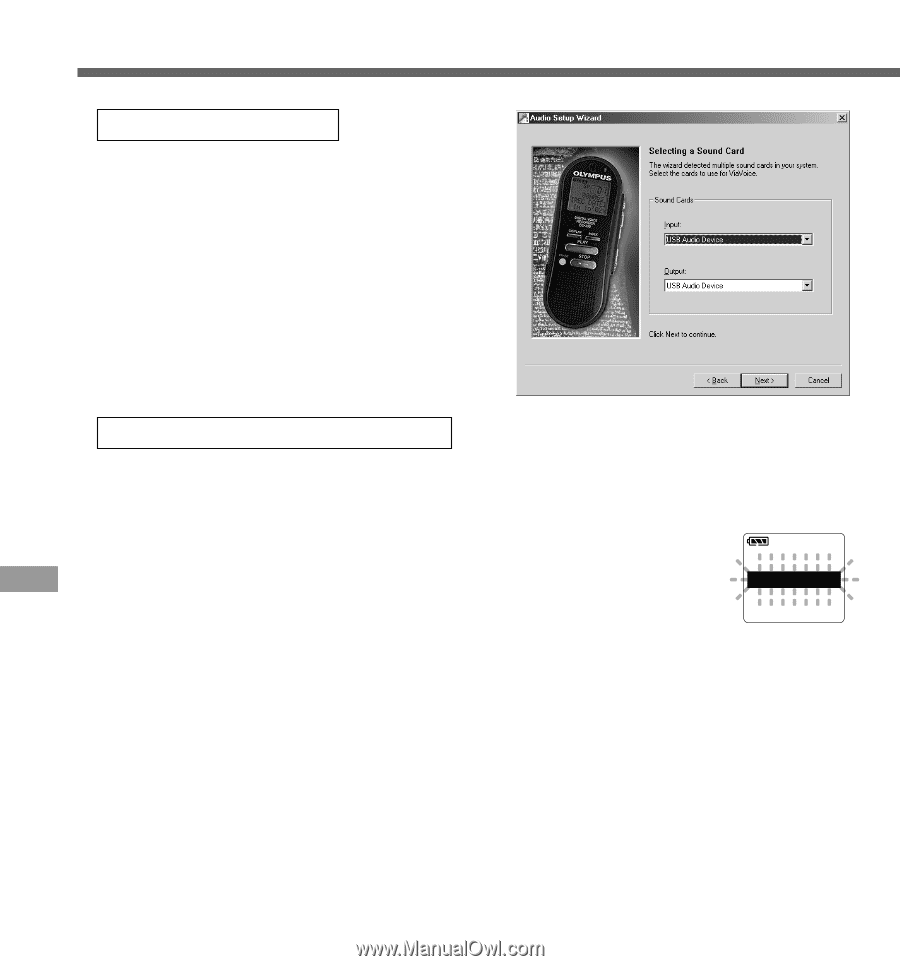
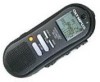
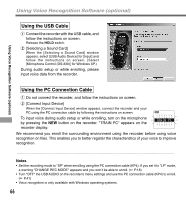
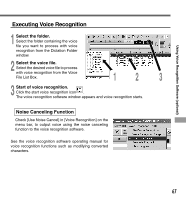
Using Voice Recognition Software (optional) Using Voice Recognition Software (optional) Using the USB Cable 1 Connect the recorder with the USB cable, and follow the instructions on screen. Release the HOLD switch. 2 [Selecting a Sound Card] When the [Selecting a Sound Card] window appears, select [USB Audio Device] for [Input] and follow the instructions on screen. (Select [Microphone Control (DS-330)] for Windows XP.) During audio setup or while enrolling, please input voice data from the recorder. Using the PC Connection Cable 1 Do not connect the recorder, and follow the instructions on screen. 2 [Connect Input Device] When the [Connect Input Device] window appears, connect the recorder and your PC using the PC connection cable by following the instructions on screen. To input voice during audio setup or while enrolling, turn on the microphone by pressing the NEW button on the recorder. "TRAIN PC" appears on the recorder display. TRAIN PC We recommend you enroll the surrounding environment using the recorder before using voice recognition on files. This enables you to better register the characteristics of your voice to improve recognition. Notes • Set the recording mode to "SP" when enrolling using the PC connection cable (KP4). If you set it to "LP" mode, a warning "CHANGE REC MODE" appears and you won't be able to enroll. ( P.18) • Turn "OFF" the USB AUDIO on the recorder's menu settings and use the PC connection cable (KP4) to enroll. ( P.41) • Voice recognition is only available with Windows operating systems. 66
-
 1
1 -
2
-
3
-
4
-
5
-
6
-
7
-
8
-
9
-
10
-
11
-
12
-
13
-
14
-
15
-
16
-
17
-
18
-
19
-
20
-
21
-
22
-
23
-
24
-
25
-
26
-
27
-
28
-
29
-
30
-
31
-
32
-
33
-
34
-
35
-
36
-
37
-
38
-
39
-
40
-
41
-
42
-
43
-
44
-
45
-
46
-
47
-
48
-
49
-
50
-
51
-
52
-
53
-
54
-
55
-
56
-
57
-
58
-
59
-
60
-
 61
61 -
 62
62 -
 63
63 -
 64
64 -
 65
65 -
 66
66 -
 67
67 -
 68
68 -
 69
69 -
 70
70 -
 71
71 -
72
-
73
-
74
-
75
-
76
 |
 |