Onkyo TX-NR545 User Manual - Page 11
Step 2 - firmware update
 |
View all Onkyo TX-NR545 manuals
Add to My Manuals
Save this manual to your list of manuals |
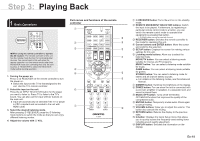
Page 11 highlights
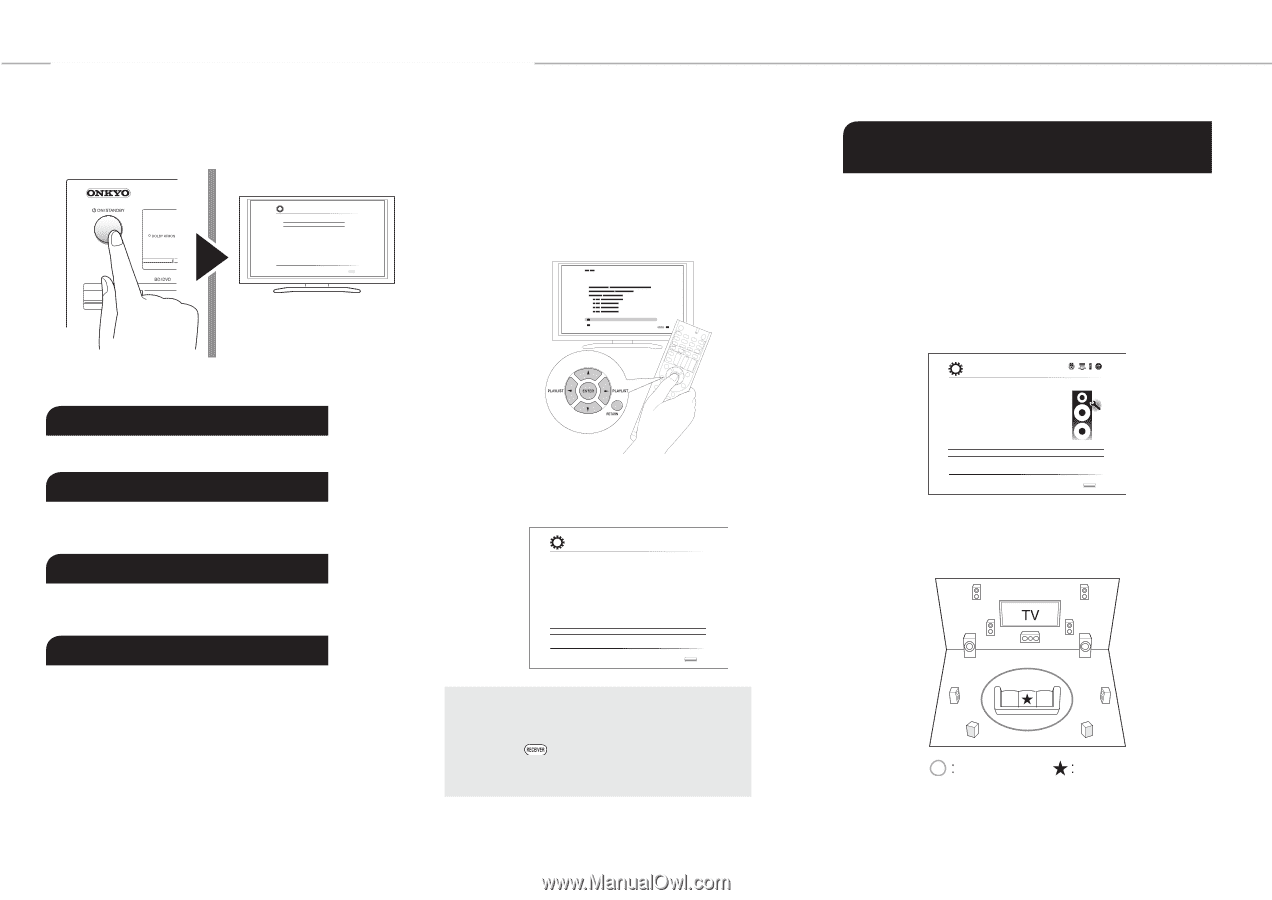
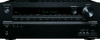
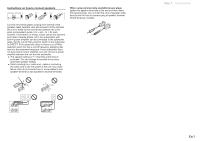
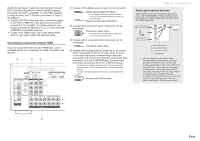
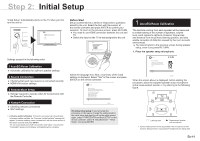
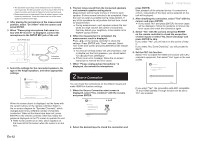
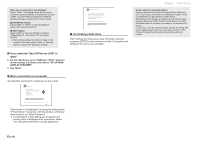
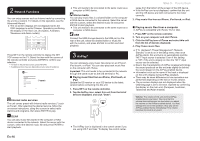
Step 2: Initial Setup "Initial Setup" automatically starts on the TV when you first turn the unit on. Initial Setup Language Select ɹEnglish ɹDeutsch ɹFrançais ɹEspañol ɹItaliano ɹNederlands ɹSvenska SETUP Exit Before Start Setup is performed as a series of responses to questions asked by the unit. Select the item with the cursors of the remote controller and press ENTER to confirm your selection. To return to the previous screen, press RETURN. ●● You need to use HDMI connection between the unit and TV. ●● Switch the input on the TV to that assigned to the unit. 1 AccuEQ Room Calibration The test tone coming from each speaker will be measured to enable setting of the number of speakers, volume level, each speaker's optimum crossover frequencies, and distance from the primary listening position, and also enable correction of distortion caused by the room acoustic environment. ●● You cannot return to the previous screen during speaker setup, even if you press RETURN. 1. Place the speaker setup microphone. Settings proceed in the following order: 1 AccuEQ Room Calibration ●● Automatic calibration for optimum speaker settings 2 Source Connection ●● Checking that each input source is connected correctly ●● HDMI link function settings 3 Remote Mode Setup ●● Settings required to operate other AV Components with the Remote Controller 4 Network Connection ●● Checking network connections ●● Wi-Fi settings ¼¼Firmware update notification: If the unit is connected via LAN and there is firmware update available, the "Firmware Update Available" message will appear. To execute updating, select "Update Now" with the cursor buttons of the remote controller and press ENTER. The unit automatically turns itself into standby mode about 3 minutes after "Completed!" appears on the display, and updating will be complete. Select the language first. Next, a summary of the initial settings is displayed. Select "Yes" in this screen and press ENTER on the remote controller. Initial Setup Welcome to initial setup. Have you connected all the speakers and devices? Before starting, please connect speakers and sources. Now, would you like to start initial setup? 1st Step : AccuEQ Room Calibration 2nd Step : Source Connection 3rd Step : Remote Mode Setup 4th Step : Network Connection Yes No SETUP Exit Re-doing initial setup: If you terminate the procedure on the way or change the setting made in the initial setup and want to call up the setup wizard again, press RECEIVER and then SETUP on the remote controller, select "8. Miscellaneous" - "Initial Setup", and press ENTER. Initial Setup AccuEQ Room Calibration ɹThis step you can automatically calibrate ɹyour room to get correct surround sound. ɹWould you like to calibrate your room now ɹor later? Do it Now Do it Later SETUP Exit When the screen above is displayed, before starting the procedure, place the supplied speaker setup microphone at the measurement position by referring to the following figure. Listening area Measurement position with microphone ¼¼Correct measurement will not be possible if the microphone is held by hand. Measurement is not possible if headphones are being used. En-11
-
 1
1 -
2
-
3
-
4
-
5
-
 6
6 -
 7
7 -
 8
8 -
 9
9 -
 10
10 -
 11
11 -
 12
12 -
 13
13 -
 14
14 -
 15
15 -
 16
16 -
17
-
18
-
19
-
20
-
21
-
22
-
23
-
24
-
25
-
26
-
27
-
28
-
29
-
30
-
31
-
32
 |
 |