Panasonic PTDW5100 User Manual - Page 37
Dvi Edid, Dvi Signal Level, Func1, Osd Position, Osd Memory - pt dw5100u projector
 |
View all Panasonic PTDW5100 manuals
Add to My Manuals
Save this manual to your list of manuals |
Page 37 highlights
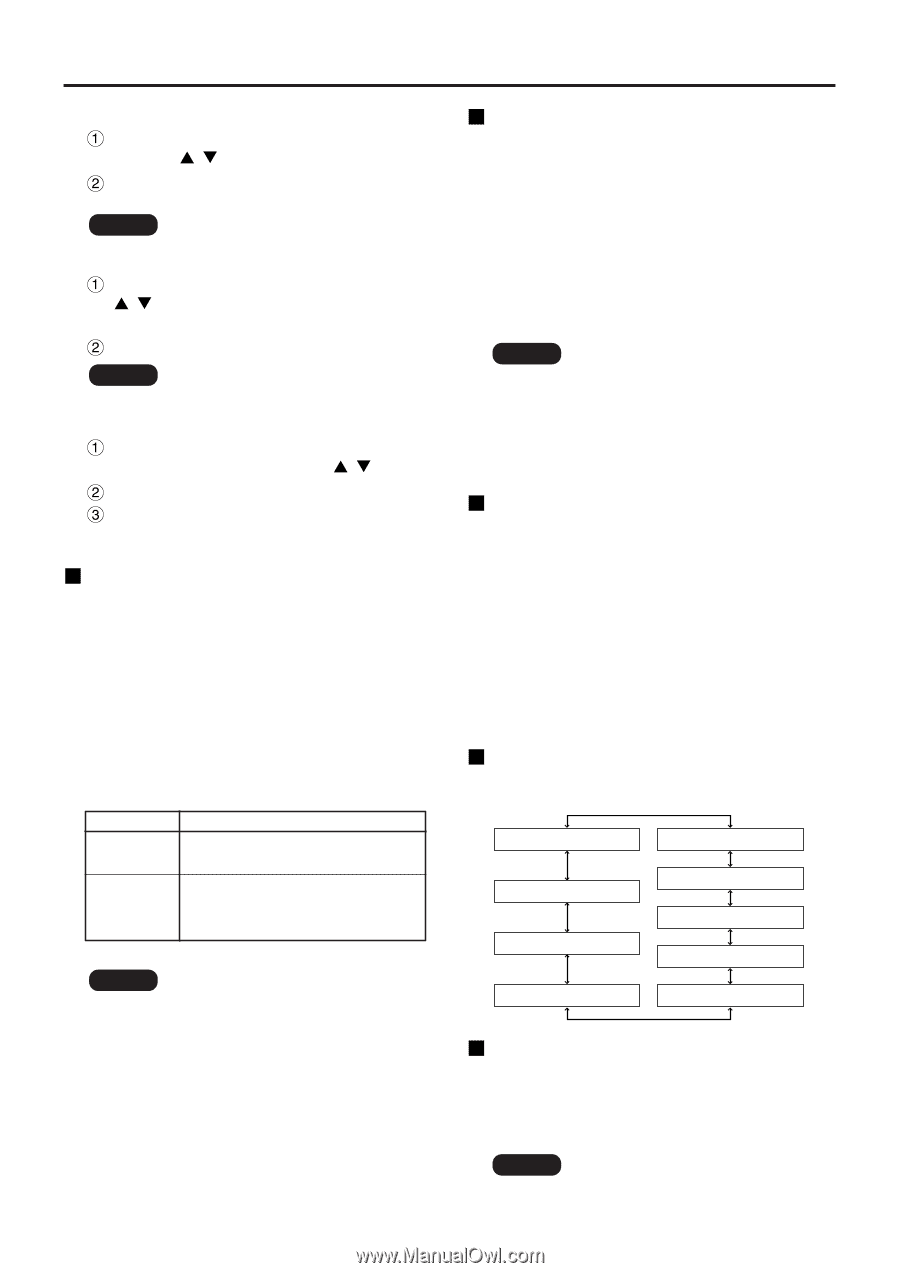
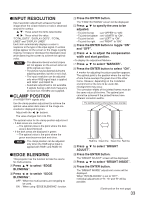
Registering in sub memory Select the sub memory number to be registered using the buttons. Press the ENTER button. Note • Sub memories range from 1 to 8. How to select sub memory Select sub memory number (1 to 8) using the buttons. Select "-" if you do not wish to use the sub memory. Press the ENTER button. Note • You cannot select sub memory of a different signal system. How to erase sub memory Select sub memory number (1 to 8) corresponding to sub memory to be erased using buttons. Press the DEFAULT button. Read the confirmation message and select. DVI EDID When the projector and external equipment are connected by DVI connection but a proper image cannot be obtained, switch this setting. EDID1 Select this mainly when external equipment (DVD player, etc.) that outputs movie video signals is connected to the DVI terminal. EDID2:PC Select this mainly when external equipment (personal computer, etc.) that outputs still image video signals is connected to the DVI terminal. Mode EDID1 EDID2:PC EDID data 480p, 576p, 1080/60i, 1080/50i, 720/60p, 720/50p, 1080/60p, 1080/50p VGA60, SVGA60, XGA50, XGA60, XGA70, XGA75, XGA85, WXGA768/50*, WXGA768/60*, SXGA60 * PT-DW5100U, PT-DW5100UL only Note • The optimum setting differs according to the connected external equipment. Be sure to check the operating instructions for the external equipment, etc. • Depending on the setting, some equipment may not provide images or otherwise operate properly. DVI SIGNAL LEVEL When the projector and external equipment are connected by DVI connection but a proper image cannot be obtained, switch this setting. 0-255:PC Select this mainly when connecting external equipment (personal computer, etc.) using the DVI terminal output. 16-235 Select this mainly when connecting external equipment (DVD player, etc.) using the HDMI terminal output with a conversion cable, etc. Note • The optimum setting differs according to the connected external equipment. Be sure to check the operating instructions for the external equipment, etc. • Depending on the setting, some equipment may not provide images or otherwise operate properly. FUNC1 The user can set the function for the remote control's FUNC1 button. SYSTEM SELECTOR: The button functions in the same way as "SYSTEM SELECTOR" of "PICTURE". SYSTEM DAYLIGHT VIEW: This button has the same functions as "SYSTEM DAYLIGHT VIEW" of "PICTURE". SUB MEMORY LIST: This button has the same functions as "SUB MEMORY LIST" of "OPTION1". OSD POSITION The user can specify the position of the on-screen menu indications. 1 (Top left of the screen) 2 (Left center of the screen) 9 (Bottom right of the screen) 8 (Right center of the screen) 3 (Bottom left of the screen) 4 (Top center of the screen) 5 (Center of the screen) 7 (Top right of the screen) 6 (Bottom center of the screen) OSD MEMORY This lets you save the cursor position in on-screen menus. ON : The cursor position is saved. OFF : The cursor position is not saved. Note • Even when this is set to "ON", the cursor position is not saved if the main power of the projector is turned off. 37
-
 1
1 -
2
-
3
-
4
-
5
-
6
-
7
-
8
-
9
-
10
-
11
-
12
-
13
-
14
-
15
-
16
-
17
-
18
-
19
-
20
-
21
-
22
-
23
-
24
-
25
-
26
-
27
-
28
-
29
-
30
-
31
-
 32
32 -
 33
33 -
 34
34 -
 35
35 -
 36
36 -
 37
37 -
 38
38 -
 39
39 -
 40
40 -
 41
41 -
 42
42 -
43
-
44
-
45
-
46
-
47
-
48
-
49
-
50
-
51
-
52
-
53
-
54
-
55
-
56
-
57
-
58
-
59
-
60
-
61
-
62
-
63
-
64
-
65
-
66
-
67
-
68
-
69
-
70
-
71
-
72
 |
 |