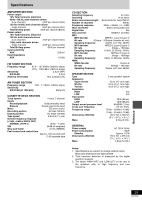
Panasonic SAPM47 SAPM47 User Guide - Page 26
Listening operations, Timers and others, Using the play/record timer
 |
View all Panasonic SAPM47 manuals
Add to My Manuals
Save this manual to your list of manuals |
Page 26 highlights
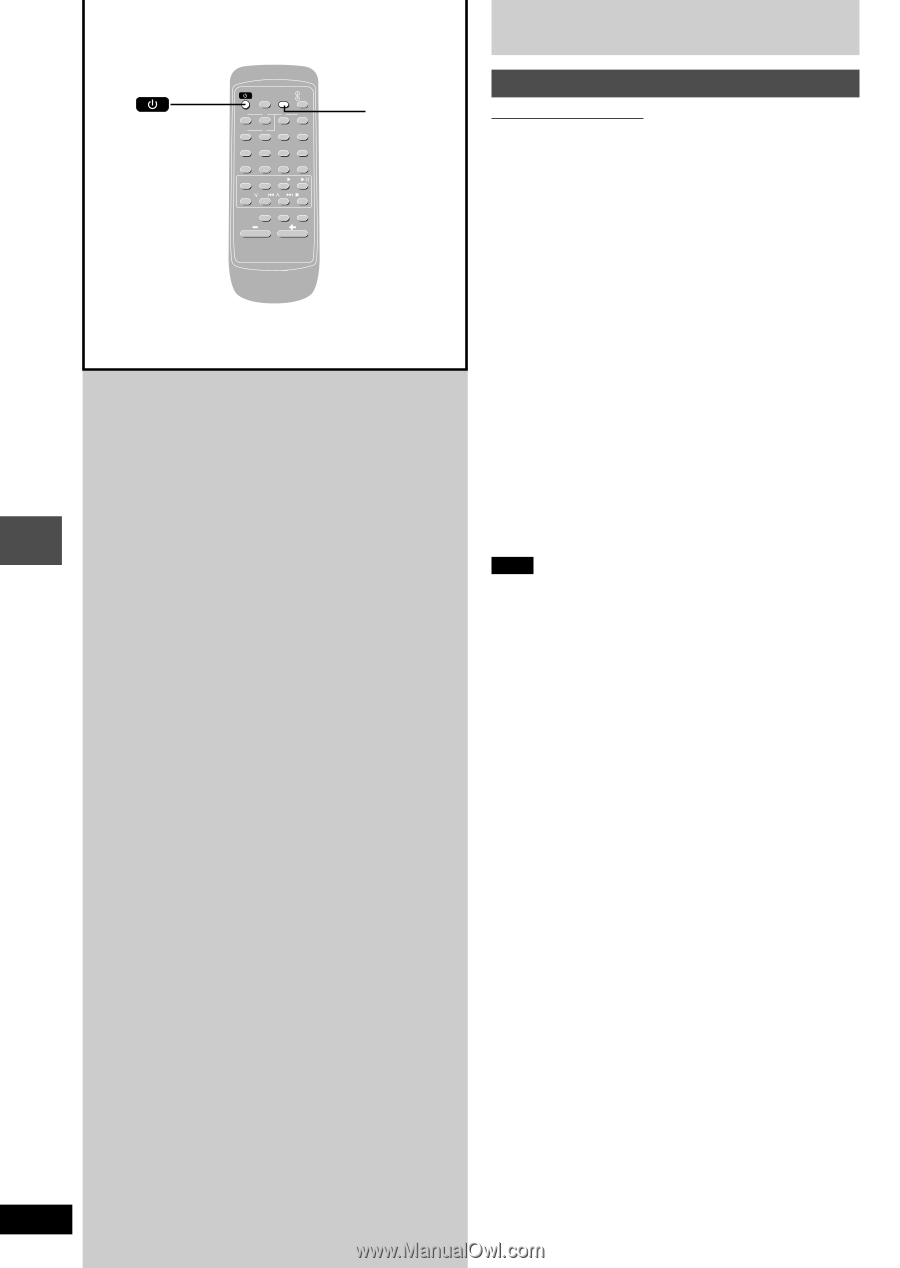
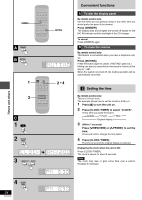
Listening operations SLEEP CLOCK/ -AUTO OFF TIMER PLAY/ REC 1 2 3 DISC 4 5 6 ≥10 7 8 9 0 DISPLAY DIMMER PLAY MODE PROGRAM AUX TUNER TAPE CD / ALBUM /REW/ /FF/ /CLEAR S SOUND EQ PRESET EQ MUTING VOLUME CLOCK/ TIMER Using the timers Using the play/record timer By remote control only To check settings While the unit is on and the "rPLAY" (or "rREC") indicator is on, press [CLOCK/TIMER] so "rPLAY" (or "rREC") appears on the display. Two seconds after "rPLAY" (or "rREC") appear, the settings are displayed in the following order: • For play timer 1 Play start time • For record timer 1 Recording start time 2 Play finish time 2 Recording finish time 3 Play source 3 Recording source 4 Playback volume You can check the settings even when the system is OFF by pressing [CLOCK/TIMER] twice. To enjoy the desired source after the timer setting is completed The volume level (for play timer) and music source are stored in the timer memory and the timer will start in these preset conditions. However, the CD numbers do not get stored in the timer memory. 1. After step 4, start playing the desired source. 2. Reset the CD numbers if you have changed any of them, confirm that a CD or cassette is inserted, then press [f] to put the unit on standby. Note • If you turn the unit off and on again while a timer is functioning, the finish time setting will not be activated. • If the unit is on, the timer will not function. The unit must be in the standby mode. • If AUX is selected as the source, when the timer comes on, the system turns on and engages AUX as the source. If you want to playback or record from a connected unit, set the other unit's timer to the same time. (See the other unit's instruction manual.) Timers and others 26 RQT6530
-
 1
1 -
2
-
3
-
4
-
5
-
6
-
7
-
8
-
9
-
10
-
11
-
12
-
13
-
14
-
15
-
16
-
17
-
18
-
19
-
20
-
 21
21 -
 22
22 -
 23
23 -
 24
24 -
 25
25 -
 26
26 -
 27
27 -
 28
28 -
 29
29 -
 30
30 -
 31
31 -
32
 |
 |