Panasonic WVCU650 Operating Instructions - Page 56
Patrol Learn, BW Mode, On Off Auto1 Auto2, Start Stop, Pre03
 |
UPC - 791871504277
View all Panasonic WVCU650 manuals
Add to My Manuals
Save this manual to your list of manuals |
Page 56 highlights
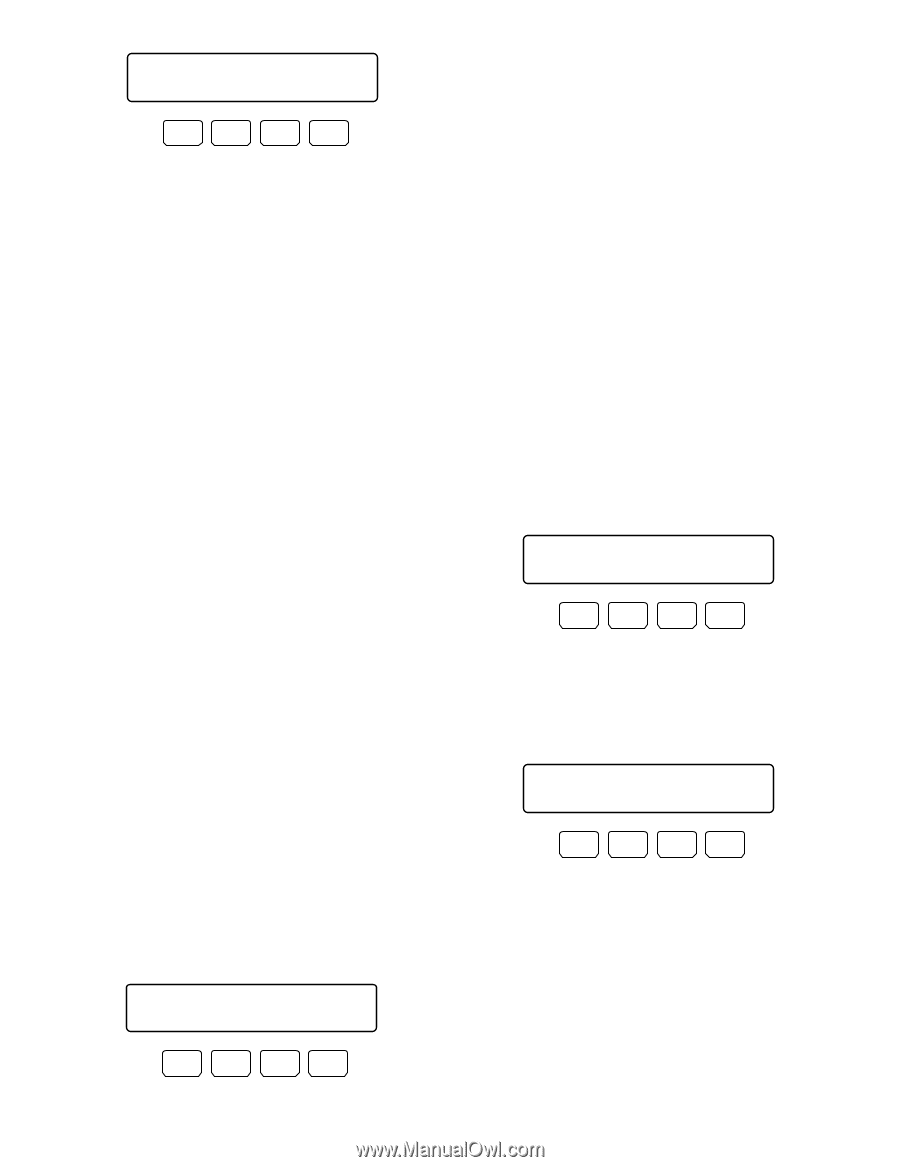
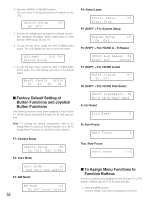
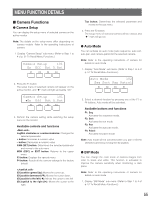
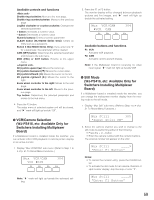
BW Mode 103 On Off Auto1 Auto2 F1 F2 F3 F4 2. Press one of the F1 to F4 buttons. BW mode will be activated. Available buttons and functions F1: On Changes the camera image from color to black and white. F2: Off Changes the camera image from black and white to color . F3: Auto1 Activates Auto 1 mode. (The camera selects black and white mode if the picture is dark, or color mode if the picture is bright enough.) F4: Auto2 Activates Auto 2 mode. (The camera detects the light source type to prevent malfunction. This setting is applicable when using a near-infrared light source in a dark place.) Notes: • The camera detects light source based on the information the CCD image pickup element receives. If an object is continuously moving or has the same color as the background, the object may not be properly recognized. When activating Auto 2 mode, make sure the wavelength of light source is 800 nm or more. • If the available parameters for selected camera are ON, OFF, and AUTO, you can activate AUTO by pressing the F3 button. To recover the color mode Press the F2 button. The color mode is recovered for the camera image. ● Patrol Learn You will perform the patrol learn setup. Note: Refer to the operating instructions of camera for details on patrol learn. 1. Display "Patrol Learn" sub menu. (Refer to Step 1 to 4 of p. 51 To Recall Menu Functions.) Patrol Learn Start Stop F1 F2 F3 104 F4 2. Press the F1 button. The patrol learn setup will start. 3. Perform desired camera operations by moving the 3D joystick or zoom wheel controller, etc. The following controls are available for patrol learn. • Panning/Tilting (3D joystick) • Iris control (IRIS OPEN/CLOSE buttons) • Focus control (FOCUS FAR/NEAR buttons) • Zoom control (Zoom wheel controller) • Preset position Note: The available total time of patrol learn differs depending on cameras. When the time is over, the patrol learn setup will automatically stop. 4. To quit the patrol learn setup, press the F2 button. To activate preset positions during the patrol learn To move the camera to a preset position during the patrol learn, you will perform the following operations after Step 2 of Patrol Learn. 1. Enter a preset position number. The entered number will appear on the LCD. Patrol Learn Start Stop F1 F2 F3 ____3 F4 Note: To cancel the entry, press the CLEAR button. 2. Press the PRESET/PGM PRESET button. "Pre=nn" (nn is a number.) will blink on the LCD, and the camera will move to the preset position. Patrol Learn Start Stop F1 F2 F3 Pre03 F4 Note: After the camera has moved to the preset position, "Pre-nn" will go out. 56
-
 1
1 -
2
-
3
-
4
-
5
-
6
-
7
-
8
-
9
-
10
-
11
-
12
-
13
-
14
-
15
-
16
-
17
-
18
-
19
-
20
-
21
-
22
-
23
-
24
-
25
-
26
-
27
-
28
-
29
-
30
-
31
-
32
-
33
-
34
-
35
-
36
-
37
-
38
-
39
-
40
-
41
-
42
-
43
-
44
-
45
-
46
-
47
-
48
-
49
-
50
-
 51
51 -
 52
52 -
 53
53 -
 54
54 -
 55
55 -
 56
56 -
 57
57 -
 58
58 -
 59
59 -
 60
60 -
 61
61 -
62
-
63
-
64
-
65
-
66
-
67
-
68
-
69
-
70
-
71
-
72
-
73
-
74
-
75
-
76
-
77
-
78
 |
 |