Pfaff 332 Owner's Manual - Page 19
Pfaff 332 Manual
 |
View all Pfaff 332 manuals
Add to My Manuals
Save this manual to your list of manuals |
Page 19 highlights
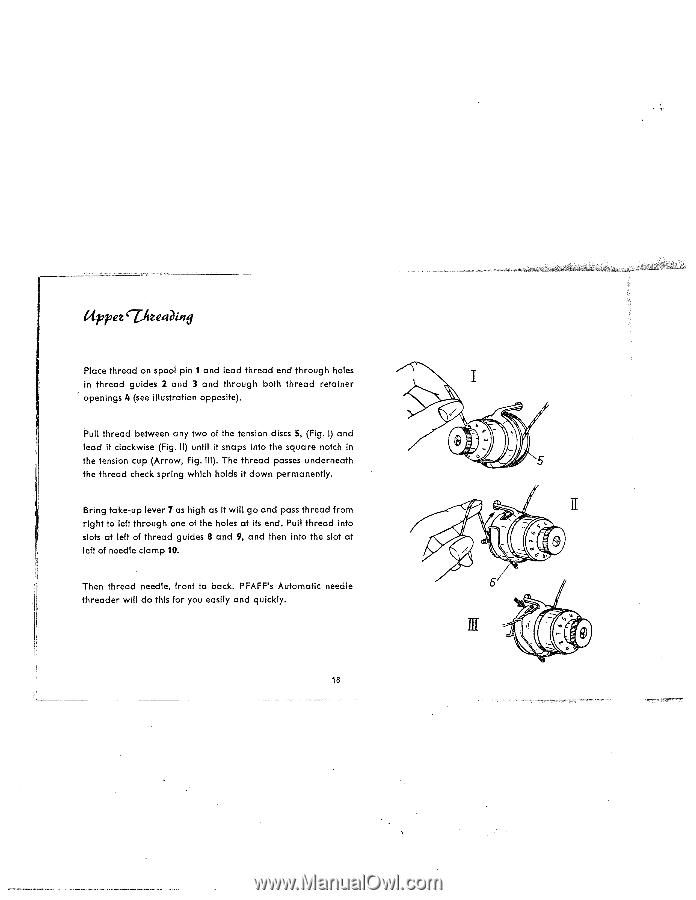
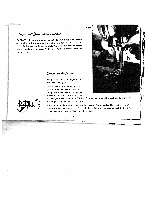
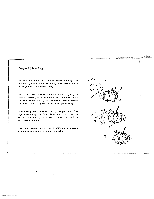
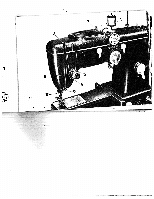
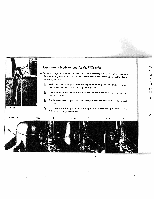
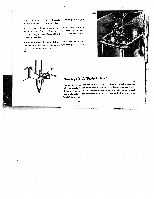
Place thread on spool pin I and lead thread end through holes in thread guides 2 and 3 and through both thread retainer openings 4 (see illustration opposite). Pull thread between any two of the tension discs 5, (Fig. I) and lead it clockwise (Fig. II) until it snaps into the square notch in the tension cup (Arrow, Fig. Ill). The thread passes underneath the thread check spring which holds it down permanently. Bring take-up lever 7 as high as it will go and pass thread from right to left through one of the holes at its end. Pull thread into slots at left of thread guides 8 and 9, and then into the slot at left of needle clamp 10. Then thread needle, front to back. PFAFF's Automatic needle threader will do this for you easily and quickly. 18 11 HI
-
 1
1 -
2
-
3
-
4
-
5
-
6
-
7
-
8
-
9
-
10
-
11
-
12
-
13
-
 14
14 -
 15
15 -
 16
16 -
 17
17 -
 18
18 -
 19
19 -
 20
20 -
 21
21 -
 22
22 -
 23
23 -
 24
24 -
25
-
26
-
27
-
28
-
29
-
30
-
31
-
32
-
33
-
34
-
35
-
36
-
37
-
38
-
39
-
40
-
41
-
42
-
43
-
44
-
45
-
46
-
47
-
48
-
49
-
50
-
51
-
52
-
53
-
54
-
55
-
56
-
57
-
58
 |
 |