Pfaff 332 Owner's Manual - Page 26
e,uin
 |
View all Pfaff 332 manuals
Add to My Manuals
Save this manual to your list of manuals |
Page 26 highlights
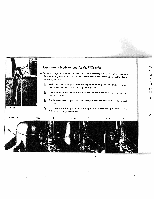
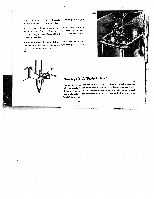
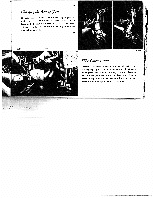
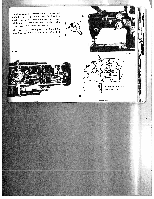
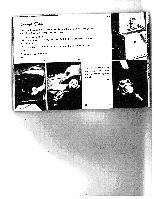
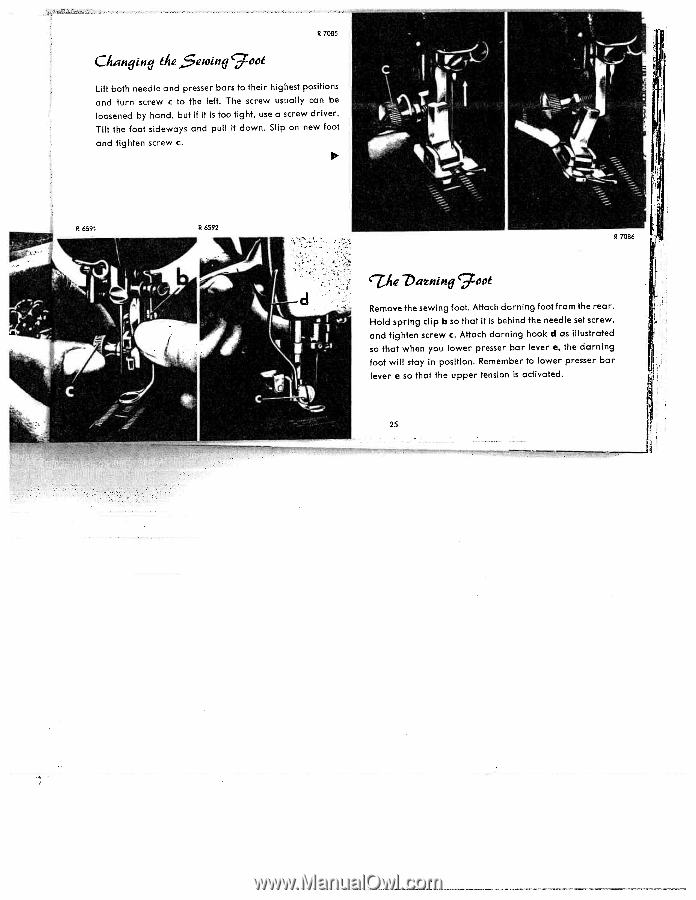
R 7085 C 9 i 7 hn an the $e,uin 9ctt Lift both needle and presser bars to their highest positions and turn screw c to the left. The screw usuaily can be loosened by hand, but if it is too tight, use a screw driver. Tilt the foot sideways and pull it down. Slip on new foot and tighten screw c. R7086 t Remove the sewing foot. Attach darning foot from the rear. Hold spring clip b so that it is behind the needle set screw, and tighten screw c. Attach darning hook d as illustrated so that when you lower presser bar lever e, the darning foot will stay in position. Remember to lower presser bar lever e so that the upper tension is activated. 25
-
 1
1 -
2
-
3
-
4
-
5
-
6
-
7
-
8
-
9
-
10
-
11
-
12
-
13
-
14
-
15
-
16
-
17
-
18
-
19
-
20
-
 21
21 -
 22
22 -
 23
23 -
 24
24 -
 25
25 -
 26
26 -
 27
27 -
 28
28 -
 29
29 -
 30
30 -
 31
31 -
32
-
33
-
34
-
35
-
36
-
37
-
38
-
39
-
40
-
41
-
42
-
43
-
44
-
45
-
46
-
47
-
48
-
49
-
50
-
51
-
52
-
53
-
54
-
55
-
56
-
57
-
58
 |
 |
R
7085
Chan
9
in
7
the
$e,uin
9ctt
Lift
both
needle
and
presser
bars
to
their
highest
positions
and
turn
screw
c
to
the
left.
The
screw
usuaily
can
be
loosened
by
hand,
but
if
it
is
too
tight,
use
a
screw
driver.
Tilt
the
foot
sideways
and
pull
it
down.
Slip
on
new
foot
and
tighten
screw
c.
R7086
t
Remove
the
sewing
foot.
Attach
darning
foot
from
the
rear.
Hold
spring
clip
b
so
that
it
is
behind
the
needle
set
screw,
and
tighten
screw
c.
Attach
darning
hook
d
as
illustrated
so
that
when
you
lower
presser
bar
lever
e,
the
darning
foot
will
stay
in
position.
Remember
to
lower
presser
bar
lever
e
so
that
the
upper
tension
is
activated.
25