Pfaff SMARTER BY 155 Anniversary Edition Manual - Page 24
Start to sew — Straight stitch, Changing sewing direction, Finish sewing
 |
View all Pfaff SMARTER BY 155 Anniversary Edition manuals
Add to My Manuals
Save this manual to your list of manuals |
Page 24 highlights
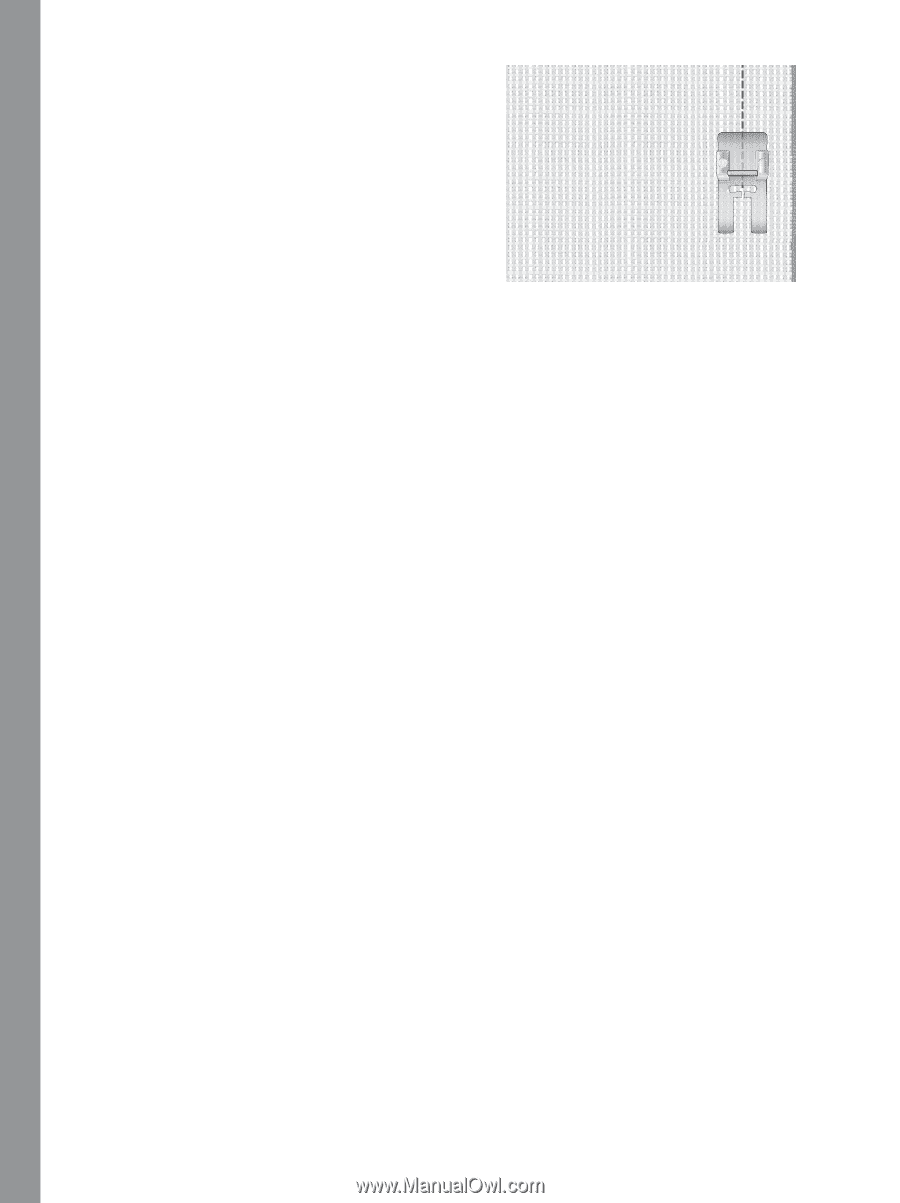
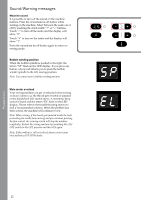
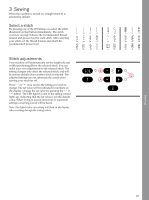
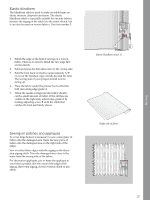
Start to sew - Straight stitch Set your machine for straight stitch 01 (see Select a stitch, page 23). Raise the presser foot and position the fabric under it. Align the edge of the fabric with one of the seam allowance guide lines on the needle plate. The guide line for a 1/4" (6mm) seam is on the bobbin cover. Lower the needle to the point where you want to start. Lower the presser foot and pull the threads toward the back. Press the foot control. Gently guide the fabric along the seam guide letting the machine feed the fabric. Note: Achieve more exact placement of your straight stitch when topstitching, inserting zippers or sewing piping by adjusting the needle position. Center needle position is 3.0. Use the stitch width button "-" to move the needle to the left and the "+" to move the needle to the right. (see page 21). Changing sewing direction To change sewing direction, stop the machine and press the needle stop up/down button or tap the foot control to bring the needle down into the fabric. Raise the presser foot. Pivot the fabric around the needle to change sewing direction as desired. Lower the presser foot and continue sewing in the new direction. Finish sewing Press and hold the reverse button and sew several stitches in reverse at the end of the seam. Raise the presser foot and remove the fabric, pulling the threads to the back. Pull the threads up and into the thread cutter. The threads are cut the proper length for starting the next seam. Straight stitch 01 Sewing 24
-
 1
1 -
2
-
3
-
4
-
5
-
6
-
7
-
8
-
9
-
10
-
11
-
12
-
13
-
14
-
15
-
16
-
17
-
18
-
 19
19 -
 20
20 -
 21
21 -
 22
22 -
 23
23 -
 24
24 -
 25
25 -
 26
26 -
 27
27 -
 28
28 -
 29
29 -
30
-
31
-
32
-
33
-
34
-
35
-
36
 |
 |