Pfaff hobbylock 4764 Owner's Manual - Page 15
Beginning and end of sewing
 |
View all Pfaff hobbylock 4764 manuals
Add to My Manuals
Save this manual to your list of manuals |
Page 15 highlights
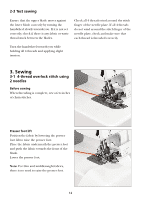
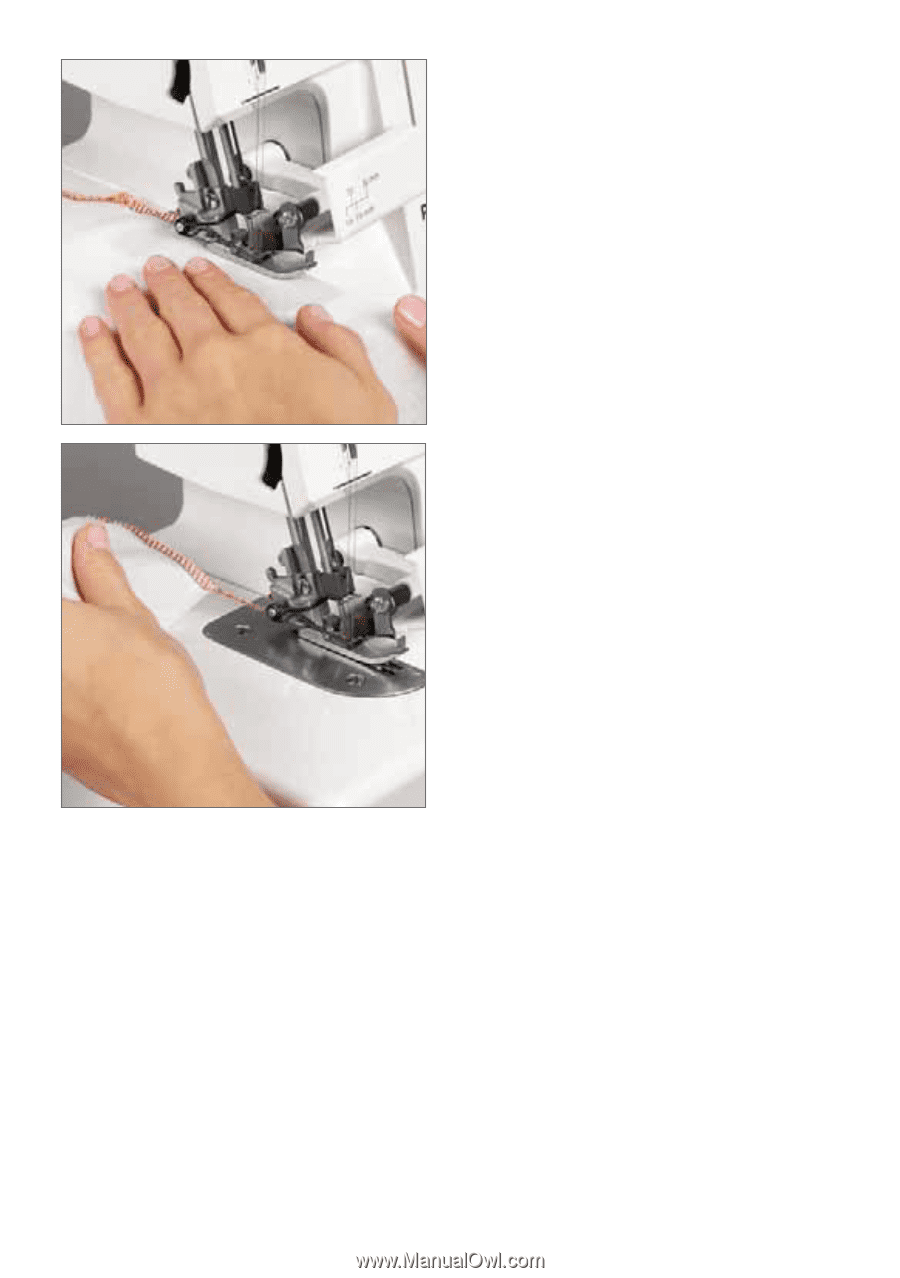
Beginning and end of sewing 1. Beginning of sewing Place your left hand on the fabric to push it slightly until the edge of the fabric passes the presser foot. 2. End of sewing Make chain stitches at the end of the sewing to prevent the threads from coming undone and to prepare for the next sewing (this is called chaining off). Draw the finished fabric gently backwards and to the left as the machine is operating and make chain stitches. This is called chain stitch sewing. Then cut the threads 2-5 cm (1-2") from the presser foot. Note: Do not pull it out roughly as the needle may bend and break. For a neater finish, pull thread ends back through the seam using hook or yarn needle. 13
-
 1
1 -
2
-
3
-
4
-
5
-
6
-
7
-
8
-
9
-
 10
10 -
 11
11 -
 12
12 -
 13
13 -
 14
14 -
 15
15 -
 16
16 -
 17
17 -
 18
18 -
 19
19 -
 20
20 -
21
-
22
-
23
-
24
-
25
-
26
-
27
-
28
-
29
-
30
-
31
-
32
-
33
-
34
-
35
-
36
 |
 |
13
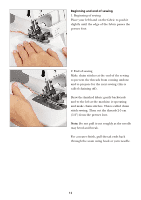
Beginning and end of sewing
1. Beginning of sewing
Place your left hand on the fabric to push it
slightly until the edge of the fabric passes the
presser foot.
2. End of sewing
Make chain stitches at the end of the sewing
to prevent the threads from coming undone
and to prepare for the next sewing (this is
called chaining off).
Draw the finished fabric gently backwards
and to the left as the machine is operating
and make chain stitches. This is called chain
stitch sewing. Then cut the threads 2-5 cm
(1-2”) from the presser foot.
Note:
Do not pull it out roughly as the needle
may bend and break.
For a neater finish, pull thread ends back
through the seam using hook or yarn needle.