Pfaff hobbylock 4764 Owner's Manual - Page 20
Setting waste tray, thread overlock stitch using, needle
 |
View all Pfaff hobbylock 4764 manuals
Add to My Manuals
Save this manual to your list of manuals |
Page 20 highlights
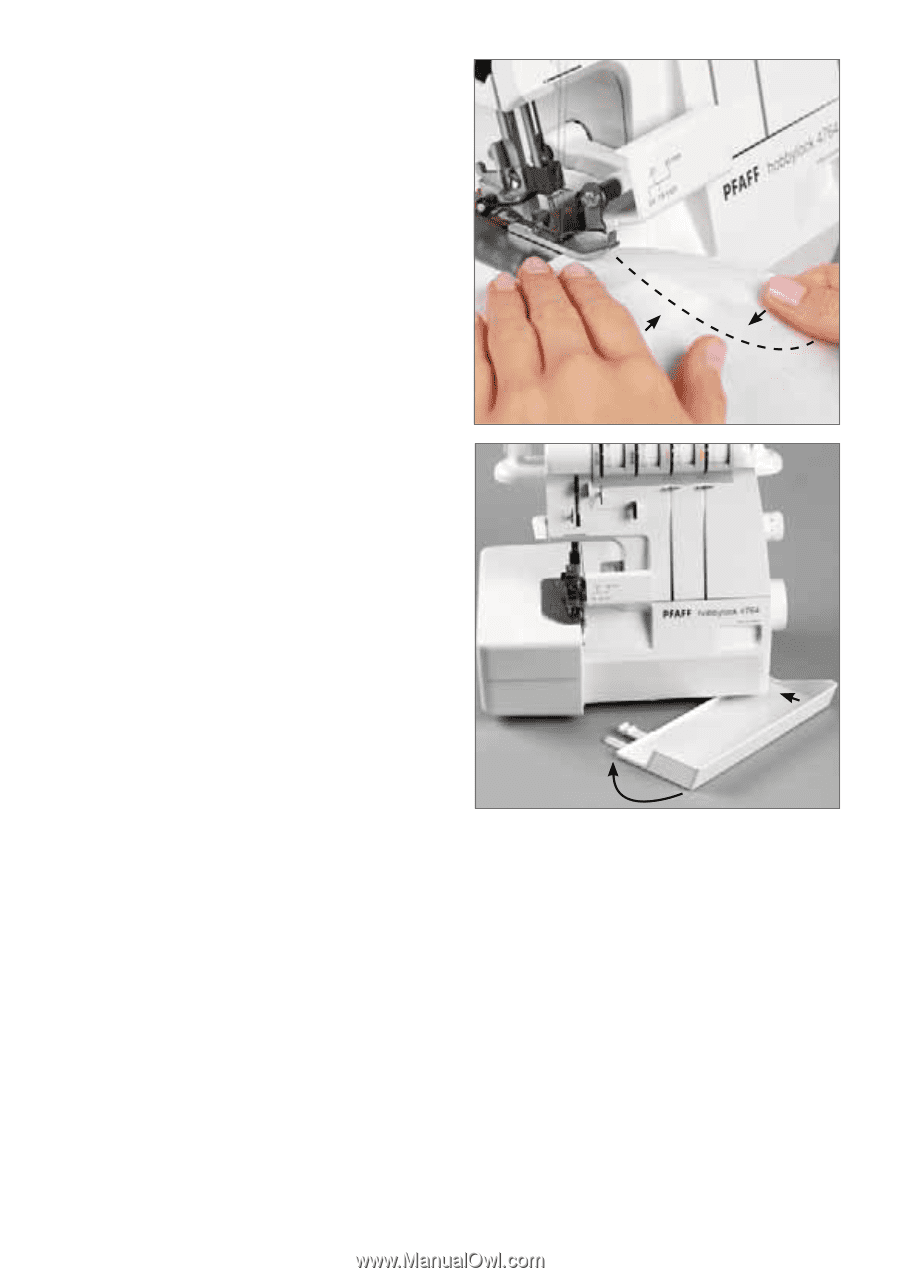
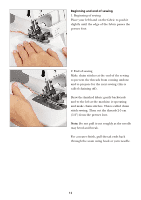
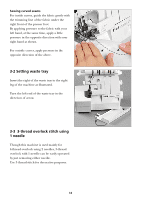
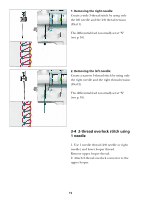
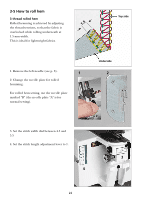
Sewing curved seams For inside curves, guide the fabric gently with the trimming line of the fabric under the right front of the presser foot. By applying pressure to the fabric with your left hand, at the same time, apply a little pressure in the opposite direction with your right hand as shown. For outside curves, apply pressure in the opposite direction of the above. 3-2 Setting waste tray Insert the right of the waste tray to the right leg of the machine as illustrated. Turn the left end of the waste tray in the direction of arrow. 3-3 3-thread overlock stitch using 1 needle Though this machine is used mainly for 4-thread overlock using 2 needles, 3-thread overlock with 1 needle can be easily operated by just removing either needle. Use 3-thread stitch for decorative purposes. 18
-
 1
1 -
2
-
3
-
4
-
5
-
6
-
7
-
8
-
9
-
10
-
11
-
12
-
13
-
14
-
 15
15 -
 16
16 -
 17
17 -
 18
18 -
 19
19 -
 20
20 -
 21
21 -
 22
22 -
 23
23 -
 24
24 -
 25
25 -
26
-
27
-
28
-
29
-
30
-
31
-
32
-
33
-
34
-
35
-
36
 |
 |