Pfaff hobbymatic 955 Owner's Manual - Page 52
Rei1verschIuP
 |
View all Pfaff hobbymatic 955 manuals
Add to My Manuals
Save this manual to your list of manuals |
Page 52 highlights
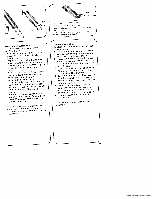
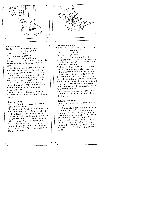
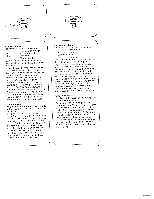
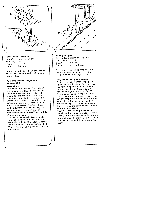
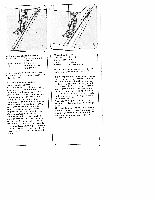
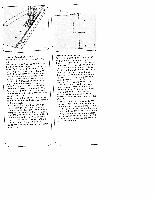
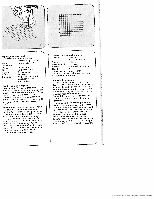
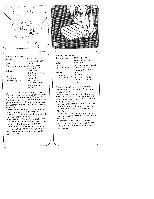
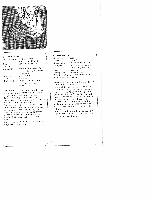
--n- -4 -- N HosenreilverschluB (Darnen) Maschinen-Einstellung siehe Seite 42, 4DDstee3ienen.neSgnRechehRiuletig,tivzle?kel,vtareesnnrctsehcnShlulcubIhEfulu,igtlzserolranen.ucdnhDttheserneefdtigeneennrsa, csrdtheealBcnosh.s die Reit?,verschlul?,zähne noch sichtbar sind. Vorbereitete Untertrittsleiste Q anstecken und beim Aufsteppen fassen. Die ReitverschluP,zähne mit laufen alSRuAmnteobdifb1rfe.vdceisNehrtse)t.cNehhneKalnhuuFtBrzulfaheösvrrsfotufeirngnneg,Nnnsa,NsãhthàeNtehgenäfnu.hed)fnetDufeafiNannnsahegdReneebklieBeinnrvn,er sUlachublfeurLztru, essttecehncldkieeeRnne. SnL.cihnlkitezrFan1deilnvaecrshchNluaRhstevieter einheften )Abb. 0). Rei1verschIuP, Offnen Das FUhrungs lbllihsEiimänrneeuneeennfdiaaSkt,telleteoR)anadAsfnneeofbiburBbdrsna.iRvteduneerePgshridrtseIKe.ii?cncen,ahKvhnleuNutluteraneRrsanszdchs,dhtsevealcdnuosufah,treftfl?r,Si,NntNeditagdgäioahehaefhttnfsnutAeded,ls?Fnhbu,Ndeürsecnadethnheh.nrtpfNuhleDeapniaeitnandgfsgeesln Riegel sichern. Zippers in ladies' slacks For machine setting see page 42, 43. Engage the zipper foot on the right. Press the edges of the placket. Baste the closed zip to the right edge of the placket on the reverse fabric side so that its teeth are still visible. Pin facing strip 0 to the underside and stitch it down at the same time as you sew the zip The zip teeth run along the right guiding edge of the foot (Fig. N). Shortly before the end of the seam, leave the needle down in the fabric, raise the zipper foot, open the zip, lower the zipper foot again and finish sewing the seam. Close the zip. Pin the overlapping edge along the intended seam line. Baste left zip edge (Fig. 0). Open zip, Attach the edge guide and position it for the desired seam margin so that it moves along the edge of the fabric (Fig. P1. Shortly before the end o the seam. leave the needle down in the fabric, raise the zipper foot and close the zip. Lower the zipper foot and finist sewing the seam. Secure the end of th zip seam with a bartack.
-
 1
1 -
2
-
3
-
4
-
5
-
6
-
7
-
8
-
9
-
10
-
11
-
12
-
13
-
14
-
15
-
16
-
17
-
18
-
19
-
20
-
21
-
22
-
23
-
24
-
25
-
26
-
27
-
28
-
29
-
30
-
31
-
32
-
33
-
34
-
35
-
36
-
37
-
38
-
39
-
40
-
41
-
42
-
43
-
44
-
45
-
46
-
 47
47 -
 48
48 -
 49
49 -
 50
50 -
 51
51 -
 52
52 -
 53
53 -
 54
54 -
 55
55 -
 56
56 -
 57
57 -
58
-
59
-
60
-
61
-
62
-
63
-
64
-
65
-
66
-
67
-
68
-
69
-
70
-
71
-
72
-
73
-
74
-
75
-
76
-
77
-
78
-
79
-
80
-
81
-
82
-
83
-
84
-
85
-
86
-
87
-
88
-
89
-
90
-
91
-
92
 |
 |
