Pioneer DDJ-T1 Owner's Manual - Page 8
About the installation procedure, Macintosh - traktor
 |
UPC - 884938122344
View all Pioneer DDJ-T1 manuals
Add to My Manuals
Save this manual to your list of manuals |
Page 8 highlights
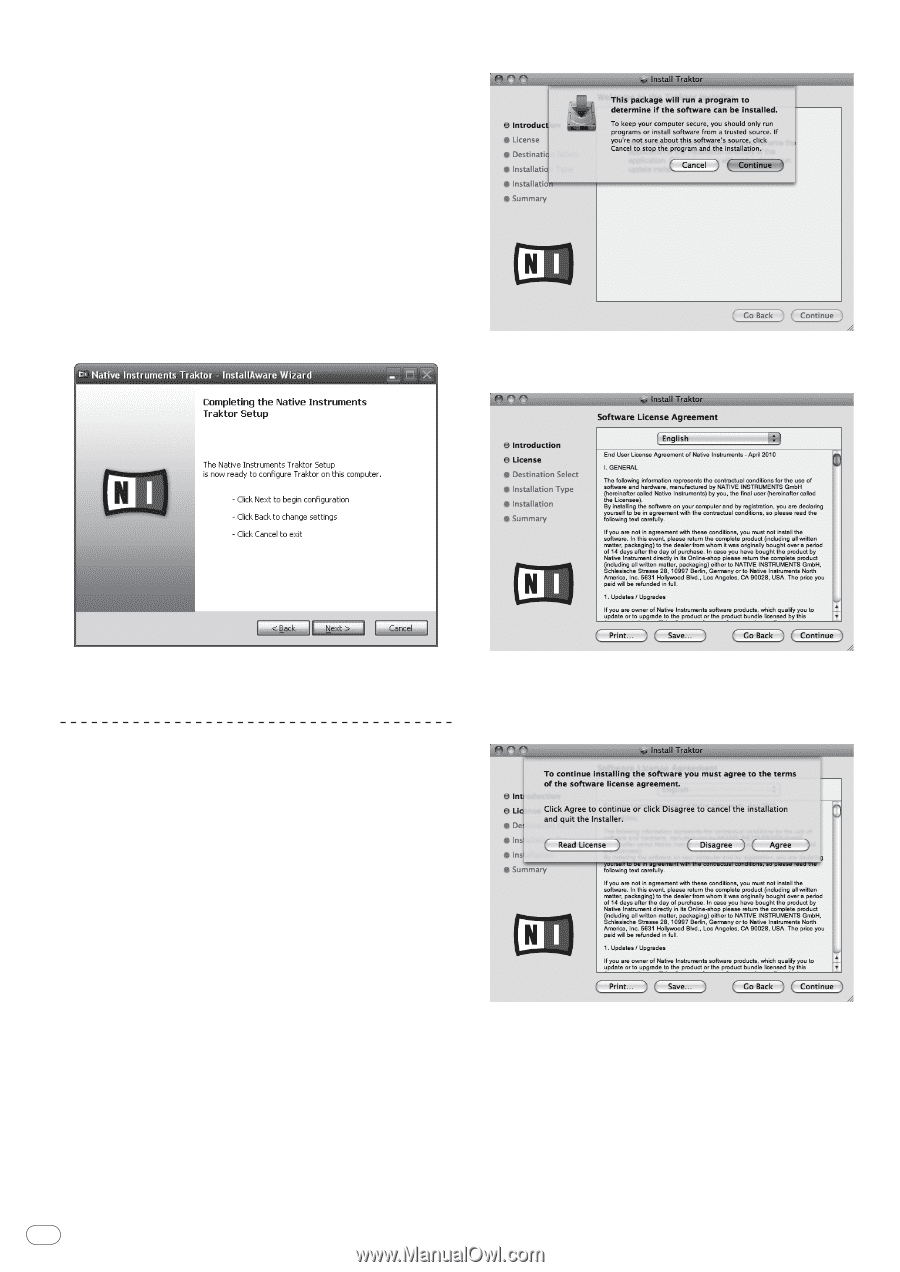
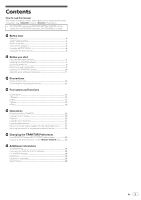
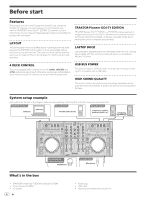
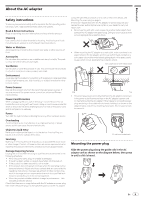
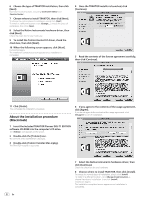
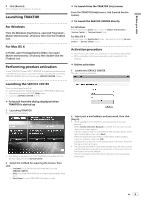
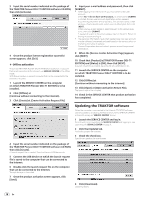
6 Choose the type of TRAKTOR installation, then click [Next]. Normally install all options, including [Controller Editor] and [Service Center]. 7 Choose where to install TRAKTOR, then click [Next]. To choose the normal place of installation, simply click [Next]. To install in a different location, click [Change...], choose the place of installation, then click [Next]. 8 Select the Native Instruments hardware driver, then click [Next]. Check the check box for your hardware. 9 To install the Traktor Kontrol X1 driver, check the check box, then click [Next]. 10 When the following screen appears, click [Next]. Installation begins. The installation completed screen appears once installation is completed. 4 Once the TRAKTOR installer is launched, click [Continue]. 5 Read the contents of the license agreement carefully, then click [Continue]. 11 Click [Finish]. This completes the installation procedure. About the installation procedure (Macintosh) 6 If you agree to the contents of the usage agreement, click [Agree]. If you do not agree to the contents of the usage agreement, click [Disagree] to cancel installation. 1 Insert the included TRAKTOR Pioneer DDJ-T1 EDITION software CD-ROM into the computer's CD drive. The [Traktor] icon appears on the screen. 2 Double-click the [Traktor] icon. The contents of the CD-ROM are displayed. 3 Double-click [Traktor Installer Mac.mpkg]. The TRAKTOR installer is launched. 8 En 7 Select the Native Instruments hardware driver, then click [Continue]. Check the check box for your hardware. 8 Choose where to install TRAKTOR, then click [Install]. To choose the normal place of installation, simply click [Install]. To install in a different location, click [Change Install Location...], choose the place of installation, then click [Install]. Installation begins. The installation completed screen appears once installation is completed.
-
 1
1 -
2
-
 3
3 -
 4
4 -
 5
5 -
 6
6 -
 7
7 -
 8
8 -
 9
9 -
 10
10 -
 11
11 -
 12
12 -
 13
13 -
14
-
15
-
16
-
17
-
18
-
19
-
20
-
21
-
22
-
23
-
24
-
25
-
26
-
27
-
28
-
29
-
30
-
31
-
32
 |
 |