Pioneer DV220KV-K Operating Instructions - Page 12
Playing files stored on USB, devices, Recording audio CD tracks, on USB devices
 |
UPC - 012562962979
View all Pioneer DV220KV-K manuals
Add to My Manuals
Save this manual to your list of manuals |
Page 12 highlights
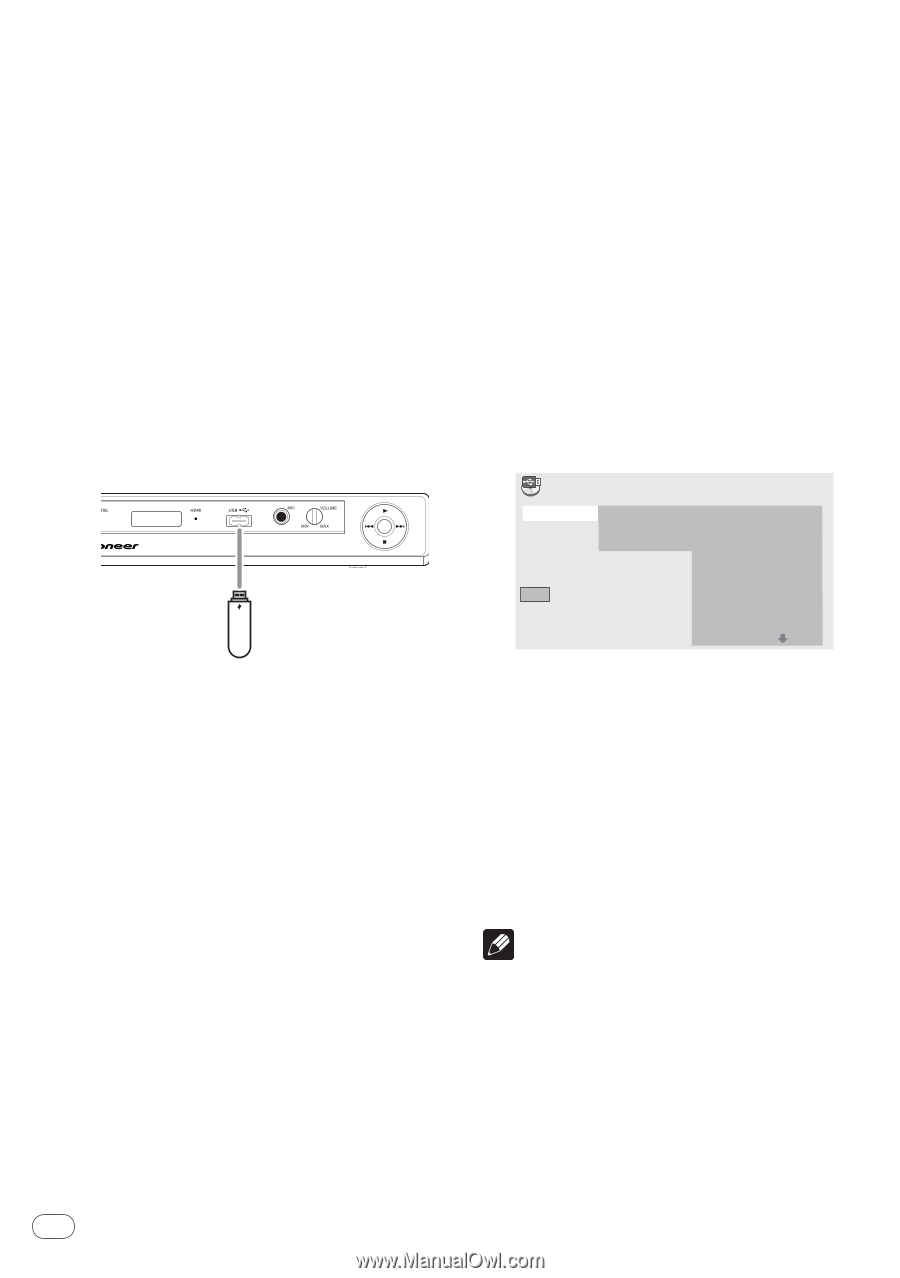
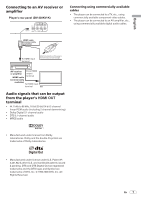
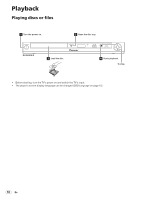
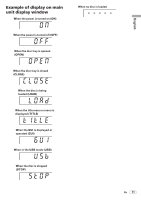
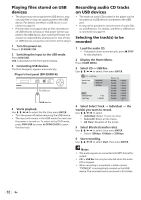
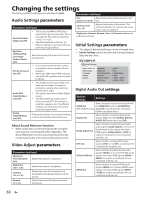
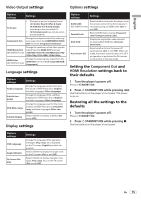
Playing files stored on USB devices The player may not recognize the USB device, may not play files or may not supply power to the USB device. For details, see When a USB device is connected on page 19. Pioneer does not support that all files recorded on all USB devices will play or that power will be supplied to the USB device. Also note that Pioneer will accept no responsibility whatsoever for loss of files on USB devices caused by connection to this player. 1 Turn the power on. Press STANDBY/ON. 2 Switching the input to the USB mode. Press DVD/USB. USb is displayed on the front panel display. 3 Connecting USB devices. The Disc Navigator appears automatically. Player's front panel (DV-220KV-K) To USB port USB device 4 Starts playback. Use to select the file, then press ENTER. Turn the power off before removing the USB device. The input will remain in the USB mode the next time the power is turned on. To return to the DVD mode, press DVD/USB (or press OPEN/CLOSE to open the disc tray). Recording audio CD tracks on USB devices The tracks of audio CDs loaded in the player can be recorded on a USB device connected to the USB port. It may not be possible to record tracks of audio CDs on a USB device. For details, see When a USB device is connected on page 19. Selecting the track(s) to be recorded 1 Load the audio CD. If playback starts automatically, press STOP to stop playback. 2 Display the Home Menu. Press HOME MENU. 3 Select CD -> USB Rec. Use to select, then press ENTER. CD -> USB Rec Select Track Bitrate Individual Select All All Clear Start Selected Track Total Time 00 000:00 Track 1-13 Track01 Track02 Track03 Track04 Track05 Track06 Track07 Track08 01:43 03:17 04:18 04:59 04:20 04:38 04:40 04:11 4 Select Select Track Individual the track(s) you want to record. Use to select. Individual: Select 1 track at a time. Select All: Select all the tracks. All Clear: Deselect all the tracks. 5 Select Bitrate (transfer rate). Use to select, then press ENTER. Select 128kbps, 192kbps or 320kbps. 6 Start recording. Use to select Start, then press ENTER. Notes The audio signals are converted into MP3 format for output. CD -> USB Rec can only be selected when the audio CD is stopped. When recording is completed, a folder named "PIONEER" is automatically created on the USB device. The recorded tracks are stored in this folder. 12 En
-
 1
1 -
2
-
3
-
4
-
5
-
6
-
 7
7 -
 8
8 -
 9
9 -
 10
10 -
 11
11 -
 12
12 -
 13
13 -
 14
14 -
 15
15 -
 16
16 -
 17
17 -
18
-
19
-
20
-
21
-
22
-
23
-
24
-
25
-
26
-
27
 |
 |