Pioneer VSX-40 Owner's Manual - Page 42
The Auto Power Down menu, The 12 V Trigger Setting
 |
View all Pioneer VSX-40 manuals
Add to My Manuals
Save this manual to your list of manuals |
Page 42 highlights
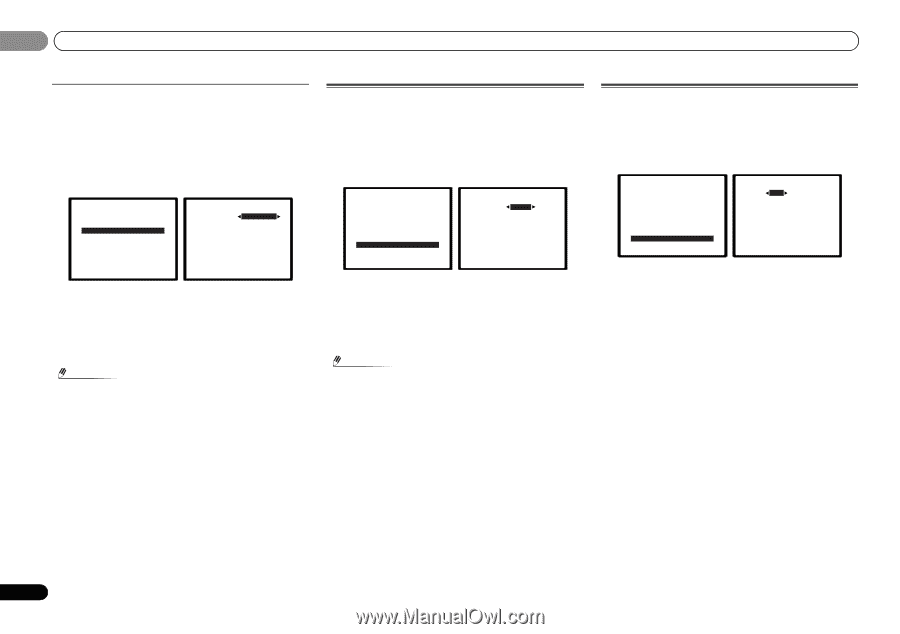
06 The System Setup menu Aspect Specifies the aspect ratio when analog video input signals are output at the HDMI OUT terminal. Make your desired settings while checking each setting on your display (if the image doesn't match your monitor type, cropping or black bands appear). 1 Select 'Video Parameter' from the System Setup menu. 2 Select 'Aspect' from the Video Parameter menu. 5.Video Parameter a.Video Converter b.Resolution c.Aspect 5c.Aspect BD DVD DVR/BDR VIDEO1 VIDEO2 T V / S AT NORMAL [THROUGH] [THROUGH] [ NORMAL ] [ NORMAL ] [ NORMAL ] Return Return 3 Select desired output aspect ratio. • THROUGH - The input video signal is output unchanged. • NORMAL - Black bands will appear either at top and bottom or on both sides. 4 When you're finished, press RETURN. You return to the Video Parameter menu. Note • If the image doesn't match your monitor type, adjust the aspect ratio on the source component or on the monitor. The Auto Power Down menu Set to automatically turn off the receiver after a specified time has passed (when the power has been on with no operation for several hours. • Default setting: OFF 1 Select 'Auto Power Down' from the System Setup menu. System Setup 1.Auto MCACC 2.Manual SP Setup 3.Input Assign 4.Speaker System 5.Video Parameter 6.HDMI Setup 7.Auto Power Down 8.12V Trigger Return 7.Auto Power Down OFF Return 2 Specify the amount of time to allow before the power is turned off (when there has been no operation). • You can select 2, 4 or 6 hours, or OFF (if no automatic shutoff is desired). 3 When you're finished, press RETURN. You return to the System Setup menu. Note • Turning the power off using the Auto Power Down will apply to both the main zone and the sub zone. However, if the Control at HDMI Setup is set to ON, the Auto Power Down may not work in the sub zone. The 12 V Trigger Setting If the input switches over to the input function set here, a control signal is output from the receiver's 12 V trigger terminal, and operations such as power coupling with other devices and equipment can be achieved. 1 Select '12V Trigger' from the System Setup menu. System Setup 1.Auto MCACC 2.Manual SP Setup 3.Input Assign 4.Speaker System 5.Video Parameter 6.HDMI Setup 7.Auto Power Down 8.12V Trigger Return 8.12V Trigger BD ON DVD [OFF] DVR [OFF] VIDEO1 [OFF] VIDEO2 [OFF] TV/SAT [OFF] iPod [OFF] CD [OFF] CDR [OFF] TUNER [OFF] ADAPT [OFF] SIRIUS [OFF] Return 2 Choose the setting of the 12 V trigger output coupling for each input function. 3 When you're finished, press RETURN. You return to the System Setup menu. 42 En
-
 1
1 -
2
-
3
-
4
-
5
-
6
-
7
-
8
-
9
-
10
-
11
-
12
-
13
-
14
-
15
-
16
-
17
-
18
-
19
-
20
-
21
-
22
-
23
-
24
-
25
-
26
-
27
-
28
-
29
-
30
-
31
-
32
-
33
-
34
-
35
-
36
-
 37
37 -
 38
38 -
 39
39 -
 40
40 -
 41
41 -
 42
42 -
 43
43 -
 44
44 -
 45
45 -
 46
46 -
 47
47 -
48
-
49
-
50
-
51
-
52
-
53
-
54
-
55
-
56
 |
 |