RCA L32WD12 User Guide & Warranty - Page 30
Setup
 |
UPC - 034909512241
View all RCA L32WD12 manuals
Add to My Manuals
Save this manual to your list of manuals |
Page 30 highlights
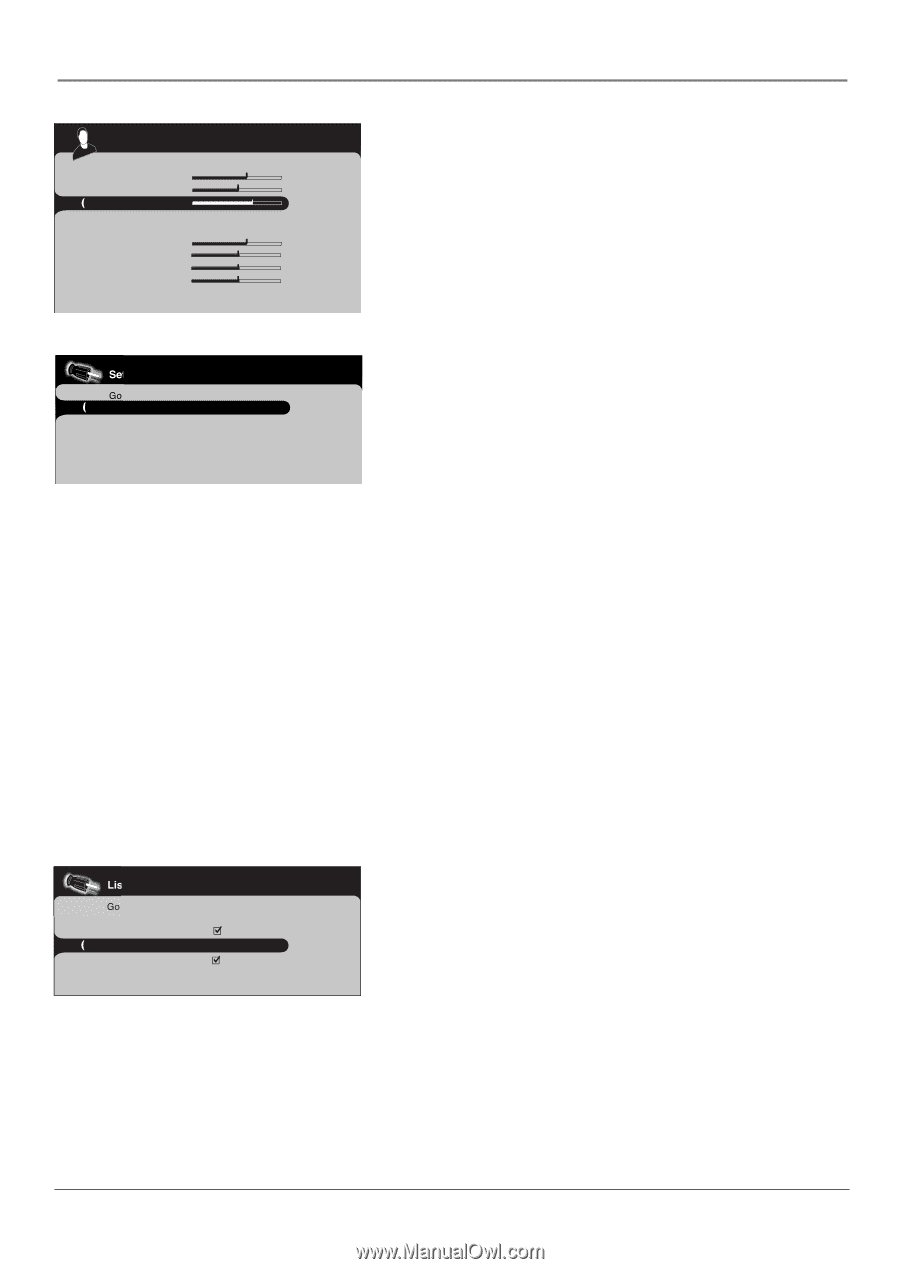
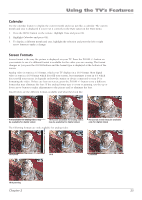
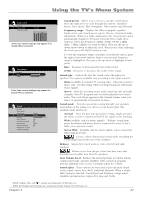
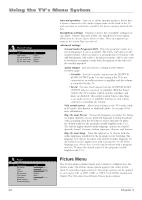
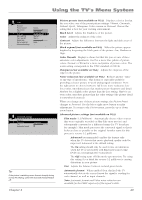
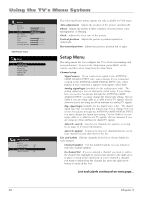
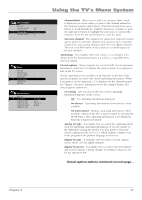
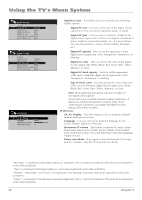
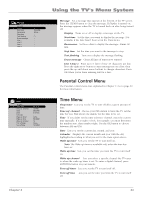
Using the TV's Menu System Picture Go back Black level Color Contrast Color warmth Auto adjustment Phase Clock Vertical position Horizontal position Warm... .... VGA Picture menu Setup Go back Channel setup ... List and Labels ... Autotuning ... Closed caption ... Preferences ... Message ... List and Labels Go back Channel number In channel list Channel label Favorite channel 010 _ _ _ _ _ _ The following Picture menu options are only available for VGA input. Auto adjustment Adjusts the position of the picture automatically. Phase Adjusts the picture if there is flicker of screen letters, color misalignment, or blurring. Clock Adjusts the clock sync of the picture. Vertical position Adjusts the picture's position upward or downward. Horizontal position Adjusts the picture's position left or right. Setup Menu The Setup menu lets you configure the TV to fit its surroundings and your preferences. To access the Setup menu, press MENU on the remote, and then select Setup from the Main Menu. Channel setup Signal source If you connected a signal to the ANTENNA/ CABLE ANALOG INPUT only, select Analog. If you connected a signal to the ANTENNA/CABLE DIGITAL INPUT only, select Digital. If you connected a signal to both inputs, select Both. Analog signal type (available for the analog tuner only) The analog signal type was set during the initial setup. If you change how you receive broadcasts through the ANTENNA/CABLE ANALOG INPUT, you must change the Signal type setting. Choose Cable if you are using cable or a cable box for TV signals. Choose Antenna if you are using an off-air antenna for analog TV signals. Dig. signal type (available for the digital tuner only) The digital signal type was set during the initial setup. If you change how you receive broadcasts through the ANTENNA/CABLE DIGITAL INPUT, you must change the Signal type setting. Choose Cable if you are using cable or a cable box for TV signals. Choose Antenna if you are using an off-air antenna for digital TV signals. Auto Ch. search Searches for channels the signal is receiving. Go to page 14 for more information. Auto Ch. update Searches for any new channels that are not in your channel list and adds them to the list. List and Labels Edit the channels in the list or choose labels for each channel. Channel number Use the number buttons on your remote to enter the channel number. In channel list If you've entered a channel you want to add to the channel list, highlight In channel list and press the right arrow to place a check in the check box. If you've entered a channel you want to delete from the channel list, press the right arrow button to uncheck the box. List and Labels continued on next page... 30 Chapter 3
-
 1
1 -
2
-
3
-
4
-
5
-
6
-
7
-
8
-
9
-
10
-
11
-
12
-
13
-
14
-
15
-
16
-
17
-
18
-
19
-
20
-
21
-
22
-
23
-
24
-
 25
25 -
 26
26 -
 27
27 -
 28
28 -
 29
29 -
 30
30 -
 31
31 -
 32
32 -
 33
33 -
 34
34 -
 35
35 -
36
-
37
-
38
-
39
-
40
-
41
-
42
-
43
-
44
-
45
-
46
-
47
-
48
 |
 |