RCA RT2500 User Guide - Page 6
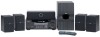
Connecting to Audio-Visual, Components - speakers
 |
UPC - 044319902433
View all RCA RT2500 manuals
Add to My Manuals
Save this manual to your list of manuals |
Page 6 highlights
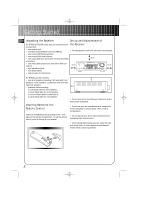
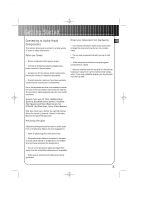
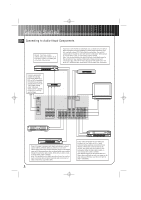
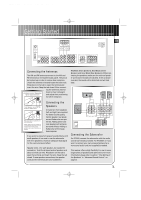
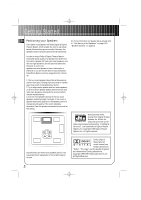
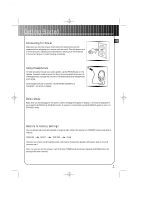
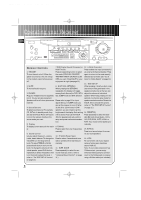
RT2500 ENG 5/26/00 2:56 PM Page 7 Getting Started Connecting to Audio-Visual Components This receiver allows you to connect to a large variety of audio or video components. Before you Connect • Protect components from power surges. • Connect all components before plugging any power cords into the wall outlet. • Always turn off the receiver and/or components before you connect or disconnect any cables. • Contact consumer relations if you have questions concerning the connections or components. Note: Always make sure that color-coded pins match the color of the terminals in which they are inserted. The connection cable plugs and jacks are color-coded as follows: Speaker Terminals: RT 2500 - Red/Black (Main Speakers), Blue/Black (Center Speaker), Grey/Black (Rear Speakers) and Brown/Black (subwoofer). RT2500R - Red/ Black (Main, Center & Rear Speakers) RCA Type Terminals: Red for the right (R) channel. White for the left (L) channel. Yellow for the video. Black for the powered subwoofer. Positioning the Cables Protect your Components from Overheating EN • Do not block ventilation holes in any component. Arrange the components so that air can circulate freely. • Do not stack components directly on top of each other. • Allow adequate ventilation when placing your components in a stand. • Place an amplifier near the top shelf of the stand so heating air rising from it will not affect other components. If you have a satellite receiver, you should place it on the top shelf. Cables should be positioned correctly to avoid audio hum or interference. Below are a few suggestions: • Insert all cable plugs into their jacks firmly. • Place audio/video cables to the sides of the receiver's back panel instead of straight down the middle after you have connected the components. • Try not to coil any power cables and keep them away from the audio/video cables as much as possible. • Make sure all antennas and cables are properly grounded. 3
-
 1
1 -
 2
2 -
 3
3 -
 4
4 -
 5
5 -
 6
6 -
 7
7 -
 8
8 -
 9
9 -
 10
10 -
 11
11 -
 12
12 -
13
-
14
-
15
-
16
-
17
-
18
-
19
-
20
-
21
-
22
-
23
 |
 |