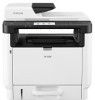
Ricoh M 320F Setup Guide - Page 18
FAX Settings (M 320FB/320F only), Fax Setup, Connection
 |
View all Ricoh M 320F manuals
Add to My Manuals
Save this manual to your list of manuals |
Page 18 highlights
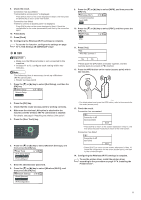
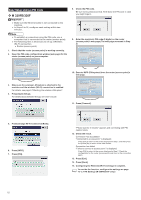
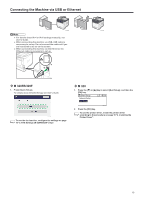
3. FAX Settings (M 320FB/320F only) Fax Setup Register the sender's information (this machine's number and name). The target destination will receive faxes with the number and name registered in this setting. 1. Press [Process to Fax Setup]. 2. Enter [Fax Number:] and [Fax Name:], and then press [OK]. 3. Press [Finish]. 4. Press [Yes]. ECC298 Connection Connect a telephone line cord to LINE. If using an external telephone, connect the telephone to TEL. ● Connect the public switched telephone network (PSTN) to Line. Connecting lines other than PSTN to this machine may cause it to malfunction. ● Be careful not to connect the Ethernet cable by mistake. 1 2 DYG156 DYG157 1. Port For External Telephone 2. Port For LINE If you connect a modular cable to the G3 (analog) line interface connector, make a loop 3 cm (1.2 inches) (1) from the end of the modular cable (connection side to the machine) and attach the included ferrite core to the loops as shown. DVD001 16
-
 1
1 -
2
-
3
-
4
-
5
-
6
-
7
-
8
-
9
-
10
-
11
-
12
-
 13
13 -
 14
14 -
 15
15 -
 16
16 -
 17
17 -
 18
18 -
 19
19 -
 20
20 -
 21
21 -
 22
22 -
 23
23 -
24
 |
 |
