Samsung HLR4266WX Owner Instructions - Page 30
Turning the TV On and Off, Viewing the Menus and On-Screen Displays, Viewing the Menus - will not turn on
 |
View all Samsung HLR4266WX manuals
Add to My Manuals
Save this manual to your list of manuals |
Page 30 highlights
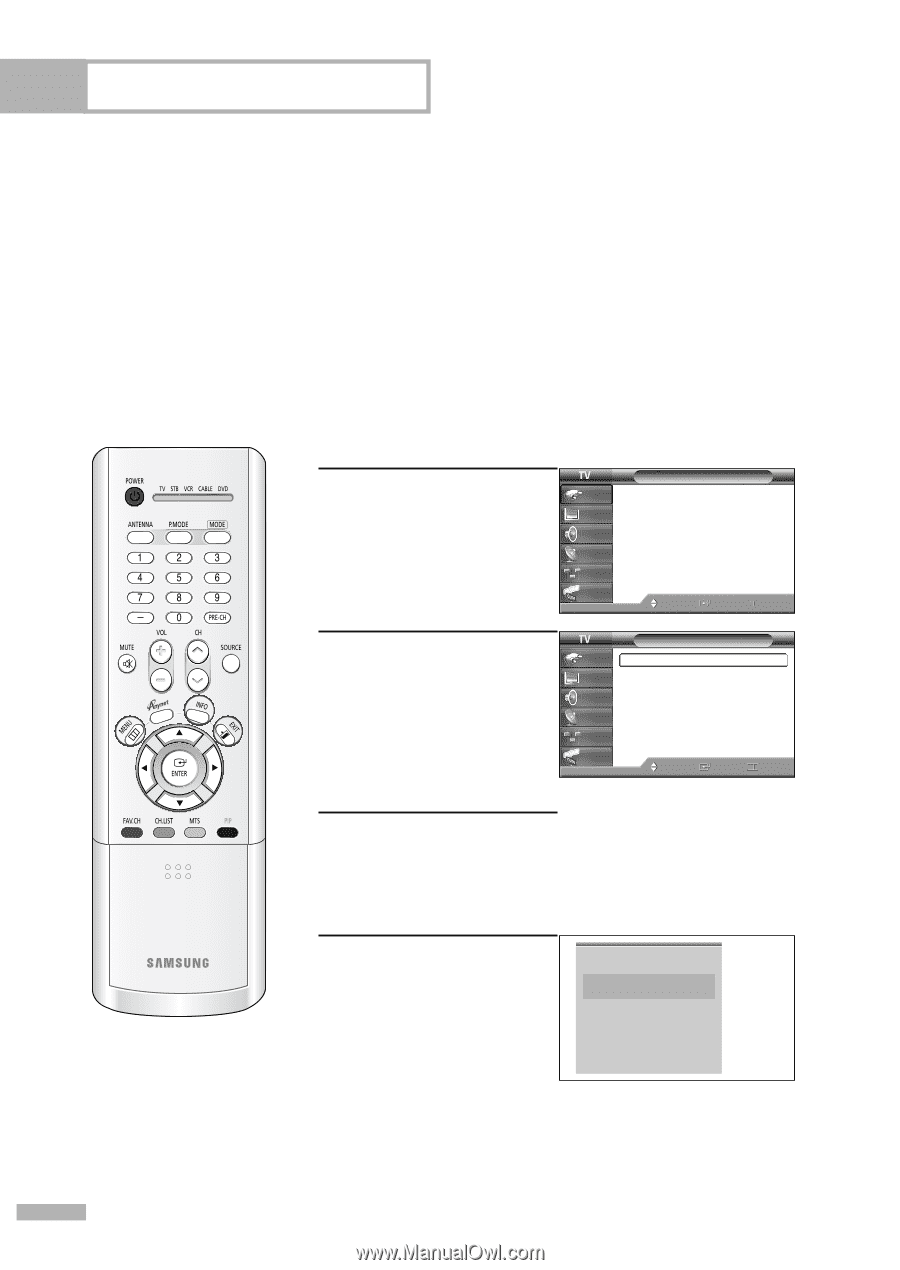
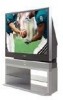
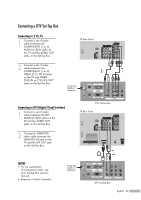
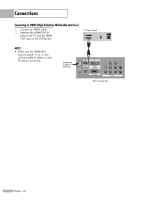
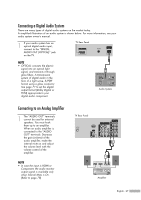
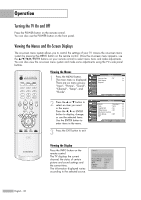
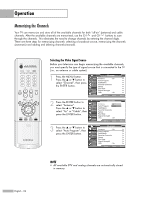
Operation Turning the TV On and Off Press the POWER button on the remote control. You can also use the POWER button on the front panel. Viewing the Menus and On-Screen Displays The on-screen menu system allows you to control the settings of your TV. Access the on-screen menu system by pressing the MENU button on the remote control. Once the on-screen menu appears, use the ENTER buttons on your remote control to select menu items and make adjustments. You can also view the on-screen menu system and make some adjustments using the TV's side panel buttons. Viewing the Menus Input 1 Press the MENU button. The main menu is displayed. There are six menu groups: Input Picture Source List Edit Name Anynet : TV √ √ "Input", "Picture", "Sound", Sound "Channel", "Setup", and Channel "Guide". Setup Guide Move Enter Exit 2 Press the ... or † button to select an item you want in the menu. Press the œ, √ or ENTER button to display, change, or use the selected items. Use the ENTER button to enter items in the menu. Picture Input Mode : Standard √ Picture Size Digital NR : 16:9 : On √ √ Sound DNIe Demo : Off √ My Color Control √ Channel Film Mode : Off √ Setup PIP √ Guide Move Enter Return 3 Press the EXIT button to exit. Viewing the Display Press the INFO button on the remote control. The TV displays the current channel, the status of certain picture and sound settings and the current time. The information displayed varies according to the selected source. Cable 3 Picture Mode Standard Sound Mode Custom MTS Stereo Caption Off V-Chip Off No Time Information English - 30
-
 1
1 -
2
-
3
-
4
-
5
-
6
-
7
-
8
-
9
-
10
-
11
-
12
-
13
-
14
-
15
-
16
-
17
-
18
-
19
-
20
-
21
-
22
-
23
-
24
-
 25
25 -
 26
26 -
 27
27 -
 28
28 -
 29
29 -
 30
30 -
 31
31 -
 32
32 -
 33
33 -
 34
34 -
 35
35 -
36
-
37
-
38
-
39
-
40
-
41
-
42
-
43
-
44
-
45
-
46
-
47
-
48
-
49
-
50
-
51
-
52
-
53
-
54
-
55
-
56
-
57
-
58
-
59
-
60
-
61
-
62
-
63
-
64
-
65
-
66
-
67
-
68
-
69
-
70
-
71
-
72
-
73
-
74
-
75
-
76
-
77
-
78
-
79
-
80
-
81
-
82
-
83
-
84
-
85
-
86
-
87
-
88
-
89
-
90
-
91
-
92
-
93
-
94
-
95
-
96
-
97
-
98
-
99
-
100
-
101
-
102
-
103
-
104
-
105
-
106
-
107
-
108
 |
 |