Samsung SCL906 User Manual (ENGLISH) - Page 43
Grabar una DATE/TIME, Notas
 |
UPC - 036725301115
View all Samsung SCL906 manuals
Add to My Manuals
Save this manual to your list of manuals |
Page 43 highlights
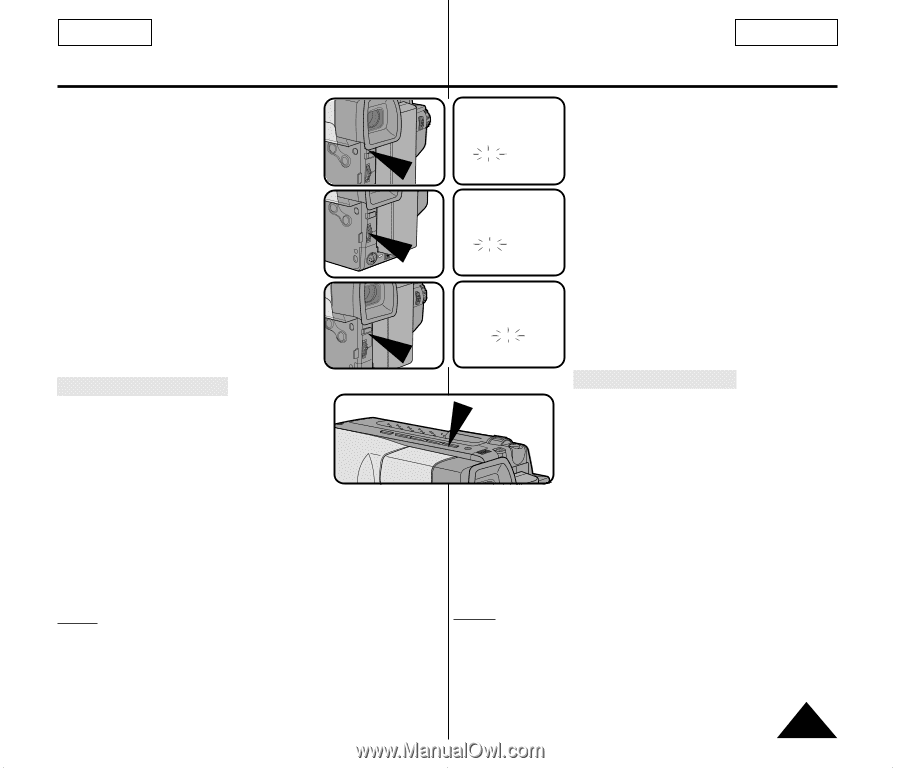
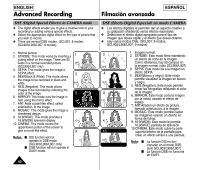
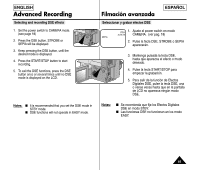
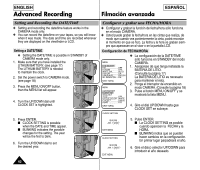
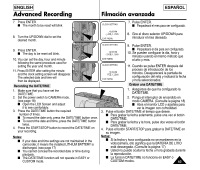
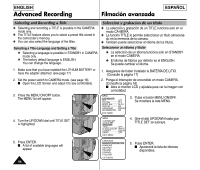
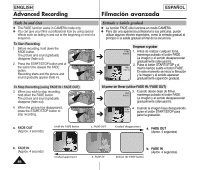
ENGLISH Advanced Recording Filmación avanzada ESPAÑOL 7. Press ENTER. I The month to be reset will blink. CLOCK SETTING 7. Pulse ENTER. I Parpadeará el mes para ser configurado. 8. Turn the UP/DOWN dial to set the desired month. 9. Press ENTER. I The day to be reset will blink. 10. You can set the day, hour and minute following the same procedure used for setting the year and month. 11. Press ENTER after setting the minute and the clock setting screen will disappear. The selected date and time will then be displayed. Recording the DATE/TIME 1. Make sure that you have set the DATE/TIME. 2. Set the power switch to CAMERA mode. (see page 18) I Open the LCD Screen and adjust it to see comfortably. 3. Press the DATE/TIME button the required number of times. I To record the date only, press the DATE/TIME button once. I To record the date and time, press the DATE/TIME button twice. 4. Press the START/STOP button to record the DATE/TIME on your recording. Notes: I If your date and time settings are not maintained in the camcorder, it means the installed LITHIUM BATTERY is discharged. (see page 17) I You cannot conceal the recorded date or time during playback. I The DATE/TIME function will not operate in EASY or CUSTOM mode. 12:00 AM JAN. 1, 2005 EXIT: MENU 8. Gire el disco selector UP/DOWN para introducir el mes deseado. CLOCK SETTING 12:00 AM FEB. 1, 2005 EXIT: MENU 9. Pulse ENTER. I Parpadeará el día para ser configurado. 10. Se pueden configurar la dia, hora y minutos usando el mismo método que el año y mes. CLOCK SETTING 12:00 AM FEB. 1, 2005 EXIT: MENU 11. Cuando se pulsa ENTER después del proceso de introducción de los minutos. Desaparecerá la pantalla de configuración del reloj y indicará la fecha y hora seleccionados. Grabar una DATE/TIME 1. Asegúrese de que ha configurado la DATE/TIME. 2. Ponga el interruptor de encendido en modo CAMERA. (Consulte la página 18) I Abra el monitor LCD y ajústela para ver la imagen con comodidad. 3. Pulse el botón DATE/TIME el tiempo que desee. I Para grabar la fecha solamente, pulse una vez el botón DATE/TIME. I Para grabar la fecha y la hora, pulse dos veces el botón DATE/TIME. 4. Pulse el botón START/STOP para grabar la DATE/TIME en su imagen. Notas: I Si la fecha y hora configurada no se mantienen en la videocámara, ello significa que la BATERÍA DE LITIO está descargada. (Consulte la página 17) I Usted no puede ocultar la fecha u hora grabada durante la reproducción. I La funcion DATE/TIME no funciona en EASY o CUSTOM modos. 43
-
 1
1 -
2
-
3
-
4
-
5
-
6
-
7
-
8
-
9
-
10
-
11
-
12
-
13
-
14
-
15
-
16
-
17
-
18
-
19
-
20
-
21
-
22
-
23
-
24
-
25
-
26
-
27
-
28
-
29
-
30
-
31
-
32
-
33
-
34
-
35
-
36
-
37
-
 38
38 -
 39
39 -
 40
40 -
 41
41 -
 42
42 -
 43
43 -
 44
44 -
 45
45 -
 46
46 -
 47
47 -
 48
48 -
49
-
50
-
51
-
52
-
53
-
54
-
55
-
56
-
57
-
58
-
59
-
60
-
61
-
62
-
63
-
64
-
65
-
66
-
67
-
68
-
69
-
70
-
71
 |
 |