Sanyo HT28745 Owners Manual - Page 6
Channel Search, Auto Clock Setting Optional, Antenna Selection Optional, Install Two Aaa Batteries - review
 |
View all Sanyo HT28745 manuals
Add to My Manuals
Save this manual to your list of manuals |
Page 6 highlights
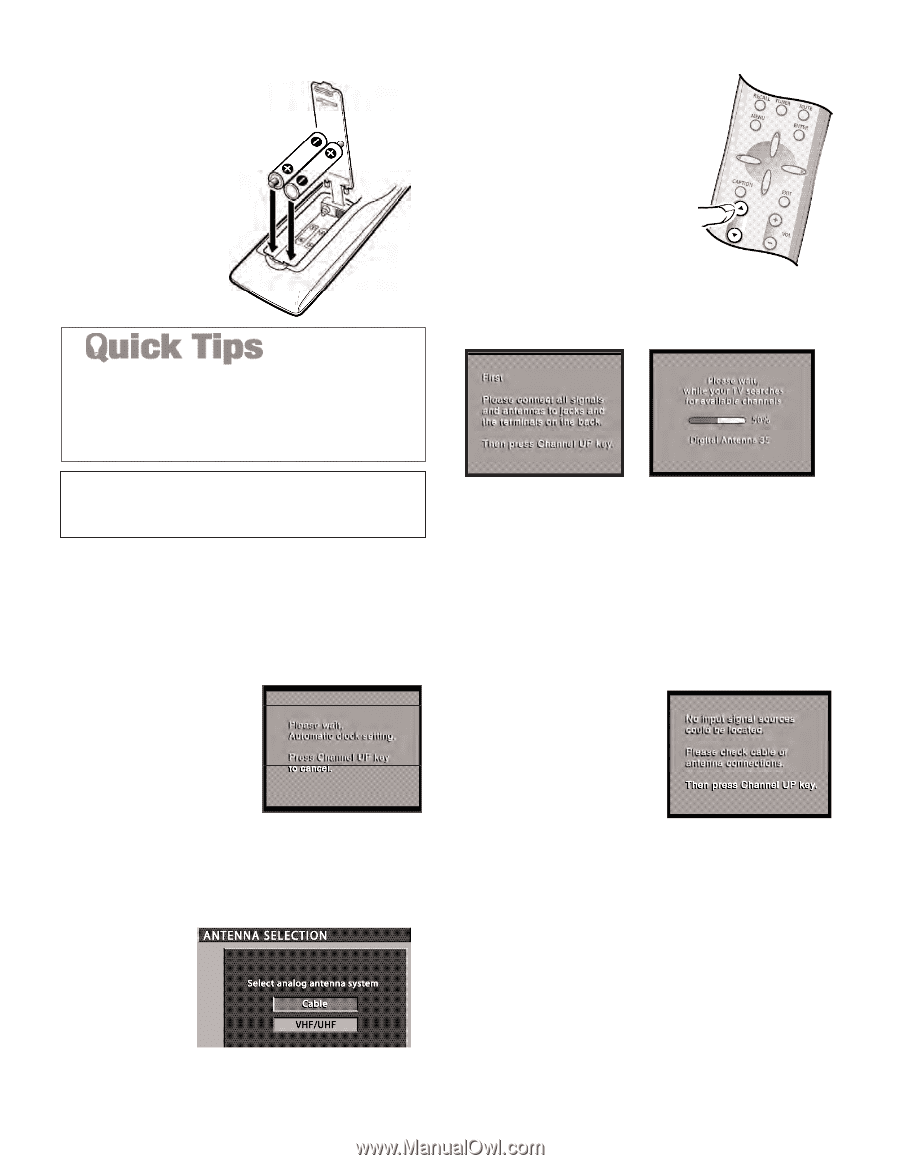
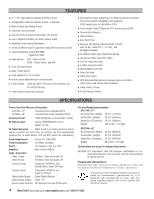
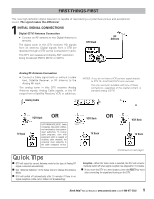
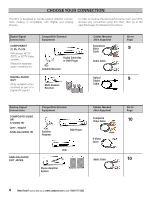
2 INSTALL TWO "AAA" BATTERIES • Install two "AAA" Batteries (not included) so that the "+" and "-" marks on the batteries match the "+" and "-" marks inside the Remote. To review the Remote functions, go to Pages 11 ~ 12. 3CHANNEL SEARCH When the television is powered on for the first time, it automatically checks for the presence of an RF signal. • Press the POWER key to turn on the DTV. • Then press the CHANNEL UP key to automatically search for available channels: Digital (ATSC) and Analog (NTSC). The Channel Search contains two processes that are executed simultaneously for digital and analog channels. I Remove the batteries if the remote control will not be used for a month or more. Weak batteries may leak and cause damage. (Normal battery life is roughly six months.) I If batteries have leaked in the Remote Control Unit, carefully wipe the case clean and load new batteries. IMPORTANT NOTE: Spent or discharged batteries must be recycled or disposed properly in compliance with all applicable laws. For detailed information, contact your local County Solid Waste Authority. 4AUTO CLOCK SETTING (Optional) After channel search is complete, the DTV will begin Auto Clock setting. This feature searches for a local PBS station that is broadcasting an extended data service signal. This signal is used to automatically set the clock/day. (This may take several seconds.) To cancel auto clock setting, press the CHANNEL UP key. (To set the clock manually, see page 19.) 5ANTENNA SELECTION (Optional) To change the initial ANALOG tuning system setup (from antenna to cable or cable to antenna), use the on-screen menu. See "Antenna Selection" on page 15. NOTES: The on-screen message for digital search will appear with a progress bar and percentile number displayed across the bottom of the screen (to indicate activity) as the search process continues. (Channel numbers will appear under the progress bar only when a digital channel is found.) Channel information found during the channel search is stored in the Channel Scan Memory database. After the channel search is completed, the DTV will tune to the lowest Digital channel or lowest Analog channel if no digital channels are found. If the DTV does not detect any digital or analog channels, a message advising the viewer to check the cables and antenna connections will appear. In this case, you must press the CHANNEL UP key again to repeat the channel search process. If after two searches the DTV still fails to detect any channels, the DTV will tune to analog channel 3. These two channel searches are necessary even if you plan to use the DTV only as a monitor. If no analog or digital channels are found after the second search, Channel Search will default to off-air analog channels 2 through 69 and digital channel D3-1. Select analog channels using the remote control keypad. See page 11, item number 3. 6 Need help? Visit our Web site at www.sanyoctv.com or Call 1-800-877-5032
-
 1
1 -
 2
2 -
 3
3 -
 4
4 -
 5
5 -
 6
6 -
 7
7 -
 8
8 -
 9
9 -
 10
10 -
 11
11 -
 12
12 -
13
-
14
-
15
-
16
-
17
-
18
-
19
-
20
-
21
-
22
-
23
-
24
-
25
-
26
-
27
-
28
-
29
-
30
-
31
-
32
-
33
-
34
-
35
-
36
-
37
-
38
-
39
-
40
-
41
-
42
-
43
-
44
-
45
-
46
-
47
-
48
-
49
-
50
-
51
-
52
-
53
-
54
-
55
-
56
-
57
-
58
-
59
-
60
-
61
-
62
-
63
-
64
-
65
-
66
-
67
-
68
-
69
-
70
-
71
 |
 |