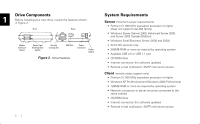
Seagate OneTouch II OneTouch II SBE Install Guide - Page 9
Welcome to Maxtor OneTouch Setup, Ready to Install - instructions
 |
View all Seagate OneTouch II manuals
Add to My Manuals
Save this manual to your list of manuals |
Page 9 highlights
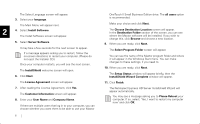
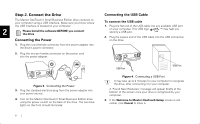
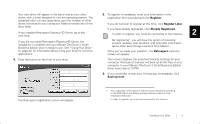
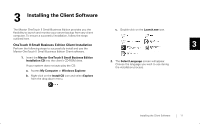
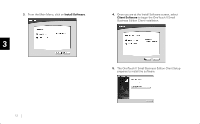
If you have chosen not to install Retrospect, eject the Install CD and go directly to "Step 2. Connect the Drive" on Custom option, you will choose individual components and specify an install location before the installation begins. page 8. If you have chosen to install Retrospect, please do not If you do not install Retrospect Express HD Server, you will not be able to use it with the OneTouch backup feature eject the Install CD and go to the next step. described later in this guide. Make your choice and click Next. 2 12. Click Next. You may see a message that the Microsoft.NET software The Ready to Install screen appears. will be installed on your computer. If so, follow the onscreen instructions to complete the installation. 18. If you're ready to install the Retrospect software, click Install. The Retrospect Express HD Server welcome screen will appear. 13. Click Next. The License Agreement screen will appear. 14. After reading the agreement, select "I accept..." and click Next. After the software is installed on your computer, the message "InstallShield Wizard Completed" will appear. 19. Click the Finish button. If a message appears asking you to restart, follow the on-screen directions to restart your computer. The Customer Information screen will appear. 15. Enter your User Name and Organization. Make your choice and click Next. 16. Fill in your information and click Next. The Welcome to Maxtor OneTouch Setup screen will appear and a Maxtor OneTouch shortcut icon will appear on your desktop. 20. Please remove the Maxtor Install CD from your computer. 21. Proceed to the next section: Connect the Drive. The Setup Type screen will appear. 17. Choose the Recommended option to install all of the Retrospect Software (recommended). If you choose the Installing Your Drive 7
-
 1
1 -
2
-
3
-
 4
4 -
 5
5 -
 6
6 -
 7
7 -
 8
8 -
 9
9 -
 10
10 -
 11
11 -
 12
12 -
 13
13 -
 14
14 -
15
-
16
-
17
-
18
-
19
-
20
-
21
-
22
-
23
-
24
-
25
-
26
-
27
-
28
-
29
-
30
-
31
-
32
-
33
-
34
-
35
-
36
-
37
-
38
-
39
 |
 |