Sharp R-320HW R-320HK/HW/HQ Operation Manual - Page 19
Multiple Sequence, Cooking, Timer, Custom Help
 |
UPC - 074000611511
View all Sharp R-320HW manuals
Add to My Manuals
Save this manual to your list of manuals |
Page 19 highlights
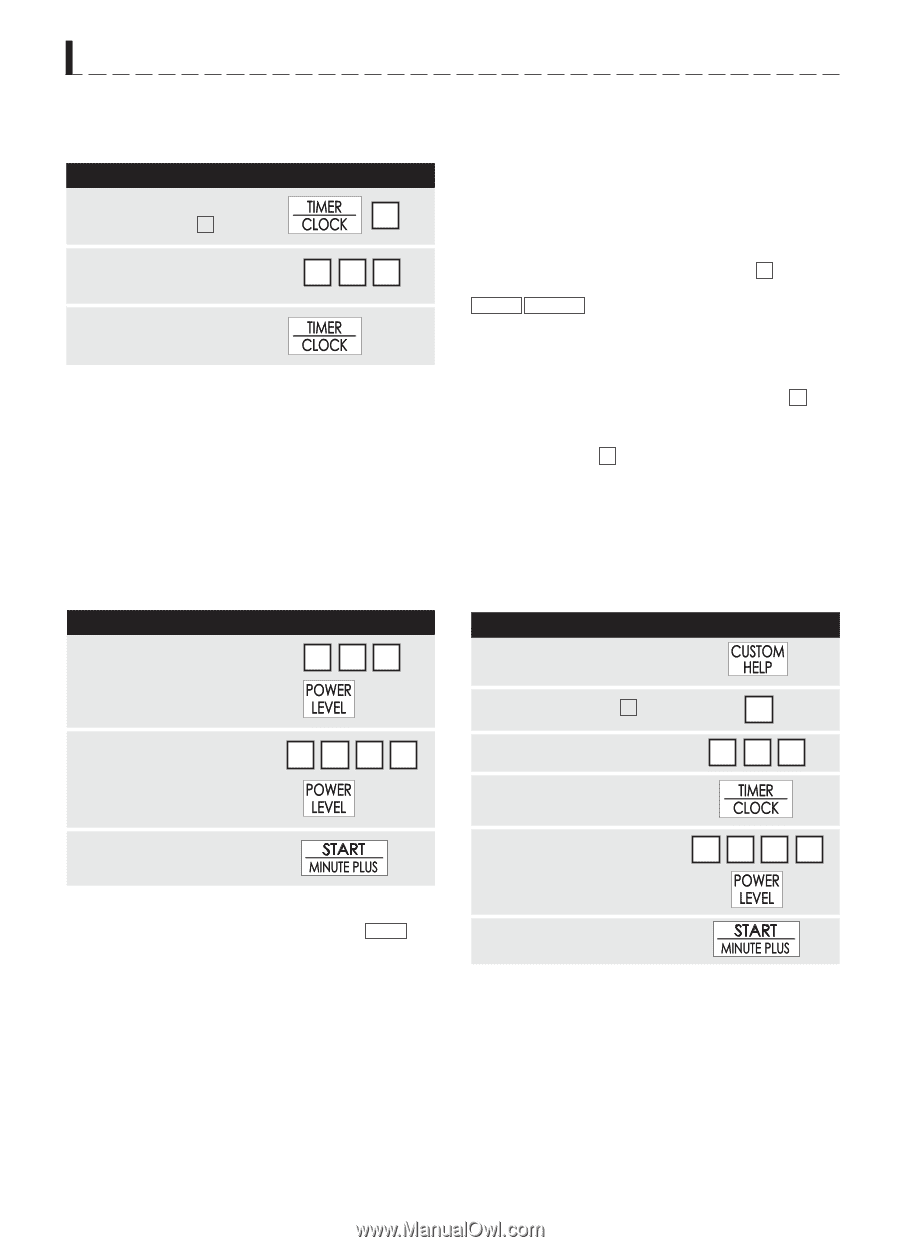
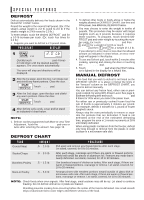
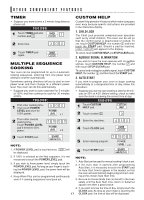
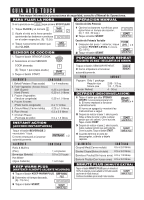
OTHER CONVENIENT FEATURES TIMER • Suppose you want to time a 3-minute long distance phone call. PROCEDURE 1 Touch TIMER pad and number pad 1 . 1 2 Enter time. 300 3 Touch TIMER pad again. MULTIPLE SEQUENCE COOKING Your oven can be programmed for up to 4 automatic cooking sequences, switching from one power level setting to another automatically. Sometimes cooking directions tell you to start on one power level and then change to a different power level. Your oven can do this automatically. • Suppose you want to cook roast beef for 5 minutes at 100% and then continue to cook for 30 minutes at 50%. PROCEDURE 1 First enter cooking time. Then touch POWER LEVEL pad once for 100% power. 500 x 1 2 Then enter second cooking time. Touch POWER LEVEL pad 6 times for 50% power. 3000 x 6 CUSTOM HELP Custom Help provides 4 features which make using your oven easy because specific instructions are provided in the interactive display. 1. CHILD LOCK The Child Lock prevents unwanted oven operation such as by small children. The oven can be set so that the control panel is deactivated or locked. To set, touch CUSTOM HELP, the number 1 and then touch the START pad. Should a pad be touched, CHILD LOCK ON will appear in the display. To cancel, touch CUSTOM HELP and STOP/CLEAR pads. 2. AUDIBLE SIGNAL ELIMINATION If you wish to have the oven operate with no audible signals, touch CUSTOM HELP, the number 2 and then touch STOP/CLEAR pad. To cancel and restore the audible signal, touch CUSTOM HELP, the number 2 and then touch the START pad. 3. AUTO START If you wish to program your oven to begin cooking automatically at a designated time of day, follow this procedure: • Suppose you want to start cooking a stew for 20 minutes on 50% at 4:30. Before setting, check to make sure the clock is showing the correct time of day. PROCEDURE 1 Touch CUSTOM HELP pad. 2 Touch number 3 . 3 3 Enter the start time. 430 4 Touch CLOCK pad. 3 Touch START pad. 2000 5 Enter cooking program. NOTE: x 6 1. If POWER LEVEL pad is touched once, HIGH will be displayed. 6 Touch START pad. 2. If 100% is selected as the final sequence, it is not necessary to touch the POWER LEVEL pad. 3. If you wish to know power level, simply touch the POWER LEVEL pad. As long as your finger is touching the POWER LEVEL pad, the power level will be displayed. 4. Keep Warm Plus can be programmed continuously even if 4 cooking sequences have been set. NOTE: 1. Auto Start can be used for manual cooking if clock is set. 2. If the oven door is opened after programming Auto Start, it is necessary to touch the START pad for Auto Start time to appear in the readout so that the oven will automatically begin programmed cooking at the chosen Auto Start time. 3. Be sure to choose foods that can be left in the oven safely until the Auto Start time. Acorn or butternut squash are often a good choice. 4. If you wish to know the time of day, simply touch the CLOCK pad. As long as your finger is touching the 17 CLOCK pad, the time of day will be displayed.
-
 1
1 -
2
-
3
-
4
-
5
-
6
-
7
-
8
-
9
-
10
-
11
-
12
-
13
-
 14
14 -
 15
15 -
 16
16 -
 17
17 -
 18
18 -
 19
19 -
 20
20 -
 21
21 -
 22
22 -
 23
23 -
 24
24
 |
 |