Sharp XL-HP500 Operation Manual - Page 25
Tape Recording
 |
View all Sharp XL-HP500 manuals
Add to My Manuals
Save this manual to your list of manuals |
Page 25 highlights
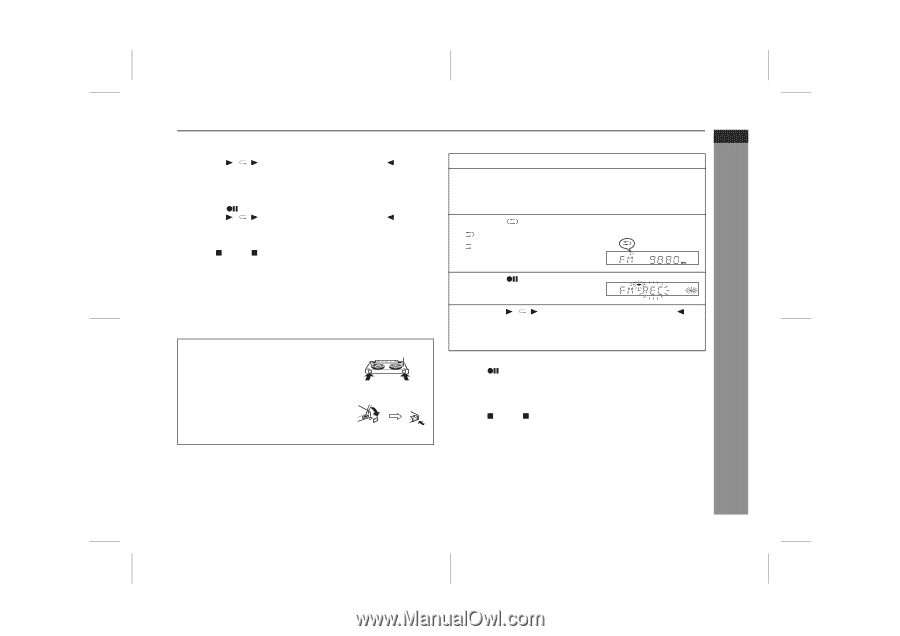
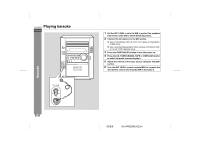
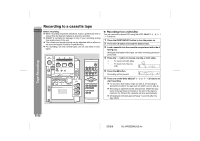
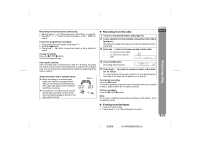
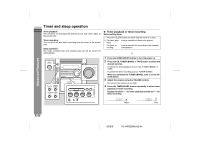
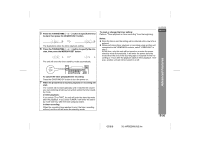
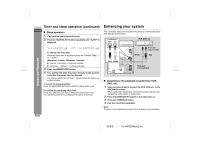
Recording from several CDs continuously: 1 Perform steps 1 - 5 in "Recording from a CD (CDs)" on page 23. 2 Press the / ( ) button to record on side A, or the button for side B. To perform programmed recording: 1 Programme discs and tracks. (See page 17.) 2 Press the button. 3 Press the / ( ) button to record on side A, or the side B. button for To stop recording: Press the (TAPE ) button. The CD and tape will stop. Auto restart function: If the recording side is switched from side A to B during recording, the system will record the interrupted track on side B from its beginning. The recording will be made without cutting the beginning of the track on side B. Erase-prevention tab of cassette tapes: ! When recording on a cassette tape, make sure that the erase-prevention tabs are not removed. Cassettes have removable tabs that prevent accidental recording or erasing. ! To protect the recorded sound, remove the tab after recording. Cover the tab hole with adhesive tape to record on the tape without the tab. Tab for side B Side A Tab for side A " Recording from the radio 1 Tune in to the desired station. (See page 18.) 2 Load a cassette into the cassette compartment with side A facing you. Wind past the leader of the tape, on which recording cannot be performed. 3 Press the button to choose one side or both sides. ... To record on both sides. ... To record on only one side. XL-HP500W ENGLISH Tape Recording 4 Press the button. Recording will be paused. 5 Press the / ( ) button to record on side A, or the but- ton for side B. To record on both sides, begin on side A. (If recording is started from side B, the tape will not switch over to side A.) To interrupt recording: Press the button. To resume recording, press the same recording button you pressed in step 5. Other buttons do not allow resuming. To stop recording: Press the (TAPE ) button. Note: If you hear a whistling noise whilst recording an AM station, move the AM loop aerial. " Erasing recorded tapes 1 Press the TAPE button. 2 Follow steps 2 - 5 in "Recording from the radio". E-24 02/8/6 XL-HP500W(A)3.fm
-
 1
1 -
2
-
3
-
4
-
5
-
6
-
7
-
8
-
9
-
10
-
11
-
12
-
13
-
14
-
15
-
16
-
17
-
18
-
19
-
 20
20 -
 21
21 -
 22
22 -
 23
23 -
 24
24 -
 25
25 -
 26
26 -
 27
27 -
 28
28 -
 29
29 -
 30
30 -
31
-
32
-
33
-
34
-
35
-
36
 |
 |