Sharp XL-HP500 Operation Manual - Page 28
Enhancing your system
 |
View all Sharp XL-HP500 manuals
Add to My Manuals
Save this manual to your list of manuals |
Page 28 highlights
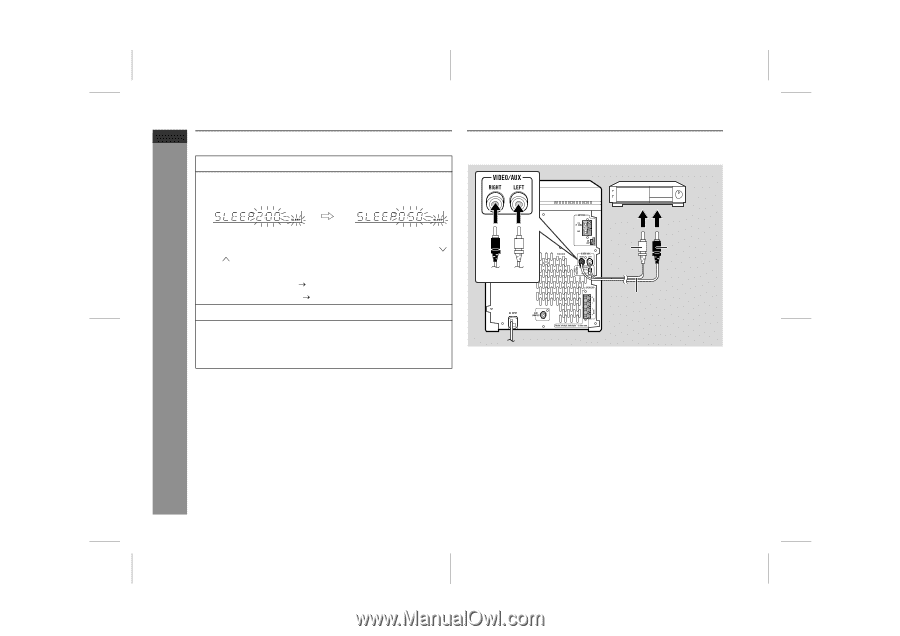
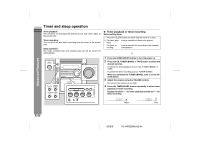
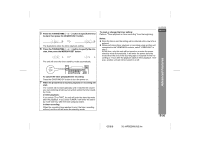
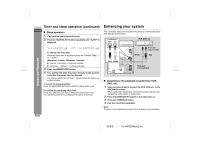
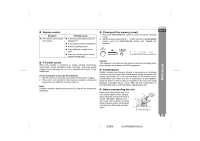
XL-HP500W Timer and sleep operation (continued) ENGLISH " Sleep operation 1 Play back the desired sound source. 2 Press the TIMER/SLEEP button repeatedly until "SLEEP" is displayed. Enhancing your system The connection lead is not included. Purchase a commercially available lead as shown below. VCR, DVD, etc. Advanced Features To change the sleep time: Whilst the sleep time is displayed, press the TUNING/TIME ( or ) button. (Maximum: 3 hours - Minimum: 1 minute) ! 3 hours - 5 minutes 5-minute intervals ! 5 minutes - 1 minute 1-minute intervals 3 Press the MEMORY/SET button. 4 Your system will enter the power stand-by mode automat- ically after the preset time has elapsed. The volume will be turned down 1 minute before the sleep operation finishes. To cancel the sleep operation: Press the ON/STAND-BY button whilst the sleep timer is set. To confirm the remaining sleep time: Press the TIMER/SLEEP button whilst the sleep timer is set. The remaining sleep time is displayed for about 5 seconds. Red White White To the line output sockets Red RCA lead (not supplied) " Listening to the playback sounds from VCR, DVD, etc. 1 Use a connection lead to connect the VCR, DVD, etc. to the VIDEO/AUX sockets. When using video equipment, connect the audio output to this unit and the video output to a television. 2 Press the ON/STAND-BY button to turn the power on. 3 Press the VIDEO/AUX button. 4 Play the connected equipment. Note: To prevent hum interference, place this unit away from a television. E-27 02/8/6 XL-HP500W(A)3.fm
-
 1
1 -
2
-
3
-
4
-
5
-
6
-
7
-
8
-
9
-
10
-
11
-
12
-
13
-
14
-
15
-
16
-
17
-
18
-
19
-
20
-
21
-
22
-
 23
23 -
 24
24 -
 25
25 -
 26
26 -
 27
27 -
 28
28 -
 29
29 -
 30
30 -
 31
31 -
 32
32 -
 33
33 -
34
-
35
-
36
 |
 |