Sony CPD-E400 Operating Instructions - Page 10
Adjusting the brightness and, contrast, Adjusting the centering of the, picture CENTER, Adjusting
 |
View all Sony CPD-E400 manuals
Add to My Manuals
Save this manual to your list of manuals |
Page 10 highlights
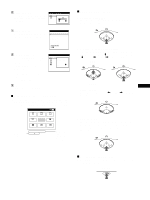
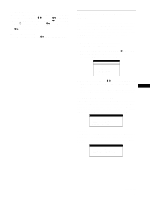
Adjusting the brightness and contrast Brightness and contrast adjustments are made using a separate BRIGHTNESS/CONTRAST menu. These settings are stored in memory for all input signals. 1 Move the control button in any direction. The BRIGHTNESS/CONTRAST menu appears on the screen. BR I GHTNESS / CONTRAS T 31 85 2 Move the control button m/M to adjust the brightness ( ), and
-
 1
1 -
2
-
3
-
4
-
 5
5 -
 6
6 -
 7
7 -
 8
8 -
 9
9 -
 10
10 -
 11
11 -
 12
12 -
 13
13 -
 14
14 -
 15
15 -
16
-
17
-
18
-
19
-
20
-
21
-
22
-
23
-
24
-
25
-
26
-
27
-
28
-
29
-
30
-
31
-
32
-
33
-
34
-
35
-
36
-
37
-
38
-
39
-
40
-
41
-
42
-
43
-
44
-
45
-
46
-
47
-
48
-
49
-
50
-
51
-
52
 |
 |

10
Adjusting the brightness and
contrast
Brightness and contrast adjustments are made using a separate
BRIGHTNESS/CONTRAST menu.
These settings are stored in memory for all input signals.
1
Move the control button in any direction.
The BRIGHTNESS/CONTRAST menu appears on the
screen.
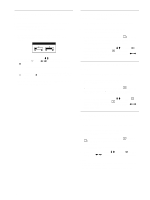
2
Move the control button
m
/
M
to adjust the
brightness (
), and
<
/
,
to adjust the contrast
(
6
).
The menu automatically disappears after about 3 seconds.
If you set sRGB to “ON” on the color setting, the brightness
(
) and contrast (
6
) are automatically set to “31” and “85”
respectively.
For more information about sRGB, see “Adjusting the color
of the picture (COLOR)” on page 11.
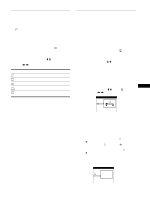
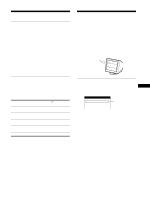
Adjusting the centering of the
picture (CENTER)
This setting is stored in memory for the current input signal.
1
Press the center of the control button.
The main MENU appears on the screen.
2
Move the control button to highlight
CENTER
and press the center of the control button again.
The SIZE/CENTER menu appears on the screen.
3
First move the control button
m
/
M
to select
for
horizontal adjustment, or
for vertical
adjustment. Then move the control button
<
/
,
to
adjust the centering.
Adjusting the size of the picture
(SIZE)
This setting is stored in memory for the current input signal.
1
Press the center of the control button.
The main MENU appears on the screen.
2
Move the control button to highlight
SIZE and
press the center of the control button again.
The SIZE/CENTER menu appears on the screen.
3
First move the control button
m
/
M
to select
for
horizontal adjustment, or
for vertical
adjustment. Then move the control button
<
/
,
to
adjust the size.
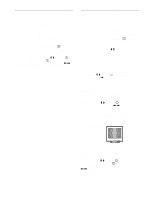
Enlarging or reducing the picture
(ZOOM)
This setting is stored in memory for the current input signal.
1
Press the center of the control button.
The main MENU appears on the screen.
2
Move the control button to highlight
SIZE or
CENTER and press the center of the control
button again.
The SIZE/CENTER menu appears on the screen.
3
Move the control button
m
/
M
to select
(zoom),
and move
<
/
,
to enlarge or reduce the picture.
Notes
•
Adjustment stops when either the horizontal or vertical size reaches its
maximum or minimum value.
•
The horizontal adjustment value is not displayed in the menu.
31
85
BR I GHTNESS / CONTRAST