Sony CPD-G220R Operating Instructions - Page 11
Additional settings OPTION
 |
View all Sony CPD-G220R manuals
Add to My Manuals
Save this manual to your list of manuals |
Page 11 highlights
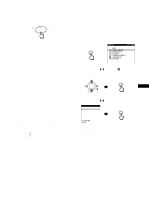
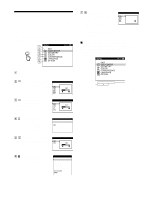
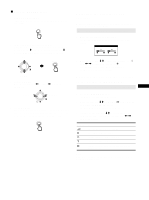
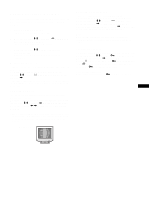
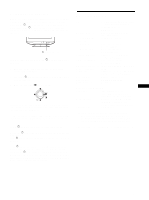
Additional settings (OPTION) You can manually degauss (demagnetize) the monitor, adjust the moire cancellation level, reset to factory setting, and lock the controls. 1 Press the MENU/OK button. The main MENU appears on the screen. 2 Move the joystick m/M to highlight OPTION and press the MENU/OK button. The OPTION menu appears on the screen. 3 Move the joystick m/M to select the desired adjustment item. Adjust the selected item according to the following instructions. Degaussing the screen The monitor is automatically demagnetized (degaussed) when the power is turned on. To manually degauss the monitor, first move the joystick m/M to select (DEGAUSS). Then move the joystick ,. The screen is degaussed for about 5 seconds. If a second degauss cycle is needed, allow a minimum interval of 20 minutes for the best result. Adjusting the moire* If elliptical or wavy patterns appear on the screen, adjust the moire cancellation level. To adjust the amount of moire cancellation, first move the joystick m/M to select (MOIRE ADJUST). Then move the joystick
-
 1
1 -
2
-
3
-
4
-
5
-
 6
6 -
 7
7 -
 8
8 -
 9
9 -
 10
10 -
 11
11 -
 12
12 -
 13
13 -
 14
14 -
 15
15 -
 16
16 -
17
-
18
-
19
 |
 |
