Sony HCD-C450 Operating Instructions - Page 24
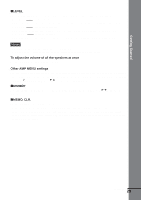
If you connect a digital satellite receiver with the OPTICAL jack - model
 |
View all Sony HCD-C450 manuals
Add to My Manuals
Save this manual to your list of manuals |
Page 24 highlights
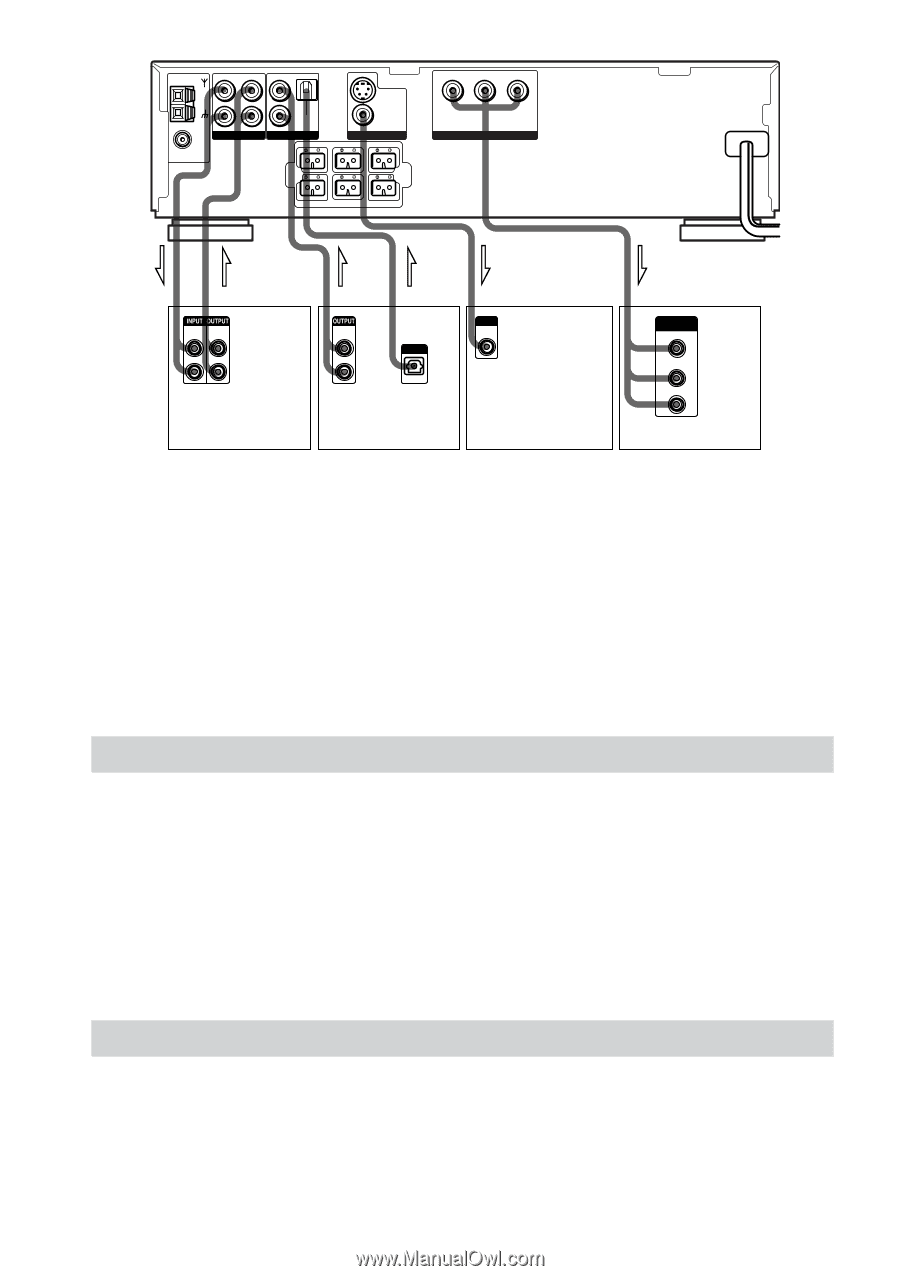
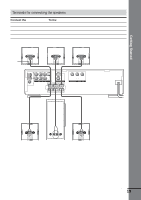
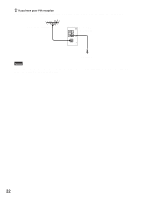
OUT IN L AM COAXIAL FM 75Ω R AUDIO 1 IN L S VIDEO (DVD ONLY) R OPTICAL DIGITAL IN AUDIO 2 FRONT R VIDEO MONITOR OUT CENTER FRONT L Y PB/CB PR/CR COMPONENT VIDEO OUT REAR R WOOFER REAR L SPEAKER IN OUT AUDIO AUDIO IN OUT L R OUT AUDIO OUT L R OUT OUTPUT OPTICAL IN INPUT VIDEO IN IN COMPOMENT VIDEO IN Y PB/B-Y PR/R-Y VCR Digital satellite receiver TV monitor Equipment with component video input jacks If you connect a digital satellite receiver with the OPTICAL jack The digital satellite receiver can be connected to the OPTICAL jack instead of the AUDIO IN L/R jacks of the system. The system can accept both digital and analog signals. Digital signals have priority over analog signals. If the digital signal ceases, the analog signal will be processed after 2 seconds. If you connect a digital satellite receiver without the OPTICAL jack Connect the digital satellite receiver to the AUDIO IN L/R jacks of the system. Setup for the system (for Asian and Australian models) Setup is necessary for the system, depending on the TV monitor to be connected. The initial setting for Asian models is NTSC but the Australian model is PAL. If the color system of the TV is PAL* To set the system to PAL, turn on the system by pressing 1 on the remote while pressing X on the system. You need to hold X until DAV-C450 appears on the display. To reset to NTSC, turn off the system and then turn on again using the remote while pressing X on the system. * If the color system of the TV is NTSC, do the same operation above to set the system to NTSC. Connecting the AC Power Cord Before connecting the AC power cord of this system to a wall outlet, connect the speakers to the system (see page 18). Connect the AC power cord of your TV/video components to a wall outlet. 24GB
-
 1
1 -
2
-
3
-
4
-
5
-
6
-
7
-
8
-
9
-
10
-
11
-
12
-
13
-
14
-
15
-
16
-
17
-
18
-
 19
19 -
 20
20 -
 21
21 -
 22
22 -
 23
23 -
 24
24 -
 25
25 -
 26
26 -
 27
27 -
 28
28 -
 29
29 -
30
-
31
-
32
-
33
-
34
-
35
-
36
-
37
-
38
-
39
-
40
-
41
-
42
-
43
-
44
-
45
-
46
-
47
-
48
-
49
-
50
-
51
-
52
-
53
-
54
-
55
-
56
-
57
-
58
-
59
-
60
-
61
-
62
-
63
-
64
-
65
-
66
-
67
-
68
-
69
-
70
-
71
-
72
-
73
-
74
-
75
-
76
-
77
-
78
-
79
-
80
-
81
-
82
-
83
-
84
-
85
-
86
-
87
-
88
 |
 |