Sony HCD-ZX9 Instruction Manual - Page 28
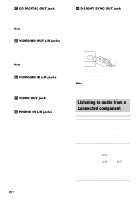
Listening to audio from a connected component
 |
View all Sony HCD-ZX9 manuals
Add to My Manuals
Save this manual to your list of manuals |
Page 28 highlights
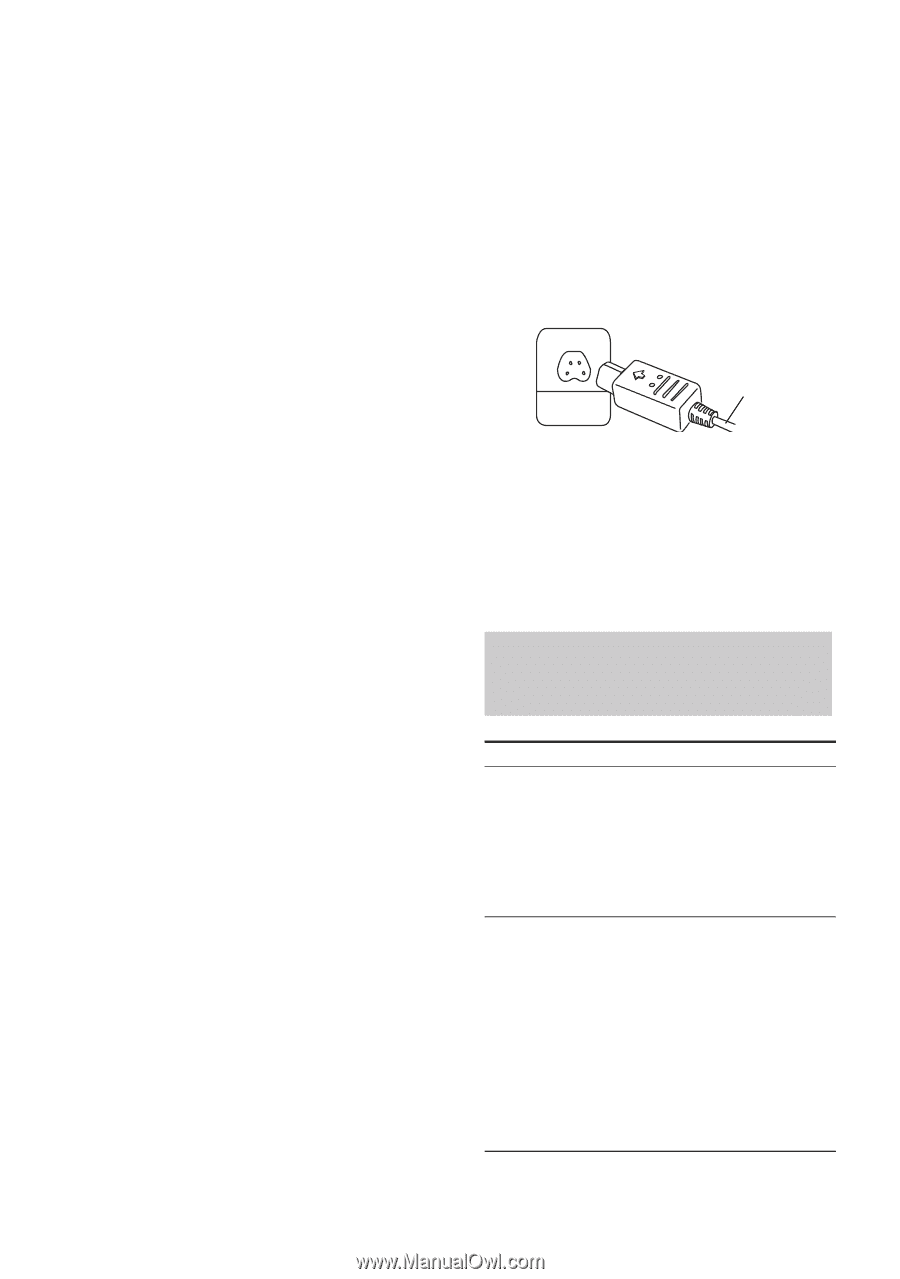
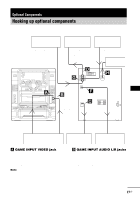
C CD DIGITAL OUT jack Use a digital optical cable (square, not supplied) to connect the digital input of the optional MD deck to this jack. You can then record digital audio from this system. Note There is no digital audio output from this jack during playback of MP3 audio tracks. D VIDEO/MD OUT L/R jacks Use audio cords (not supplied) to connect the audio input of the optional component (such as VCR or an MD deck) to these jacks. You can then output audio to that component from this system. Note There is no audio output from this jack during VIDEO or MD function. E VIDEO/MD IN L/R jacks Use audio cords (not supplied) to connect the audio output of the optional component (such as VCD or MD deck) to these jacks. You can then output audio through this system. F VIDEO OUT jack Use a video cable (not supplied) to connect the video input of TV to this jack. G PHONO IN L/R jacks Use audio cords (not supplied) to connect the audio output of the turntable to these jacks. You can then output audio through this system. H D-LIGHT SYNC OUT jack Connect the D-LIGHT SYNC controller (not supplied) to this jack. You need to connect the D-LIGHT SYNC controller to a lighting device* (not supplied). The lighting device will react according to the control signals transmitted by the D-LIGHT SYNC controller upon receiving music source from the system. For details on the use of the D-LIGHT SYNC controller and lighting device, refer to the operating instructions supplied with the respective device. D-LIGHT SYNC controller cord * Refer to the operating instructions supplied with the D-LIGHT SYNC controller for the recommended lighting device. Note The lighting effect may be different depending on the connected lighting device or the type of music being played back. Listening to audio from a connected component To Listen to a connected VCR Listen to a connected MD deck Do this 1 Connect the audio cords. See "Hooking up optional components" on page 27. 2 Press FUNCTION repeatedly until "VIDEO" appears in the display. Start playing the connected VCR. 1 Connect the audio cords. See "Hooking up optional components" on page 27. 2 Press ?/1 to turn off the system. 3 Hold down FUNCTION and press ?/1. Release ?/1 first, then release FUNCTION. The system turns on automatically and switches the function from VIDEO to MD. Start playing the connected MD deck. 28US
-
 1
1 -
2
-
3
-
4
-
5
-
6
-
7
-
8
-
9
-
10
-
11
-
12
-
13
-
14
-
15
-
16
-
17
-
18
-
19
-
20
-
21
-
22
-
 23
23 -
 24
24 -
 25
25 -
 26
26 -
 27
27 -
 28
28 -
 29
29 -
 30
30 -
 31
31 -
 32
32 -
 33
33 -
34
-
35
-
36
-
37
-
38
-
39
-
40
 |
 |