Sony HDR-CX700V Handycam® Handbook - Page 98
Additional information, Troubleshooting - problems
 |
UPC - 027242820135
View all Sony HDR-CX700V manuals
Add to My Manuals
Save this manual to your list of manuals |
Page 98 highlights
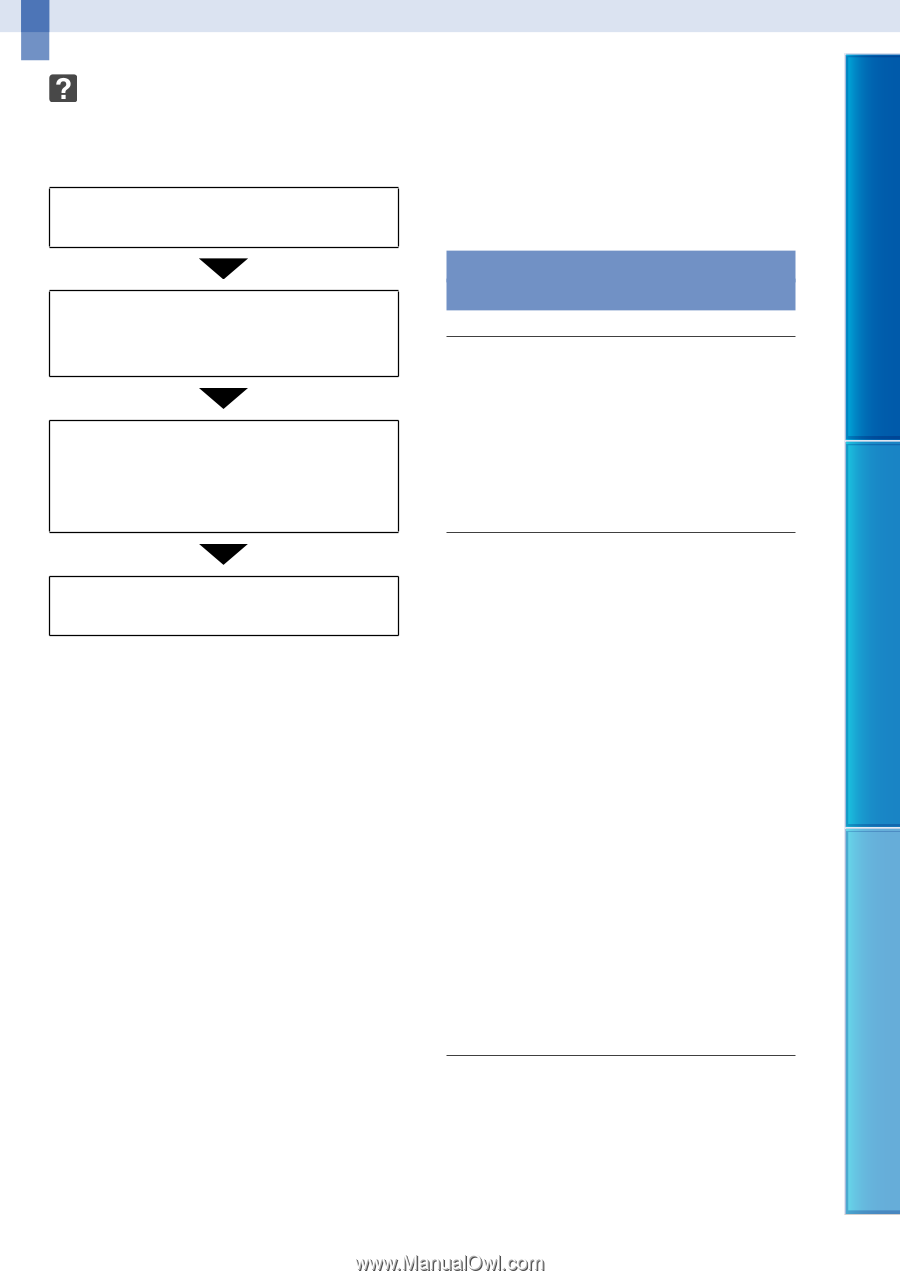
Additional information Troubleshooting Table of Contents Enjoy Useful Functions If you run into any problems using your camcorder, follow the steps below. Check the list (p. 98 to 108), and inspect your camcorder. Editing movies/photos on your camcorder...p. 103 Playback on the TV p. 104 Copying/Connecting to other devices........p. 104 Connecting to a computer p. 104 Disconnect the power source, attach the power source again after about 1 minute, and turn the camcorder on. Press RESET (p. 123) using a pointed object, and turn the camcorder on. If you press RESET, all settings, including the clock setting, are reset. Overall operations/Wireless Remote Commander The power does not turn on. Attach a charged battery pack to the camcorder (p. 14). The plug of the AC Adaptor has been disconnected from the wall outlet (wall socket). Connect it to the wall outlet (wall socket) (p. 14). Contact your Sony dealer or local authorized Sony service facility. Your camcorder may be required to initialize or change the current internal memory of your camcorder, depending on the problem. In the event of this, the data stored on the internal memory will be deleted. Be sure to save the data on the internal memory on other media (backup) before sending your camcorder for repair. We will not compensate you for any loss of internal memory data. During repair, we may check a minimum amount of data stored on the internal memory in order to investigate the problem. However, your Sony dealer will neither copy nor retain your data. Overall operations/Wireless Remote Commander p. 98 Batteries/power sources p. 99 LCD screen/viewfinder (HDR-CX700/ CX700V p. 100 Memory card p. 100 Recording p. 101 Playback p. 102 Playing back images stored on memory card on other devices p. 103 The camcorder does not operate even when the power is set to on. It takes a few seconds for your camcorder to be ready to shoot after the power is turned on. This is not a malfunction. Disconnect the AC Adaptor from the wall outlet (wall socket) or remove the battery pack, then reconnect it after about 1 minute. If the functions still do not work, press RESET (p. 123) using a pointed object. (If you press RESET, all settings, including the clock setting, are reset.) The temperature of your camcorder is extremely high. Turn off your camcorder and leave it for a while in a cool place. The temperature of your camcorder is extremely low. Leave your camcorder with the power of your camcorder on. Turn off your camcorder and take it to a warm place. Leave the camcorder there for a while, then turn on your camcorder. The menu settings have been changed automatically. While Intelligent Auto is active, some menu settings related to image quality will be changed automatically. US 98 Index
-
 1
1 -
2
-
3
-
4
-
5
-
6
-
7
-
8
-
9
-
10
-
11
-
12
-
13
-
14
-
15
-
16
-
17
-
18
-
19
-
20
-
21
-
22
-
23
-
24
-
25
-
26
-
27
-
28
-
29
-
30
-
31
-
32
-
33
-
34
-
35
-
36
-
37
-
38
-
39
-
40
-
41
-
42
-
43
-
44
-
45
-
46
-
47
-
48
-
49
-
50
-
51
-
52
-
53
-
54
-
55
-
56
-
57
-
58
-
59
-
60
-
61
-
62
-
63
-
64
-
65
-
66
-
67
-
68
-
69
-
70
-
71
-
72
-
73
-
74
-
75
-
76
-
77
-
78
-
79
-
80
-
81
-
82
-
83
-
84
-
85
-
86
-
87
-
88
-
89
-
90
-
91
-
92
-
 93
93 -
 94
94 -
 95
95 -
 96
96 -
 97
97 -
 98
98 -
 99
99 -
 100
100 -
 101
101 -
 102
102 -
 103
103 -
104
-
105
-
106
-
107
-
108
-
109
-
110
-
111
-
112
-
113
-
114
-
115
-
116
-
117
-
118
-
119
-
120
-
121
-
122
-
123
-
124
-
125
-
126
-
127
-
128
 |
 |