Sony KV-1981R Primary User Manual - Page 6
Presetting, Channels
 |
View all Sony KV-1981R manuals
Add to My Manuals
Save this manual to your list of manuals |
Page 6 highlights
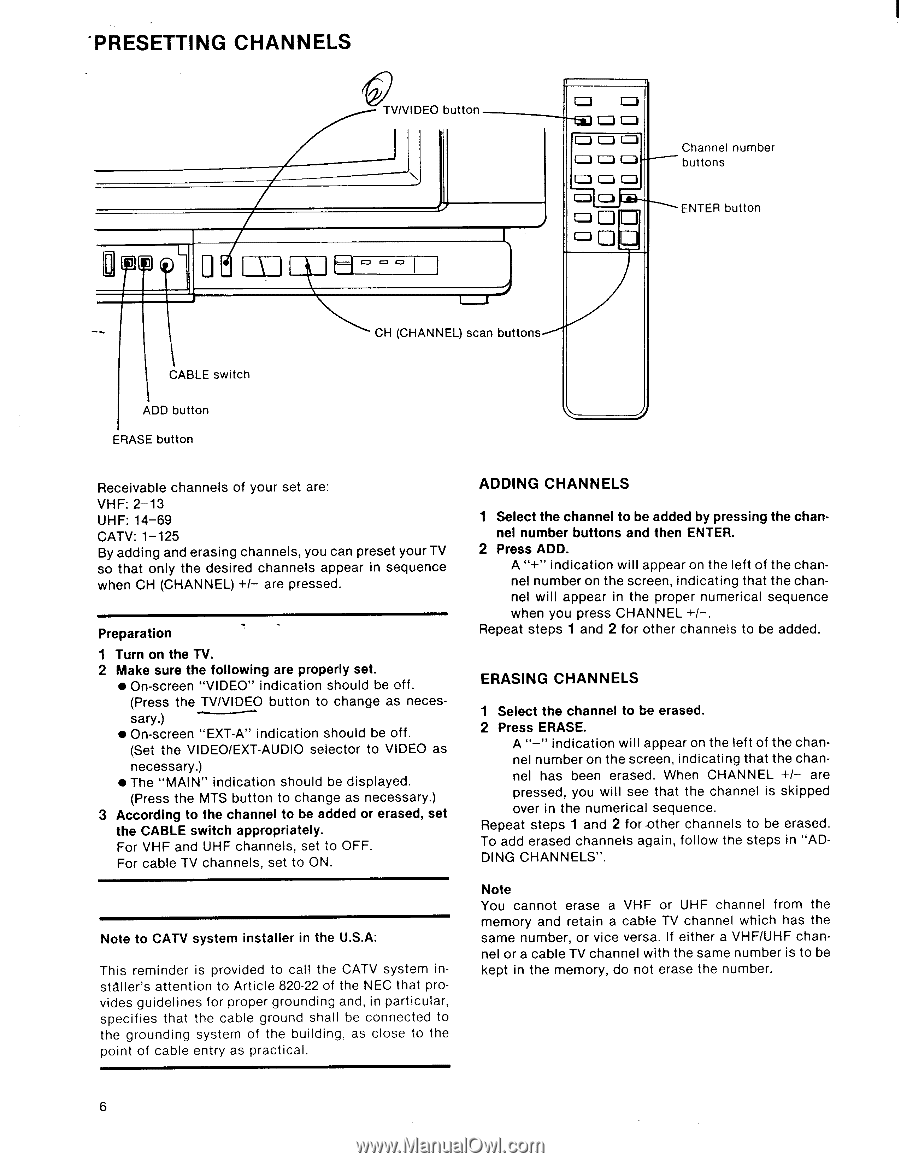
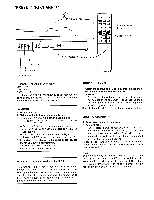
`PRESETTING CHANNELS ((V TV/VIDEO button I R 000 i O O --tia O O Channel number buttons ENTER button CABLE switch ADD button ERASE button CH (CHANNEL) scan buttons Receivable channels of your set are: VHF: 2-13 UHF: 14-69 CATV: 1-125 By adding and erasing channels, you can preset your TV so that only the desired channels appear in sequence when CH (CHANNEL) +/- are pressed. Preparation 1 Turn on the TV. 2 Make sure the following are properly set. • On-screen "VIDEO" indication should be off. (Press the TV/VIDEO button to change as necessary.) • On-screen "EXT-A" indication should be off. (Set the VIDEO/EXT-AUDIO selector to VIDEO as necessary.) • The "MAIN" indication should be displayed. (Press the MTS button to change as necessary.) 3 According to the channel to be added or erased, set the CABLE switch appropriately. For VHF and UHF channels, set to OFF. For cable TV channels, set to ON. Note to CATV system installer in the U.S.A: This reminder is provided to call the CATV system installer's attention to Article 820-22 of the NEC that provides guidelines for proper grounding and, in particular, specifies that the cable ground shall be connected to the grounding system of the building, as close to the point of cable entry as practical. ADDING CHANNELS 1 Select the channel to be added by pressing the channel number buttons and then ENTER. 2 Press ADD. A "+" indication will appear on the left of the channel number on the screen, indicating that the channel will appear in the proper numerical sequence when you press CHANNEL +/-. Repeat steps 1 and 2 for other channels to be added. ERASING CHANNELS 1 Select the channel to be erased. 2 Press ERASE. A "-" indication will appear on the left of the channel number on the screen, indicating that the channel has been erased. When CHANNEL +/- are pressed, you will see that the channel is skipped over in the numerical sequence. Repeat steps 1 and 2 for -other channels to be erased. To add erased channels again, follow the steps in "ADDING CHANNELS". Note You cannot erase a VHF or UHF channel from the memory and retain a cable TV channel which has the same number, or vice versa. If either a VHF/UHF channel or a cable TV channel with the same number is to be kept in the memory, do not erase the number. 6
-
 1
1 -
 2
2 -
 3
3 -
 4
4 -
 5
5 -
 6
6 -
 7
7 -
 8
8
 |
 |