Sony PMW-EX3 Operating Instructions - Page 79
Preparatory Settings, Shot-transition operation buttons and, indications
 |
View all Sony PMW-EX3 manuals
Add to My Manuals
Save this manual to your list of manuals |
Page 79 highlights
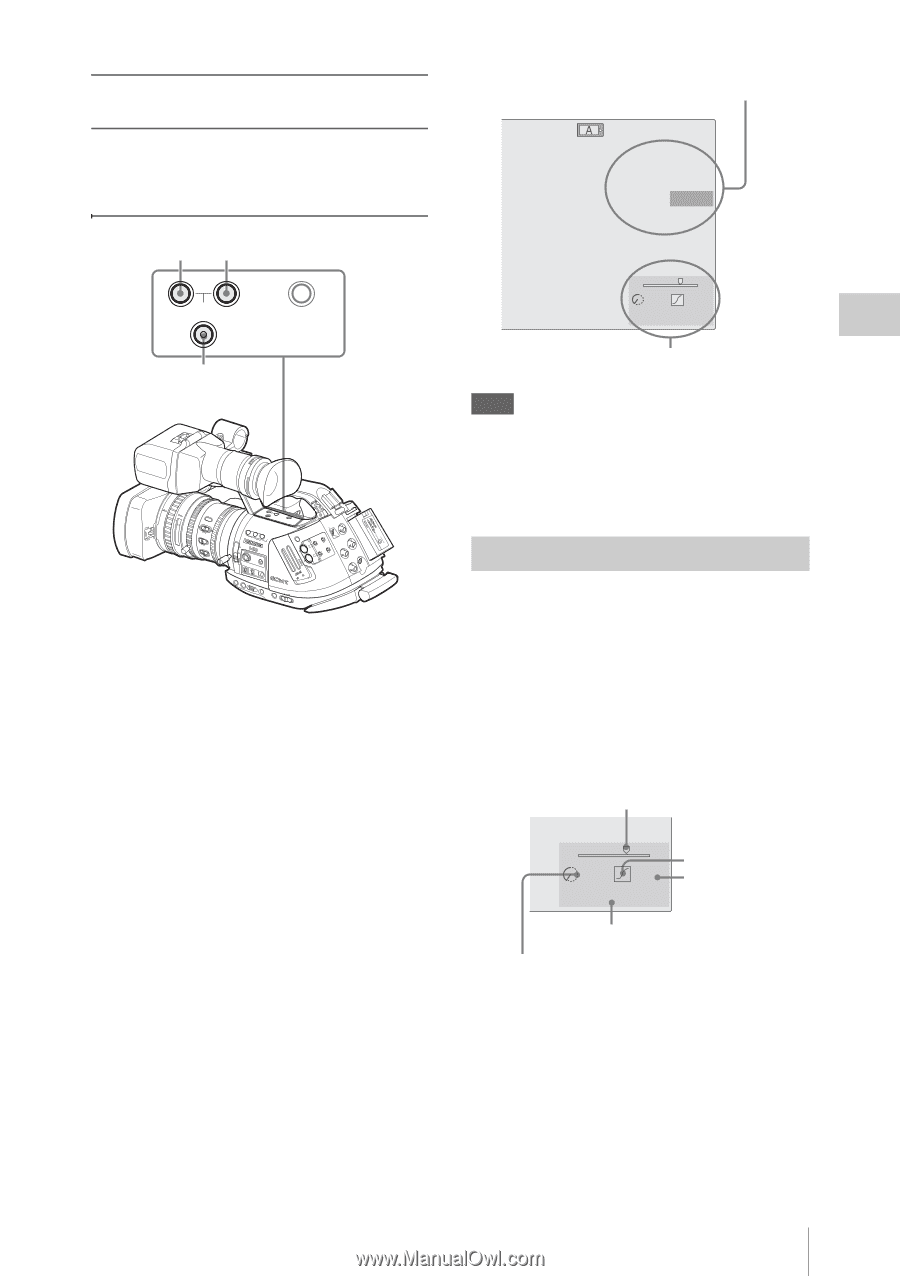
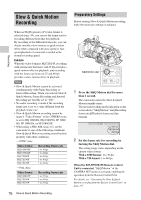
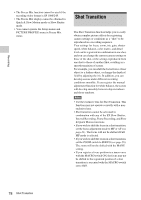
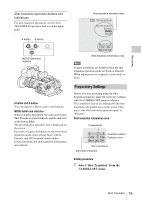
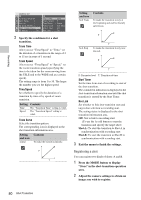
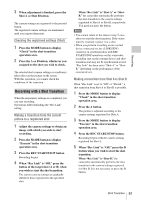
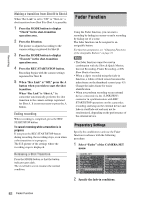
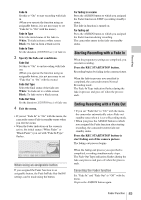
Recording Shot-transition operation buttons and indications For shot-transition operations, use the three TRANSITION operation buttons on the upper panel. A button B button A B SHOT TRANSITION TC/U-BIT/DURATION MODE button and indicator 16:9 WIDE SCREEN AF MFFull 10 15 30 3 5 10 ft mm 5.8 10 15 25 40 81.2 SSHTOEATDY IRIS MANU AUTO MACRO OFF ON FOCUS MANPUUSHAUATFO C 16 8 5.6 4 2.8 1.9 A TRANSSHITOIOT N B TC/U-BIT/DURATION FILNTEDR LENS INFO BRT DISP HISTOGRAM 1 2 ASSIGN 3 2 ACCESS B A 1 OFF GAIN L M H + FRAMEFULL AUTO WHITE BAL ATW BARS/CAM B A PRST STATUS MENU SEL/SET CANCEL PPIRCOTFUIRLEE CAMERA OFF MEDIA SDI OUT HDV SLOT SELECT IN CAHUL-E1DVIOELCH-2ASAUUEMDTLAIOEONCUTALAUMTAAONUUDEAIINXLOT IN EXT GENLOCK IN TC IN TC OUT PMW-EX3 OPEN REMOTE A button and B button You can register a Shot to each of the buttons. MODE button and indicator When you press this button, the camcorder enters Shot Transition operation mode, and the indicator of the button lights. The shot transition operation area is displayed on the screen. Each time you press the button, the shot-transition operation mode cycles among Store, Check, Execute, and Off (normal Camera mode). In Execute mode, the shot transition information area appears. Shot-transition operation area REC TCG 00:00:00:00 Shot Transition Execute Shot-A Shot-B S E 0s 12s Rec Link : Of f Shot-transition information area Note Camera operations are disabled when the shot transition operation mode is Check or Execute. When adjustments are required, set the mode to Store. Preparatory Settings Before you start recording using the Shot Transition function, make the necessary settings with the CAMERA SET menu in advance. The conditions you set are indicated in the shot transition information area on the screen when you set the shot-transition operation mode to "Execute." Shot-transition information area Progress bar S E Transition pattern 0 s 12 s Transition time Rec Link : Of f Rec Link status Start timer indication Setting procedure 1 Select "Shot Transition" from the CAMERA SET menu. Shot Transition 79
-
 1
1 -
2
-
3
-
4
-
5
-
6
-
7
-
8
-
9
-
10
-
11
-
12
-
13
-
14
-
15
-
16
-
17
-
18
-
19
-
20
-
21
-
22
-
23
-
24
-
25
-
26
-
27
-
28
-
29
-
30
-
31
-
32
-
33
-
34
-
35
-
36
-
37
-
38
-
39
-
40
-
41
-
42
-
43
-
44
-
45
-
46
-
47
-
48
-
49
-
50
-
51
-
52
-
53
-
54
-
55
-
56
-
57
-
58
-
59
-
60
-
61
-
62
-
63
-
64
-
65
-
66
-
67
-
68
-
69
-
70
-
71
-
72
-
73
-
 74
74 -
 75
75 -
 76
76 -
 77
77 -
 78
78 -
 79
79 -
 80
80 -
 81
81 -
 82
82 -
 83
83 -
 84
84 -
85
-
86
-
87
-
88
-
89
-
90
-
91
-
92
-
93
-
94
-
95
-
96
-
97
-
98
-
99
-
100
-
101
-
102
-
103
-
104
-
105
-
106
-
107
-
108
-
109
-
110
-
111
-
112
-
113
-
114
-
115
-
116
-
117
-
118
-
119
-
120
-
121
-
122
-
123
-
124
-
125
-
126
-
127
-
128
-
129
-
130
-
131
-
132
-
133
-
134
-
135
-
136
-
137
-
138
-
139
-
140
-
141
-
142
-
143
-
144
-
145
-
146
-
147
-
148
-
149
-
150
-
151
-
152
-
153
-
154
-
155
-
156
-
157
-
158
-
159
-
160
-
161
 |
 |