Sony RCD-W10 Operating Instructions - Page 28
Using the Setup Menu
 |
View all Sony RCD-W10 manuals
Add to My Manuals
Save this manual to your list of manuals |
Page 28 highlights
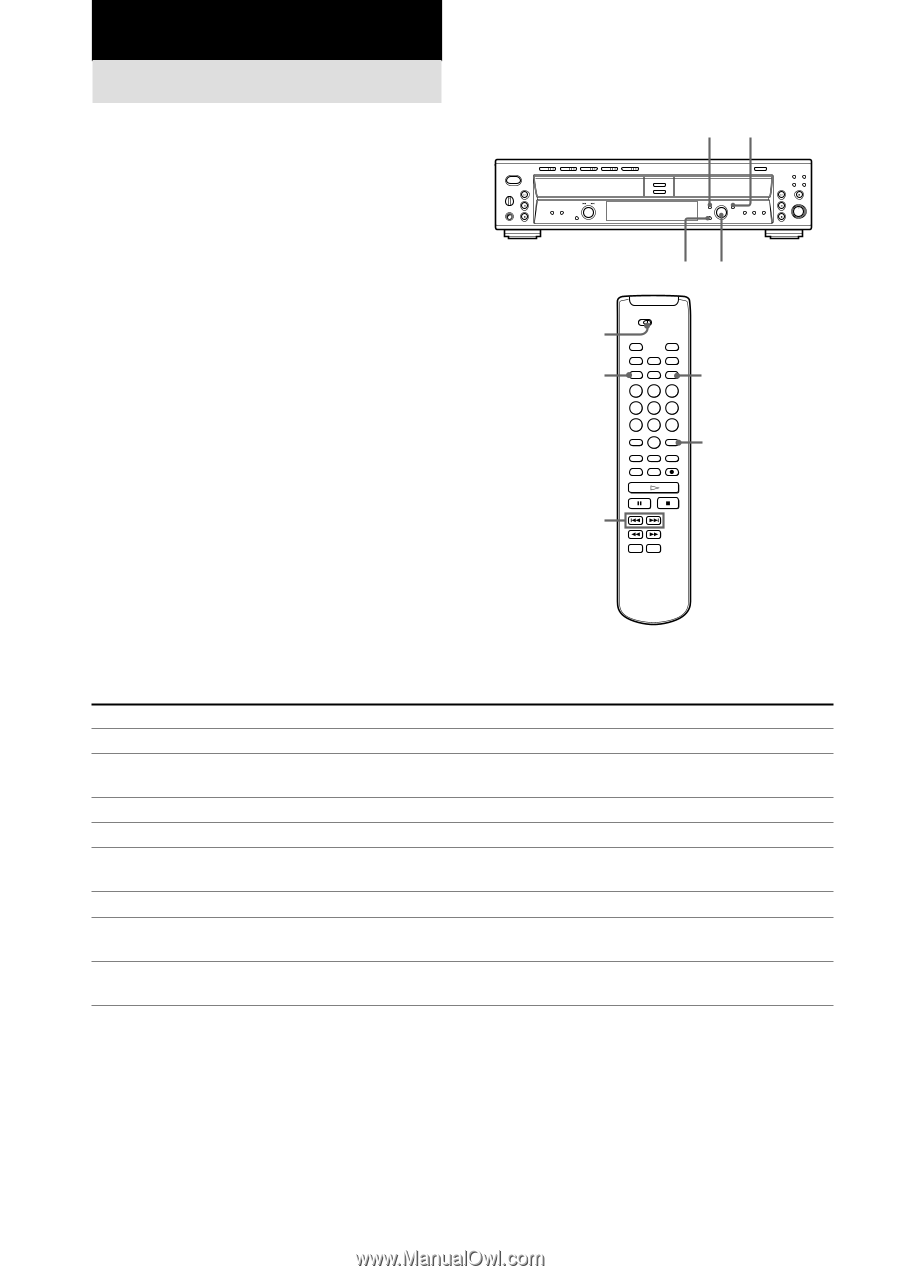
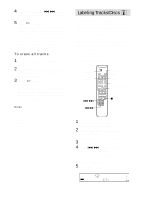
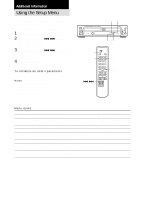
Additional Information Using the Setup Menu You can make various settings on this unit by using the Setup Menu. When using the remote, set SELECT to CDR. 1 Press MENU/NO. 2 Turn AMS (or press ./> on the remote) to select the setup item, and press AMS (or YES). 3 Turn AMS (or press ./> on the remote) to set the item, and press AMS (or YES). 4 Press MENU/NO. To initialize an item's parameter Press CLEAR after Step 2. Notes • The menus you can use while the unit is stopped, playing, or recording differ. • The setting is stored in memory even if you turn off the unit or disconnect the power. MENU/NO YES CLEAR AMS SELECT MENU/NO YES CLEAR ./> Menu items Setup item Function (reference page) Parameters (Initial setting) Track Mark Sets the Track Marking Function (page 22). LSync/Off (LSync) LSync Lvl Changes the trigger level for Track Marking Function (page -72 dB to -20 dB in 2 dB 22). increments (-50 dB) Smart Space Sets the Smart Space and Auto Cut Functions (page 17). On/Off (On) Direct Sets the Direct Recording Function (page 23). On/Off (Off) Text Save Records the CD text automatically at Make-Disc SynchroRecording (page 18). On/Off (On) Post Gap DECK A Lvl Sets the function to add Post Gap. (page 17). On/Off (Off) Adjusts the input level from the CD player section (DECK A) - ∞ dB to 18.0 dB (0.0 dB) (page 21). Optical Lvl Adjusts the input level from the DIGITAL OPTICAL IN connector (page 21). - ∞ dB to 18.0 dB (0.0 dB) 28
-
 1
1 -
2
-
3
-
4
-
5
-
6
-
7
-
8
-
9
-
10
-
11
-
12
-
13
-
14
-
15
-
16
-
17
-
18
-
19
-
20
-
21
-
22
-
 23
23 -
 24
24 -
 25
25 -
 26
26 -
 27
27 -
 28
28 -
 29
29 -
 30
30 -
 31
31 -
 32
32
 |
 |