Toshiba Qosmio G40 PQG40C Users Manual Canada; English - Page 191
S-Video-in, Settings for display video on HDMI
 |
View all Toshiba Qosmio G40 PQG40C manuals
Add to My Manuals
Save this manual to your list of manuals |
Page 191 highlights
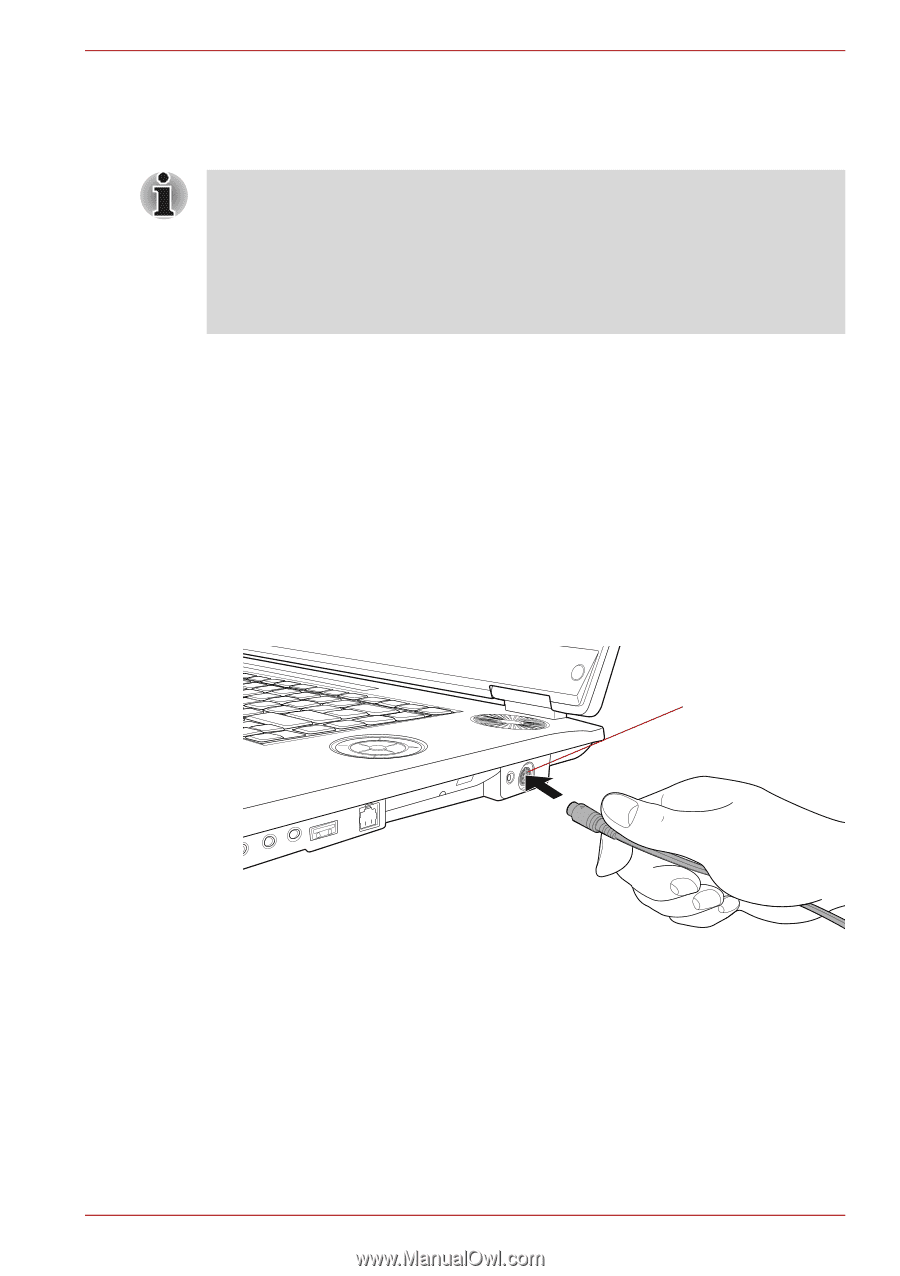
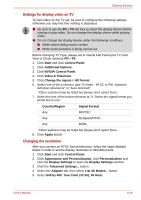
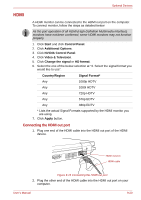
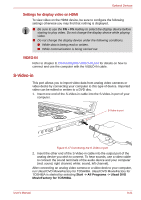
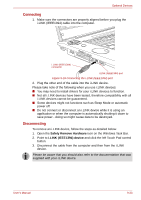
Optional Devices Settings for display video on HDMI To view video on the HDMI device, be sure to configure the following settings otherwise you may find that nothing is displayed. ■ Be sure to use the FN + F5 HotKey to select the display device before starting to play video. Do not change the display device while playing video. ■ Do not change the display device under the following conditions. ■ While data is being read or written. ■ While communication is being carried out. VIDEO-IN Refer to chapter 8, Connecting the VIDEO-IN port for details on how to connect and use the computer with the VIDEO-IN cable. S-Video-in This port allows you to import video data from analog video cameras or video decks by connecting your computer to this type of device. Imported video can be edited or written to a DVD disc. 1. Insert one end of the S-Video-in cable into the S-Video-in port of your computer. S-Video-in port Figure 9-17 Connecting the S-Video-in port 2. Insert the other end of the S-Video-in cable into the output port of the analog device you wish to connect. To hear sounds, use a video cable to connect the sound terminals of the audio device and your computer (red: sound, right channel, white: sound, left channel). After connecting an analog video camera or a video deck to your computer, run Ulead DVD MovieFactory for TOSHIBA. Ulead DVD MovieFactory for TOSHIBA is started by selecting Start -> All Programs -> Ulead DVD MovieFactory for TOSHIBA. User's Manual 9-21
-
 1
1 -
2
-
3
-
4
-
5
-
6
-
7
-
8
-
9
-
10
-
11
-
12
-
13
-
14
-
15
-
16
-
17
-
18
-
19
-
20
-
21
-
22
-
23
-
24
-
25
-
26
-
27
-
28
-
29
-
30
-
31
-
32
-
33
-
34
-
35
-
36
-
37
-
38
-
39
-
40
-
41
-
42
-
43
-
44
-
45
-
46
-
47
-
48
-
49
-
50
-
51
-
52
-
53
-
54
-
55
-
56
-
57
-
58
-
59
-
60
-
61
-
62
-
63
-
64
-
65
-
66
-
67
-
68
-
69
-
70
-
71
-
72
-
73
-
74
-
75
-
76
-
77
-
78
-
79
-
80
-
81
-
82
-
83
-
84
-
85
-
86
-
87
-
88
-
89
-
90
-
91
-
92
-
93
-
94
-
95
-
96
-
97
-
98
-
99
-
100
-
101
-
102
-
103
-
104
-
105
-
106
-
107
-
108
-
109
-
110
-
111
-
112
-
113
-
114
-
115
-
116
-
117
-
118
-
119
-
120
-
121
-
122
-
123
-
124
-
125
-
126
-
127
-
128
-
129
-
130
-
131
-
132
-
133
-
134
-
135
-
136
-
137
-
138
-
139
-
140
-
141
-
142
-
143
-
144
-
145
-
146
-
147
-
148
-
149
-
150
-
151
-
152
-
153
-
154
-
155
-
156
-
157
-
158
-
159
-
160
-
161
-
162
-
163
-
164
-
165
-
166
-
167
-
168
-
169
-
170
-
171
-
172
-
173
-
174
-
175
-
176
-
177
-
178
-
179
-
180
-
181
-
182
-
183
-
184
-
185
-
 186
186 -
 187
187 -
 188
188 -
 189
189 -
 190
190 -
 191
191 -
 192
192 -
 193
193 -
 194
194 -
 195
195 -
 196
196 -
197
-
198
-
199
-
200
-
201
-
202
-
203
-
204
-
205
-
206
-
207
-
208
-
209
-
210
-
211
-
212
-
213
-
214
-
215
-
216
-
217
-
218
-
219
-
220
-
221
-
222
-
223
-
224
-
225
-
226
-
227
-
228
-
229
-
230
-
231
-
232
-
233
-
234
-
235
-
236
-
237
-
238
-
239
-
240
-
241
-
242
-
243
-
244
-
245
-
246
-
247
-
248
-
249
-
250
-
251
-
252
-
253
-
254
-
255
-
256
-
257
-
258
-
259
-
260
-
261
-
262
-
263
-
264
-
265
-
266
-
267
-
268
-
269
-
270
-
271
-
272
-
273
-
274
-
275
-
276
-
277
-
278
-
279
-
280
-
281
 |
 |