Uniden 1660 English Owners Manual - Page 10
Directory Operation, Caller Id Operation - 2 manual
 |
View all Uniden 1660 manuals
Add to My Manuals
Save this manual to your list of manuals |
Page 10 highlights
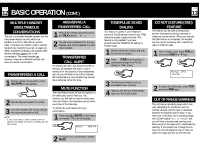
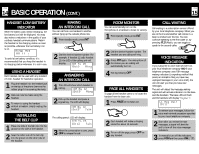
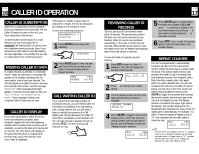
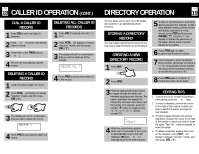
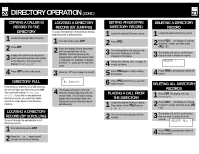
PAGE 18 CALLER ID OPERATION (CONT.) DIAL A CALLER ID RECORD 1 Press CID to enter the Caller ID database. 2 Press v or w to scroll to the desired Caller ID record. 3 Press either of the TALK buttons (q or ❍). 4 The unit will automatically dial the number. DELETING A CALLER ID RECORD 1 Locate the desired Caller ID record. 2 Press FCN (↑ will display to indicate "function" mode), and then press DEL ("1"). DELETING ALL CALLER ID RECORDS 1 Press CID. The display will read "All CID". 2 Press FCN (↑ will display to indicate "function" mode), and then press DEL ("1"). 3 The display will ask for confirmation that you wish to delete all of the records. DELETE ALL ? 4 Press PRG to permanently delete all of the records. 3 The display will ask for confirmation that you wish to delete the record. DELETE ? 4 Press PRG to permanently delete the record. PAGE DIRECTORY OPERATION 19 The unit allows you to store up to 80 names and numbers in an alphabetical phone Directory. STORING A DIRECTORY RECORD You may create a new Directory record or you may copy a Caller ID record into the Directory. CREATING A NEW DIRECTORY RECORD 1 Press DIR. 2 Press PRG. 5 To add a 2 second pause to a Directory dialing sequence (for example, to add a delay between dialing a phone number and dialing a password or menu choice), press FCN and then press PAUSE ("7"). The letter "P" will display to indicate the placement of the pause. Add as many 2 second pauses as neccessary. 6 Press PRG again to begin programming the phone number. 7 Use the keypad to enter the desired phone number. Remember to include a "1" for a long distance phone number and any prefixes necessary to access an outside line (such as a "9"). 8 Press PRG again to complete. A confirmation beep will be heard. 3 Press the appropriate keypad button to toggle through the letters and numbers associated with that key. The upper case letters will appear first, followed by the lower case letters, and the number. (For example- press the number "5" button to toggle among "J", "K", "L" "j", "k", "l", and the number "5"). J (Name?) 4 When the desired letter appears, either wait 1-2 seconds for the cursor to automatically move to the next character, OR press v or w to manually move to the next character. EDITING TIPS 1. To move the cursor forward or backward while editing, press the v or w keys. 2. To insert a character, position the cursor to the right of the location in which you wish to add the character and type the new character. 3. To insert a space between two existing characters, position the cursor to the right of the location in which you wish to insert the space. Type "00", using the keypad, to insert the space. 4. To delete a character, position the cursor on the character, Press FCN (↑ will display to indicate "function" mode), and then press DEL ("1").
-
 1
1 -
2
-
3
-
4
-
 5
5 -
 6
6 -
 7
7 -
 8
8 -
 9
9 -
 10
10 -
 11
11 -
 12
12 -
 13
13 -
 14
14 -
 15
15
 |
 |