Vivitar DVR 940XHD DVR 940HD Camera Manual - Page 24
Audio Menu
 |
View all Vivitar DVR 940XHD manuals
Add to My Manuals
Save this manual to your list of manuals |
Page 24 highlights
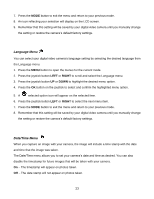
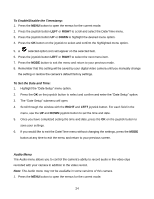
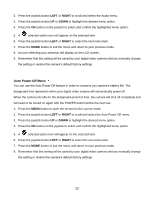
To Enable/Disable the Timestamp: 1. Press the MENU button to open the menus for the current mode. 2. Press the joystick button LEFT or RIGHT to scroll and select the Date/Time menu. 3. Press the joystick button UP or DOWN to highlight the desired menu option. 4. Press the OK button on the joystick to select and confirm the highlighted menu option. 5. A selected option icon will appear on the selected item. 6. Press the joystick button LEFT or RIGHT to select the next menu item. 7. Press the MODE button to exit the menu and return to your previous mode. 8. Remember that this setting will be saved by your digital video camera until you manually change the setting or restore the camera‟s default factory settings. To Set the Date and Time: 1. Highlight the "Date Setup" menu option. 2. Press the OK on the joystick button to select and confirm and enter the "Date Setup" option. 3. The "Date Setup" submenu will open. 4. Scroll through the window with the RIGHT and LEFT joystick button. For each field in the menu, use the UP and DOWN joystick button to set the time and date. 5. Once you have completed setting the time and date, press the OK on the joystick button to save your settings. 6. If you would like to exit the Date/Time menu without changing the settings, press the MODE button at any time to exit the menu and return to your previous screen. Audio Menu The Audio menu allows you to control the camera‟s ability to record audio in the video clips recorded with your camera in addition to the video record. Note: The Audio menu may not be available in some versions of this camera. 1. Press the MENU button to open the menus for the current mode. 24
-
 1
1 -
2
-
3
-
4
-
5
-
6
-
7
-
8
-
9
-
10
-
11
-
12
-
13
-
14
-
15
-
16
-
17
-
18
-
 19
19 -
 20
20 -
 21
21 -
 22
22 -
 23
23 -
 24
24 -
 25
25 -
 26
26 -
 27
27 -
 28
28 -
 29
29 -
30
-
31
-
32
-
33
-
34
-
35
-
36
-
37
-
38
-
39
-
40
-
41
-
42
-
43
-
44
-
45
-
46
-
47
-
48
-
49
-
50
-
51
-
52
-
53
-
54
-
55
-
56
-
57
-
58
-
59
-
60
-
61
-
62
-
63
-
64
-
65
 |
 |