Xerox 7760GX Advanced Features Guide - Page 61
Quick Install Steps, From the Printer, From Your Computer
 |
UPC - 095205225396
View all Xerox 7760GX manuals
Add to My Manuals
Save this manual to your list of manuals |
Page 61 highlights
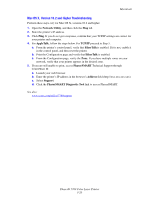
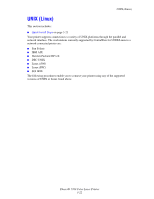
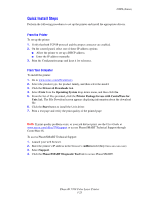
UNIX (Linux) Quick Install Steps Perform the following procedures to set up the printer and install the appropriate drivers. From the Printer To set up the printer: 1. Verify that both TCP/IP protocol and the proper connector are enabled. 2. On the control panel, select one of these IP address options: ■ Allow the printer to set up a DHCP address. ■ Enter the IP address manually. 3. Print the Configuration page and keep it for reference. From Your Computer To install the printer: 1. Go to www.xerox.com/office/drivers. 2. Select the product type, the product family, and then select the model. 3. Click the Drivers & Downloads link. 4. Select Unix from the Operating System drop-down menu, and then click Go. 5. From the list of files provided, click the Printer Package for use with CentreWare for Unix link. The File Download screen appears displaying information about the download file. 6. Click the Start button to install the Unix driver. 7. Print a test page and verify the print quality of the printed page. Note: If print-quality problems exist, or your job did not print, see the User Guide at www.xerox.com/office/7760support or access PhaserSMART Technical Support through CentreWare IS. To access PhaserSMART Technical Support: 1. Launch your web browser. 2. Enter the printer's IP address in the browser's Address field (http://xxx.xxx.xxx.xxx). 3. Select Support. 4. Click the PhaserSMART Diagnostic Tool link to access PhaserSMART. Phaser® 7760 Color Laser Printer 3-23
-
 1
1 -
2
-
3
-
4
-
5
-
6
-
7
-
8
-
9
-
10
-
11
-
12
-
13
-
14
-
15
-
16
-
17
-
18
-
19
-
20
-
21
-
22
-
23
-
24
-
25
-
26
-
27
-
28
-
29
-
30
-
31
-
32
-
33
-
34
-
35
-
36
-
37
-
38
-
39
-
40
-
41
-
42
-
43
-
44
-
45
-
46
-
47
-
48
-
49
-
50
-
51
-
52
-
53
-
54
-
55
-
 56
56 -
 57
57 -
 58
58 -
 59
59 -
 60
60 -
 61
61 -
 62
62 -
 63
63 -
 64
64 -
 65
65 -
 66
66 -
67
-
68
-
69
-
70
-
71
-
72
-
73
-
74
-
75
-
76
-
77
-
78
-
79
-
80
-
81
-
82
-
83
-
84
-
85
-
86
-
87
-
88
-
89
-
90
-
91
-
92
-
93
-
94
-
95
-
96
-
97
-
98
-
99
-
100
-
101
-
102
-
103
-
104
-
105
 |
 |